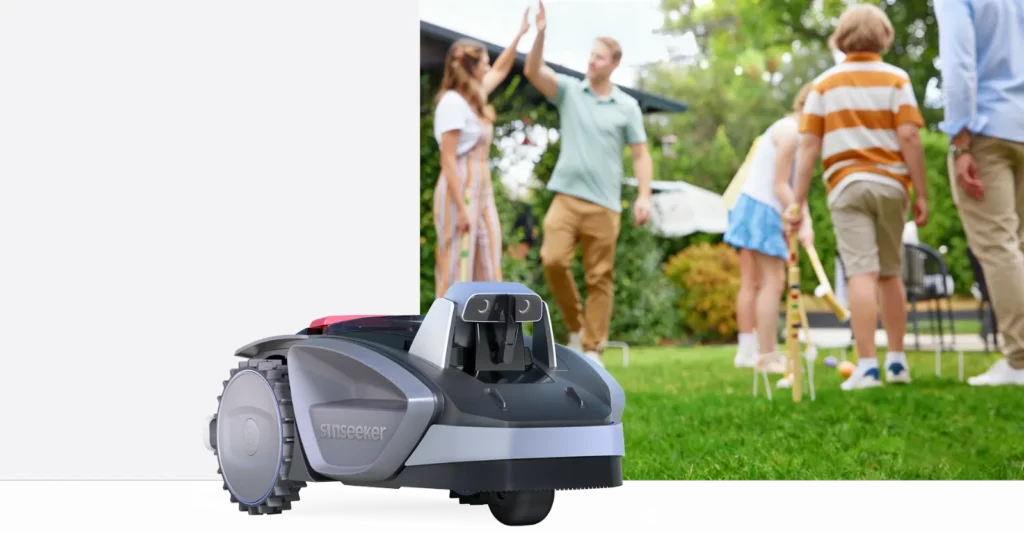
The Sunseeker sets off, the app reports everything as green—and yet a shaggy strip of grass still remains at the fence. This exact frustration keeps coming up for V3 and X3 users: the robot mows in principle, but edges, mapping, docking, or missed areas ultimately cost time again with a trimmer and the app.
Sunseeker is interesting for many buyers because the V3 and X3 models work without a traditional boundary wire and rely on vision navigation or camera-based orientation. That sounds cleaner than laying wire, but in practice it’s not a free pass. Cameras need recognizable structures, maps need proper setup, and blades need maintenance. If you’re looking for accessories, you’ll find an overview of suitable Sunseeker cutting discs and spare parts at Messerscheibe24 early on—rather than clicking through unclear model names.
We’re not looking through marketing goggles here. Many users report good approaches, but also clear weaknesses: edge strips, gray map areas, Bluetooth dropouts, mowing misalignment, short V3 run times, and a charging station that the V3 wants positioned very precisely. From a workshop perspective, there’s another point: a lawn robot will only cut as well as the blades, cutting disc, and underside allow.
Sunseeker V3 vs. X3: Which model is intended for which garden?
The most important difference lies not only in the area specification, but also in the expectations for how the mower works. In user reports, the V3 is often described as a simpler mower that drives more or less randomly. If you expect neatly arranged lanes, you’ll quickly be irritated with the V3, because its movement pattern initially seems aimless. For small, easy-to-overview areas, this can be enough—especially when the lawn edges are clearly recognizable and the garden doesn’t have any difficult narrow spots.
The X3, or X3 Gen 2 respectively, is the more demanding model line with mapping, zones, and a stronger app focus. This makes it more interesting for larger or more complex gardens, but it can also be more prone to setup frustration: boundaries must be set up cleanly, zones shouldn’t be planned too tightly, and connection issues between the app, the robot, and possibly the antenna can be annoying during the first few days. If you want to compare both models in more depth, you’ll find additional details on battery, mapping, and edge problems in our detailed Sunseeker V3/X3 practical check.
| Model series | Garden type | Navigation in practice | Typical strength | Typical weakness | Practical classification |
|---|---|---|---|---|---|
| Sunseeker V3 | Small, simple areas with clear boundaries | Vision-based; in everyday use often perceived as random | Easy start without wire | Edges, docking, and runtime are frequently discussed | Good when the garden is prepared and you don’t expect a “lane” mowing pattern |
| Sunseeker X3 / X3 Gen 2 | Medium-sized areas, multiple zones, structured gardens | Mapping, app zones; depending on the version, with stronger positioning logic | More control over areas and zones | Mapping, gray areas, edge offset, and connections | Suitable for users who are willing to accept fine-tuning in the app |
For both series, the manufacturer’s recommended area is more of an ideal value. A rectangular lawn with clear visibility, short return routes, and a clean edge is a different world than a complex garden with a passageway, a patch of sand, roots, shaded zones, and a narrow mowing window in the evening.
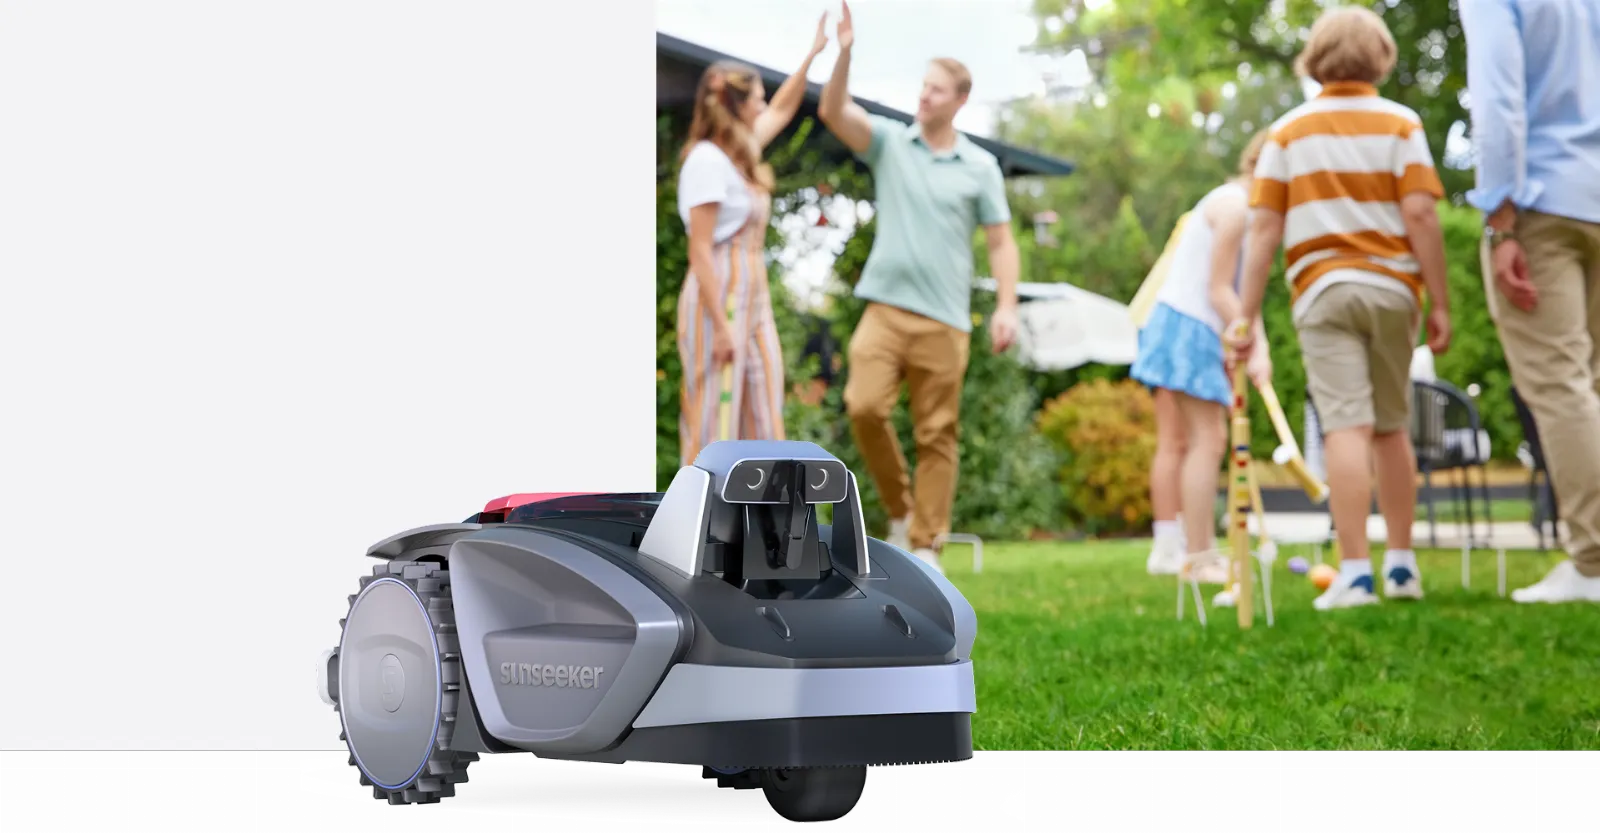
Key takeaway: It’s not just the number of square meters that decides. Narrow passages, edge guidance, the route back to the station, and mowing windows quickly turn a “suitable” model into a borderline one.
The biggest weaknesses from user reports: Edges, maps, connection
If you group the typical complaints, the V3 and X3 repeatedly come down to three topics: edge mowing, mapping, and connectivity. Most often, users complain that the robot doesn’t work close enough to a fence, flower bed edge, or curb. With the V3, this happens especially when tall grass is growing along the edge or when there is no clear visual edge. With the X3, users additionally criticize that the edge distance can’t always be adjusted as precisely as they expect.
With the X3, map problems also come into play. Users report gray areas on the map that the robot skips, even though no obstacle is visible on site. In practice, these are often obstacles that were misidentified, previously interpreted restricted areas, or areas with dense growth that the robot avoids as a precaution. Safe Zones and map settings can help, but they aren’t self-explanatory for everyone.
Bluetooth and connection issues also come up. It’s especially annoying when mapping stops and the user feels like they have to start over. German forums also discuss mowing offset, antenna/connection problems, and firmware issues. That doesn’t mean every X3 is affected. But it does mean: the first few days after setup are not just a formality.
Why do the Sunseeker V3 and X3 leave strips of grass at the edge?
Strips of grass at the edge usually remain because robots and the garden edge don’t speak the same “language.” For the user, it’s clear: “The lawn ends here.” For a camera or a map boundary, it isn’t always that clear. If grass grows into a flower bed, if the curb is covered by grass, or if there’s a taller strip at the fence, the robot recognizes the boundary less reliably or drives more cautiously.
With the V3, users report that trimming the edge beforehand helps a lot. That sounds trivial, but it’s crucial: only once the edge is clearly visible can the robot interpret it more reliably. In addition, in our own cutting disc tests, we also see that long edge blades like to press under the skirt instead of running cleanly into the blades. Then the mower drives over them without really cutting.
With the X3, the topic is a bit different. The hardware for edge-close mowing is certainly praised by users, especially in versions with side-cutting logic. The real sticking point is fine-tuning: if the app doesn’t allow an exactly matching distance or if the map boundary is offset by just a little, a strip still remains. In that case, it’s not always more Klingen that help, but first a better boundary, a reworked area, or a carefully placed workaround with Safe Zones.
Practical tips for better edges
- Before the first run, trim all edge strips with a trimmer or a manual mower.
- Visually expose curbs, lawn edging stones, and mulch strips.
- Don’t set boundaries too close to walls, steps, or fence posts.
- For X3 models, test Safe Zones if the robot avoids boundary areas.
- After every blade change, check whether the underside is free of grass felt.
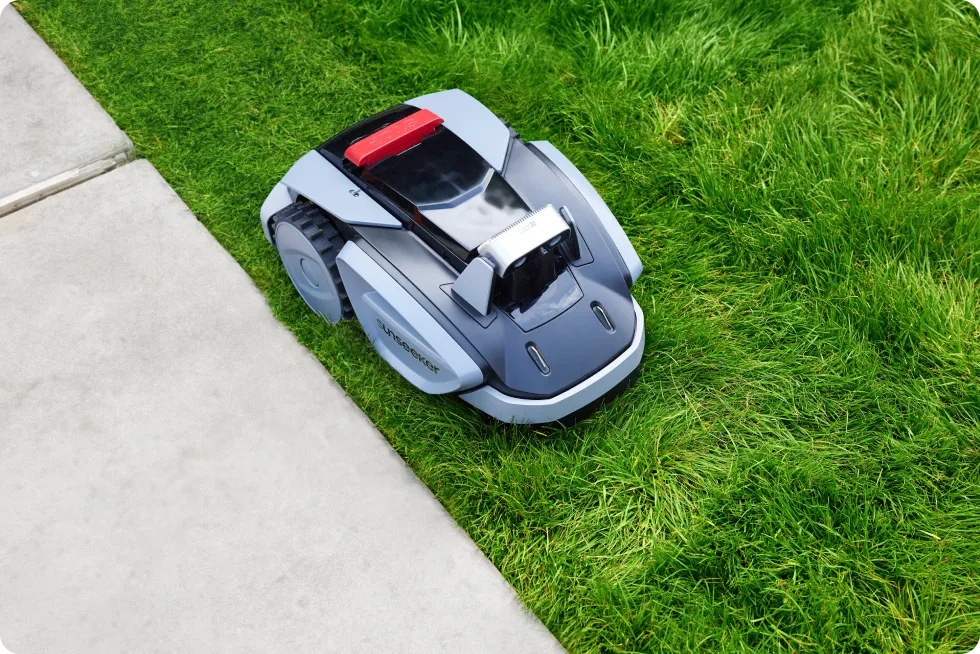
Remember this: edge problems are rarely solved with the app alone. First clear the edge, then check the boundary, then inspect the blade and the Messerscheibe.
Mapping and the app: How to avoid setup frustration
With the X3, many things depend on the first mapping. Many users underestimate how important a clean initial map is. If Bluetooth drops out during mapping, you jump out of the function in a hurry, or you set boundaries too tightly in unclear areas, the robot will continue working with these weaknesses later on.
Our practical advice: plan the mapping like a workshop appointment. Fully charged battery, smartphone charged, stable Bluetooth, WLAN checked near the station, and mow the lawn beforehand. During mapping, don’t switch apps in the background, don’t force tight maneuvers, and instead steer around problematic areas more generously. A map that has five centimeters more safety distance at the beginning is better than an aggressive boundary that later causes misalignment, missed spots, or getting stuck.
For separate areas, it’s usually more sensible to think in cleanly separated sections rather than trying to squeeze everything into a complicated map. Some users report that separate areas are generally possible, but the later zone division doesn’t always feel organic enough. Especially curved flower beds, paths running diagonally, or narrow passages show that app maps don’t have the same precision as a plan on your desk.
If you want to make small boundary corrections afterwards, the X3 can still feel a bit cumbersome depending on the app version and firmware. Users would like more offline editing exactly here: tap the boundary point, move it, save it. Until this works cleanly everywhere, the robust method remains: make boundary corrections in a collected batch, don’t try things out again every day, and after updates, check whether any functions have changed.
V3 in everyday use: correctly assessing random patterns, battery life, and docking
With the V3, the biggest expectation problem is the mowing pattern. Users often ask whether it’s normal that the robot appears to drive seemingly randomly across the lawn and only later runs along a boundary again. Yes: Anyone expecting visible tracks like those of a systematically mapping mower will likely be disappointed. The result is created through repetition, not through perfect lines on the first pass.
Battery runtime is also discussed in forums. Experience reports of about 30 to 40 minutes per charge come up, especially on slightly sloped areas, taller grass, or lots of maneuvering. This isn’t automatically a defect. A smaller battery, inclines, dense growth, and frequent direction changes reduce performance. If the V3 wants to return when it’s at around one-third battery level, it may feel short to users, but it prevents getting stuck—provided it finds the charging station reliably.
That’s exactly where the next weak point lies. Some users report that the V3 doesn’t find the charging station or stops with an empty battery. In practice, the station’s alignment is crucial. The base should be aligned cleanly along the edge, with a clear approach area and no confusing obstacles directly next to it. If the station is angled, in a corner with poor visibility, or too close to a misalignment, the robot may search for a long time or drive past it.
V3: Who is it really for?
- For small, simple gardens with clear lawn edges.
- For users who don’t expect a systematic track pattern.
- For properties without many narrow passages, roots, and steep inclines.
- Not ideal for users who want every edge to be clean without needing any trimming afterward.
When changing the blade, the V3 is straightforward, but sensitive to dull blades. If the cutting tips look gray and frayed, or if the robot rolls over longer blades more often, you shouldn’t suspect only the app. If you want more cutting points under the device, you can check the 9-blade cutting disc for V3 and X3 for the V3 and X3—especially if fine blades are regularly left behind and the underside still has enough clearance.
Remember: The V3 is not a strip mower. It needs short edges, a properly aligned charging station, and realistic expectations regarding runtime and area performance.
X3 in everyday use: Safe Zones, gray map areas, and edge offset
The X3 is interesting for users who want more control over areas and zones. But exactly this control also creates new sources of errors. In reviews and forums, it’s often reported that the robot doesn’t mow certain spots, shows gray areas on the map, or drives with slight offset after mapping. Ten centimeters of offset may sound minor, but at a flower bed or on the terrace it can be exactly the difference between a clean edge and a visible strip.
Gray areas should first be read as a hint, not as a defect. The robot believes it has detected an obstacle there, an unsafe zone, or a spot that should be avoided. This can be caused by tall grass, previous obstacles, shadows, objects, uneven ground, or an unfavorable interpretation of the map. In many cases, the following helps: shorten manually, check the map, adjust the Safe Zone and/or map settings, and then observe a new run.
For the X3 Gen 2, the edge hardware is often described as a good idea, but users want more fine-tuning. An adjustable edge distance in centimeters would actually make sense from a practical point of view, because a fence, a curb, and a flowerbed edge require completely different safety distances. Until this is solved properly, manual work on difficult edges remains realistic.
The manual Bluetooth mode is also a contentious topic. Some users criticize that they can no longer simply mow over missed spots again with activated blades using remote control. If this feature was restricted for safety reasons, that is understandable—practically, though, it’s still frustrating, because a quick touch-up turns back into trimmer work.
X3: Blade wear and cutting pattern
With the X3, dull blades often fail first in missed areas, gray cut tips, or with a stronger buildup of grass under the disc. That’s why in our CUT GUARD tests, we don’t just look at the number of blades, but also at clearance, screw fit, and grass discharge. If you have more damp corners, denser grass, or more grass clippings under the disc, you should consider a robust cutting disc with 7 blades instead of simply going for the maximum number of blades, because in such gardens, more spacing between the blades is often easier to maintain.
Maintenance and preparation: What really helps users
With the V3 and X3, maintenance is most effective when it targets the known issues right away. General “cleaning regularly” is too vague. The key is the areas that cause edge defects, docking problems, and poor cutting results.
1. Trim tall grass before the first use
Many misinterpretations arise because the robot starts in too-tall grass. Tall blades can hide edges, press themselves under the mowing disc, and may irritate the sensors or obstacle detection. Therefore, before the first mapping and after breaks during vacation, the lawn should be prepared once conventionally or with a higher cutting height.
2. Check the underside and cutting disc
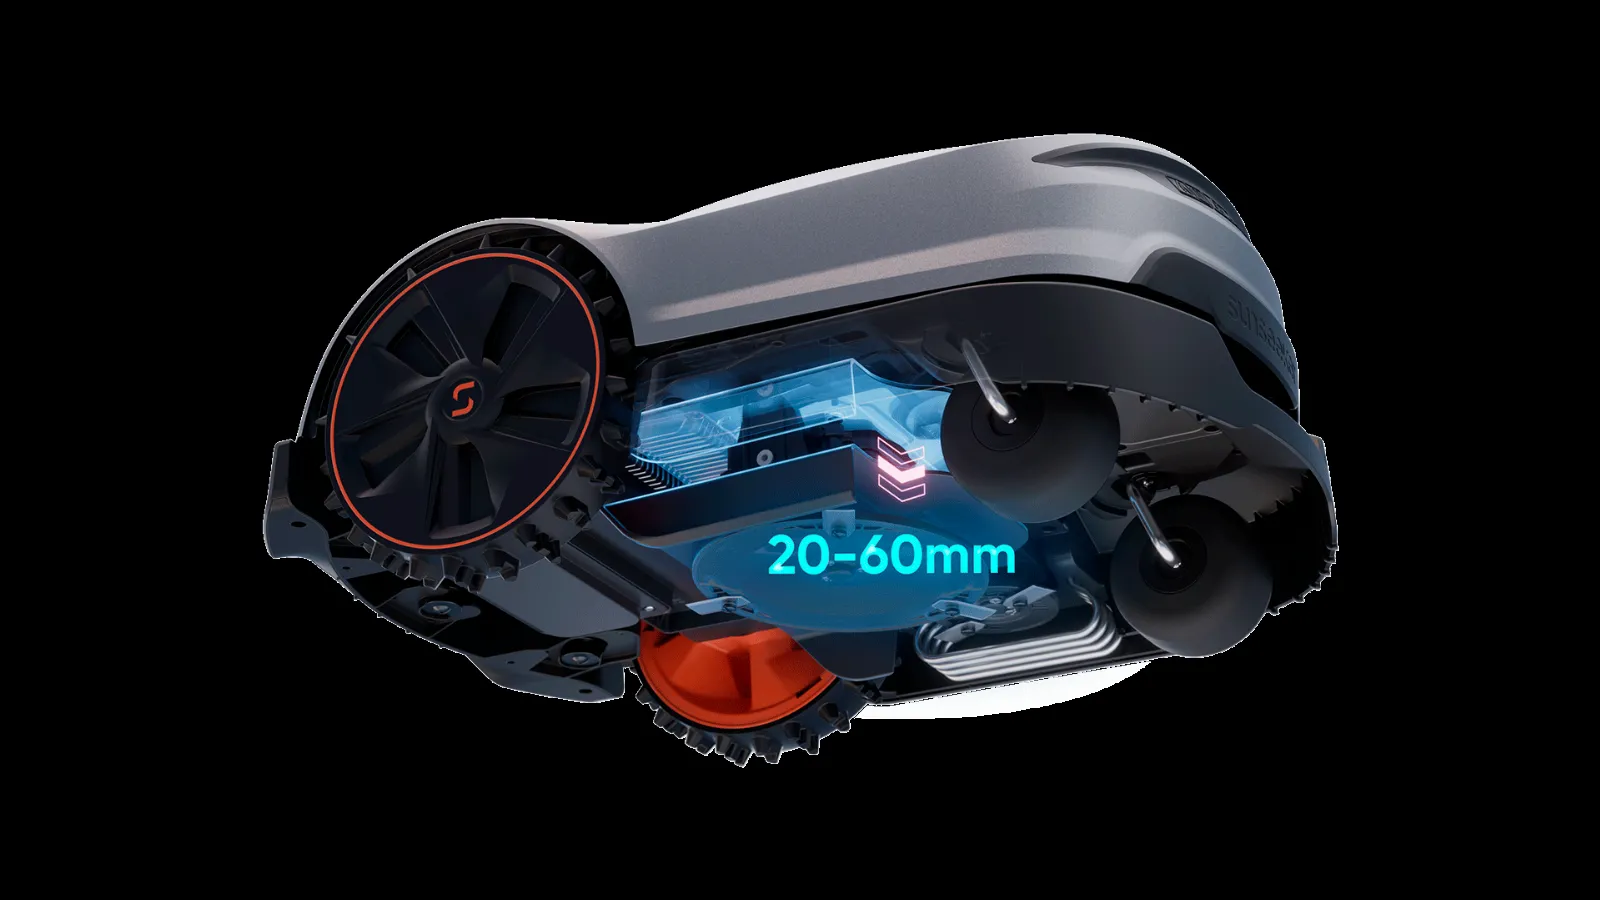
Moist grass clippings quickly form a solid layer under the cutting disc. Then the blades rotate less freely, screws get clogged, and the mower tears rather than cutting cleanly. Switch the device off, secure it against restarting, brush the underside dry, and check whether all blades swing freely.
3. Change blades according to the cut pattern, not the calendar
A small, dry ornamental lawn wears blades differently than a sandy garden with cones, branches, and damp corners. If the tips of the cut turn gray and fray, the robot needs more energy, or blades of grass are left standing, then the blades are due. Waiting too long unnecessarily stresses the battery, motor, and cutting system.
4. Address problem areas in the garden
Roots, sand pits, loose lawn edges, and tight station corners are not a minor issue. A X3 user may fail on a slope, while the same robot works cleanly in a flat garden. That’s why you should honestly check before purchase and before mapping: Where do the wheels spin? Where is there water? Where does the robot need to maneuver?
Remember: Good care with Sunseeker means not only new blades. Expose edges, keep the underside clean, and smooth out problem areas often brings more than the next app correction.
Buying decision: When you should go for the larger model
The V3 is tempting if you’re looking for a small cordless mower. But it doesn’t fit every small garden. If the lawn is only a few square meters, but has many tight spots, high edges, an unfavorable station corner, and slopes, a nominally larger model can be less stressful. Extra capacity helps during short mowing windows, tall grass, longer reverse drives, and multiple zones.
The same applies to the X3. Users occasionally report that the X3 reaches its limits on demanding slopes or uneven terrain, and that larger models were more sensible. That doesn’t mean every slope is a problem. But a combination of slope plus wet grass plus roots plus sand is a different kind of load than a dry, even incline.
However, you shouldn’t blindly choose a robot that’s too large. Larger models need more turning space, a sensibly positioned station, and sometimes handle small, tricky corners worse. The right choice is therefore not “bigger is always better,” but rather: enough reserve without turning maneuvering, the station, and tight spots into a new problem.
Frequently asked questions
Does the Sunseeker V3 mow systematically or randomly?
The Sunseeker V3 is perceived by many users as a mower that drives around randomly, not as a classic path mower. This isn’t an automatic defect—it’s part of the expectation: the cutting pattern is created by repeated drives, not by perfectly parallel lines on the first pass.
Why doesn’t my Sunseeker X3 mow the gray areas on the map?
Gray areas usually mean that the X3 interprets an obstacle, an unsafe zone, or a spot to be avoided there. First, shorten the area manually, check the map settings, and test Safe Zones or boundary corrections before you recreate the entire map.
How long does the battery last on the Sunseeker V3 in realistic terms?
Many users report about 30 to 40 minutes per charge on the V3 as a realistic practical value. Slopes, tall grass, lots of turning maneuvers, and a cautious return point to the station can significantly reduce the perceived runtime.
How should the charging station be positioned for the V3?
The V3 charging station should be placed as cleanly as possible along the edge, with a clear approach area and no confusing obstacles directly next to it. A diagonally placed or tight station corner can cause the robot to search for a long time or to remain there with an empty battery.
When should I change the blades on the V3 and X3?
Replace the blades as soon as the grass tips turn gray and fray, stems stop moving, or the blades no longer swivel freely. Depending on sand, moisture, contact with branches, and mowing frequency, the change may be needed significantly earlier than after a fixed calendar interval.
Conclusion: Sunseeker V3 and X3 are good if your garden cooperates
Sunseeker V3 and X3 can take a lot of work off your hands if you know their limits. The V3 is better suited for simpler, smaller areas and users who can live with random patterns, shorter runtime, and a bit of edge maintenance. The X3 offers more map and zone logic, but in return it requires patience with mapping, app settings, and boundary corrections.
The most common problems are not exotic: edge strips, gray patchy areas, docking, mowing misalignment, and dull blades. If you take these points seriously, you’ll start off better. Expose the edges before the first run, position the station cleanly, perform mapping without rushing, use Safe Zones strategically, and regularly check the cutting disc—this is the combination that really helps in practice.
From a workshop perspective, the most important advice remains: not every poor mowing performance is a navigation error. Very often, the problem is underneath the robot—dull blades, grass matting, blocked screws, or a cutting disc that doesn’t fit the garden. That’s exactly where regular maintenance is worth it before you delete the entire map or write off the model too quickly.
Comments