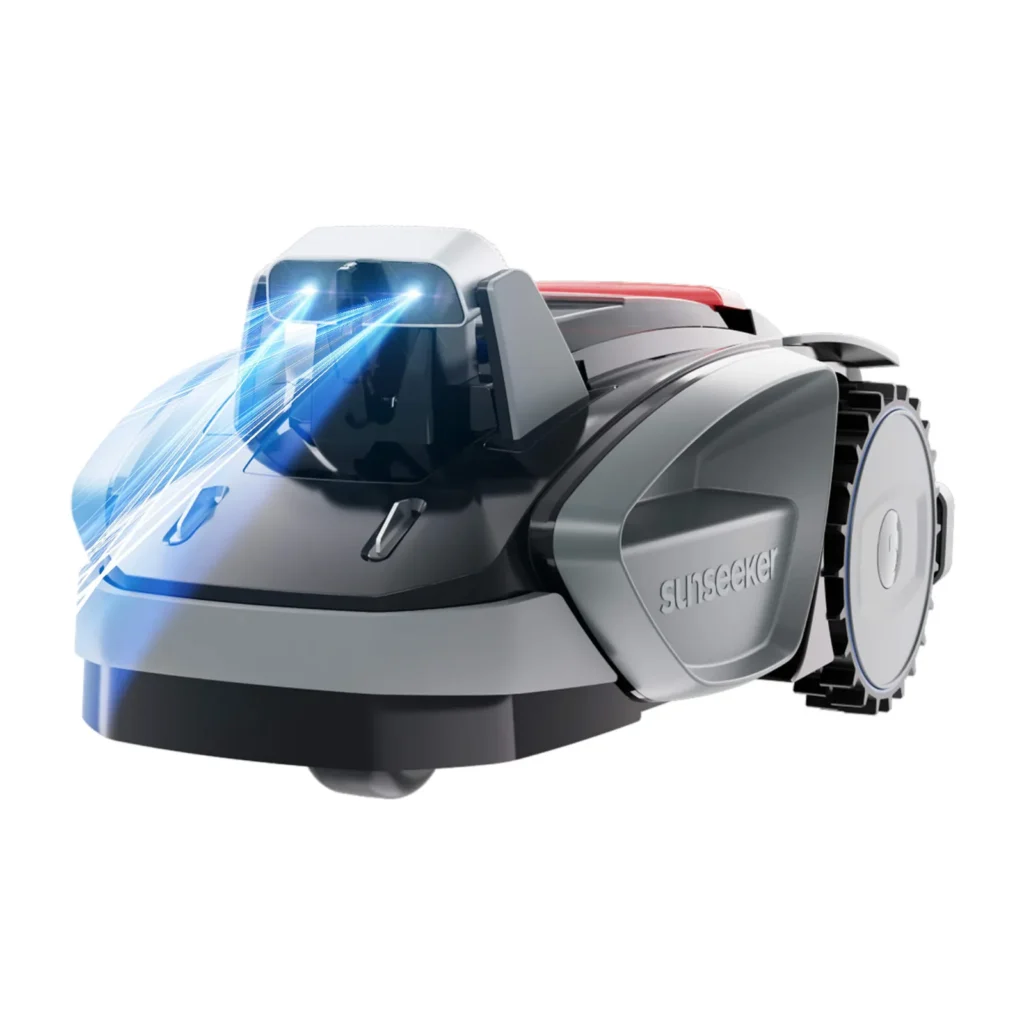
The Sunseeker V3 is cleanly parked in the station in the morning, the schedule runs until 5 p.m. – and at some point you find it with an empty battery right in the middle of the garden. Or the X3 drives along the boundary line, but at the edge a crooked, visibly unmowed strip remains. Exactly these kinds of cases keep showing up in user reports. The mower isn’t always “defective.” Often, expectations, garden layout, station placement, mapping, or blade condition simply don’t match.
Here we’re not looking at the Sunseeker V3, V3 Plus, X3, and X3 Plus through the marketing lens, but from a workshop and service perspective. At CUT GUARD, we focus above all on the cutting side: blade disc, blades, grass flow, screws, imbalance, and the cut pattern. At the same time, we have to be honest: a better mowing deck doesn’t solve bad mapping, a misaligned charging station, or an RTK-/vision boundary edge case. That’s why this guide first covers setup, navigation, battery, and garden layout – and only then the question of the blades.
Sunseeker V3 vs. X3: Which model is intended for which garden?
The most important difference: the V3 is designed as a simple, cordless Vision solution for small, rather straightforward areas. Many users praise exactly that: no boundary wire to bury, no complicated antenna mast, start the app, set up the area, and go. If you have a simple lawn area with clear boundaries such as a terrace, paving, a fence, or garden bed edging, the V3 can be a good fit.
The X3 and especially the X3 Plus come with a significantly higher area requirement and more mapping functions. Depending on the market and version, RTK/GNSS, V-SLAM, or camera/sensor support is added. It sounds like “mowing like on rails,” but in real gardens it isn’t automatically guaranteed. Tricky zones, narrow passages, tree shade, walls, raised beds, slopes, and short mowing windows can quickly turn 600, 800, or 1,200 m² into a different kind of task than a rectangular brochure garden.
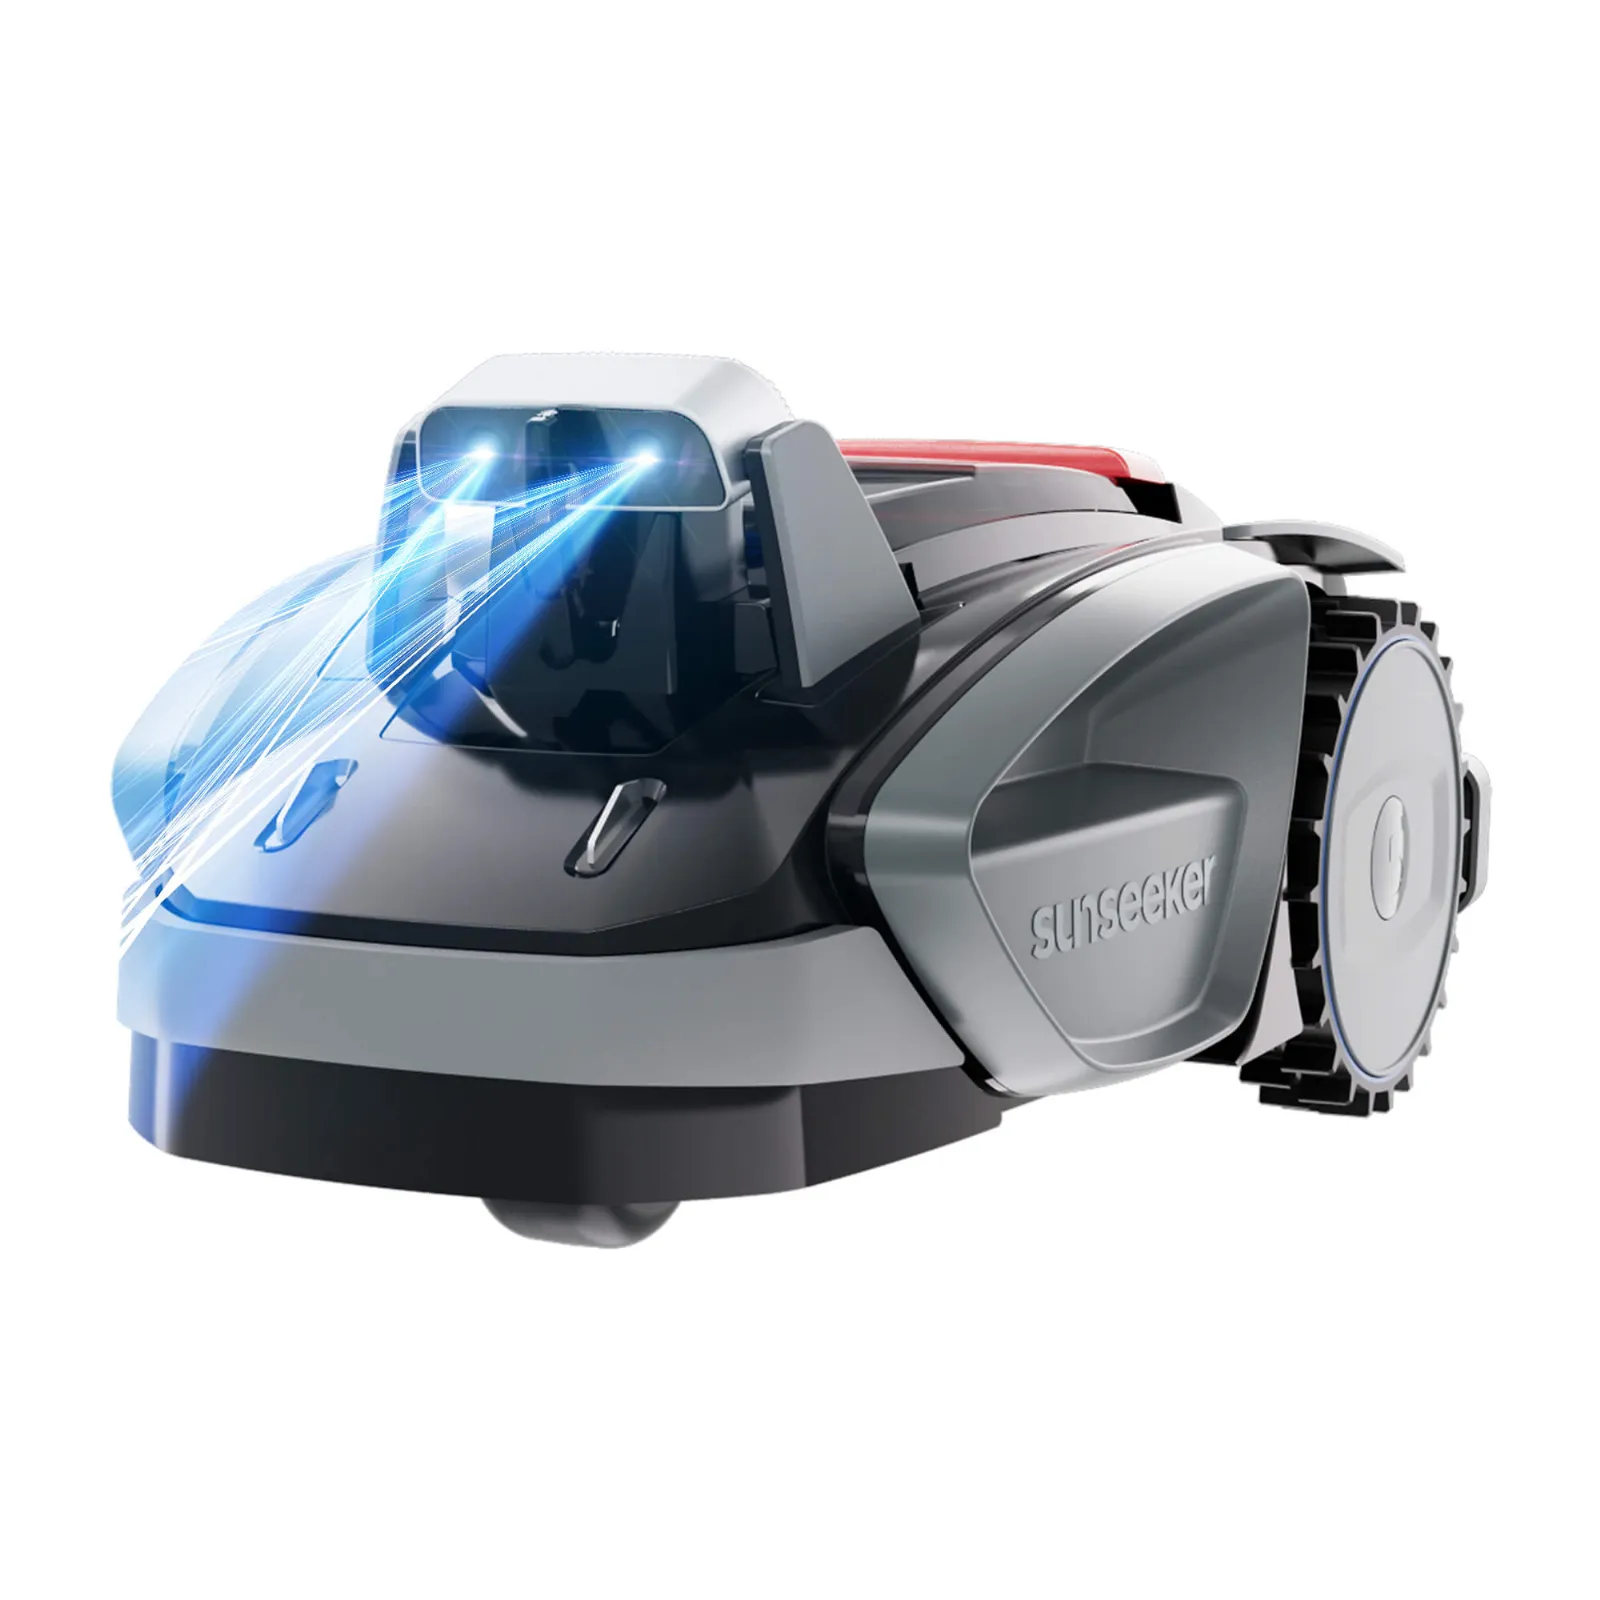
Key details in practice
| Model | Manufacturer-adjacent area class | Navigation | Strengths | Typical weaknesses from real-world use | Practical assessment |
|---|---|---|---|---|---|
| Sunseeker V3 | approx. 600 m² / depending on the market also 0.15 acre | Vision, no classic RTK mapping | easy entry, no wire, simple gardens | random travel, edge and docking issues, short run times per charge | good for small, clear areas; weak when you have high expectations for mowing paths |
| Sunseeker V3 Plus | approx. 1,000 m² depending on the market | Vision, check app and equipment level | larger battery/area reserve than the V3 | still not a substitute for true RTK system logic in complex gardens | only useful if the garden remains visually easy to read |
| Sunseeker X3 | often in the range of medium-sized areas | RTK/GNSS plus visual support, depending on the version | virtual boundaries, more structured than the V3, zones possible | mapping dropouts, edges, app corrections, terrain boundaries | interesting for medium-sized gardens, but plan it cleanly |
| Sunseeker X3 Plus | often advertised up to about 1,200 m² | RTK + V-SLAM / Fusion system depending on the market | higher area demands, multi-zone, virtual no-go zones | maximum area is often misunderstood as “per charge” | don’t buy based on brochure area—buy based on layout and mowing time window |
Important with Sunseeker: Depending on the country, dealer, model year, and firmware, there are different names and configurations. Before purchasing accessories or diagnosing a fault, always check the nameplate, the exact model designation, the app version, and the firmware status. For X3/X3 Plus, it’s also important to know whether your device is truly working with RTK/GNSS functions or whether you have a regional variant with a different navigation package.
Practical takeaway: The V3 is more of an uncomplicated “keep a small area clean” mower, while the X3 is more of a mapping mower for planned zones. Both perform worse when the garden is unclear in its boundaries, narrow, shady, or heavily winding.
Can the Sunseeker V3 mow lanes, or does it only drive randomly?
The short answer: Many users describe the Sunseeker V3 as “random only.” So it doesn’t operate the way you know from systematic RTK mowers: lane next to lane, clearly traceable, with visible area logic. Instead, it works more randomly within the recognized area. That can work for small, simple lawn sections, but it feels chaotic when you expect neatly ordered lines.
The common misunderstanding comes from the term “Vision.” A camera or Vision AI doesn’t automatically mean real map-based mowing. With the V3, optical recognition mainly helps interpret boundaries, edges, and obstacles. However, that doesn’t mean the mower reliably knows: “This area was processed 100% in parallel lanes.” Users therefore report zigzag driving, longer run times, and uncertainty about whether certain spots were skipped.
For a rectangular front yard with 80 to 200 m², this is often tolerable. The robot drives more frequently, trims small protrusions, and keeps the area overall short. In a garden with multiple islands, play equipment, narrow passages, and strongly changing lighting conditions, random navigation becomes more annoying: turns consume battery, illogical driving paths increase runtime, and at the edges something is more likely to be left behind.
From a workshop perspective, it’s important: an erratic driving pattern is not automatically a blade problem. If the V3 doesn’t reach a spot because it visually misinterprets it or simply doesn’t drive there for a long time by chance, no new blade will help. But if it does reach the spot and the grass there still ends up ragged, frayed, or left in streaks, then blades, the blade disc, grass clumping, and cutting height come into play.
Can the Sunseeker V3 or X3 cover the advertised area with a single battery charge?
No: The advertised maximum area doesn’t mean that the V3 or X3 can mow that area with just one battery charge. This exact misunderstanding comes up frequently among users. For the V3, experience reports mention runtimes of about 30 to 60 minutes per charge; one user specifically asked whether around 35 minutes on a slight incline is normal. For the X3 Plus, a buyer expected that a device advertised for 1,200 m² would manage around 700 m² in one pass—however, recharging was clearly needed much earlier.
Manufacturer-rated areas are best understood as a “maintainable maximum area during regular operation.” The robot mows, charges up, mows again, and distributes the work over the day or across multiple time windows. How much it achieves per charge depends heavily on grass length, cutting height, temperature, battery status, slope, turns, and navigation losses. An almost rectangular lawn is significantly easier for the battery than a garden with many no-go zones.
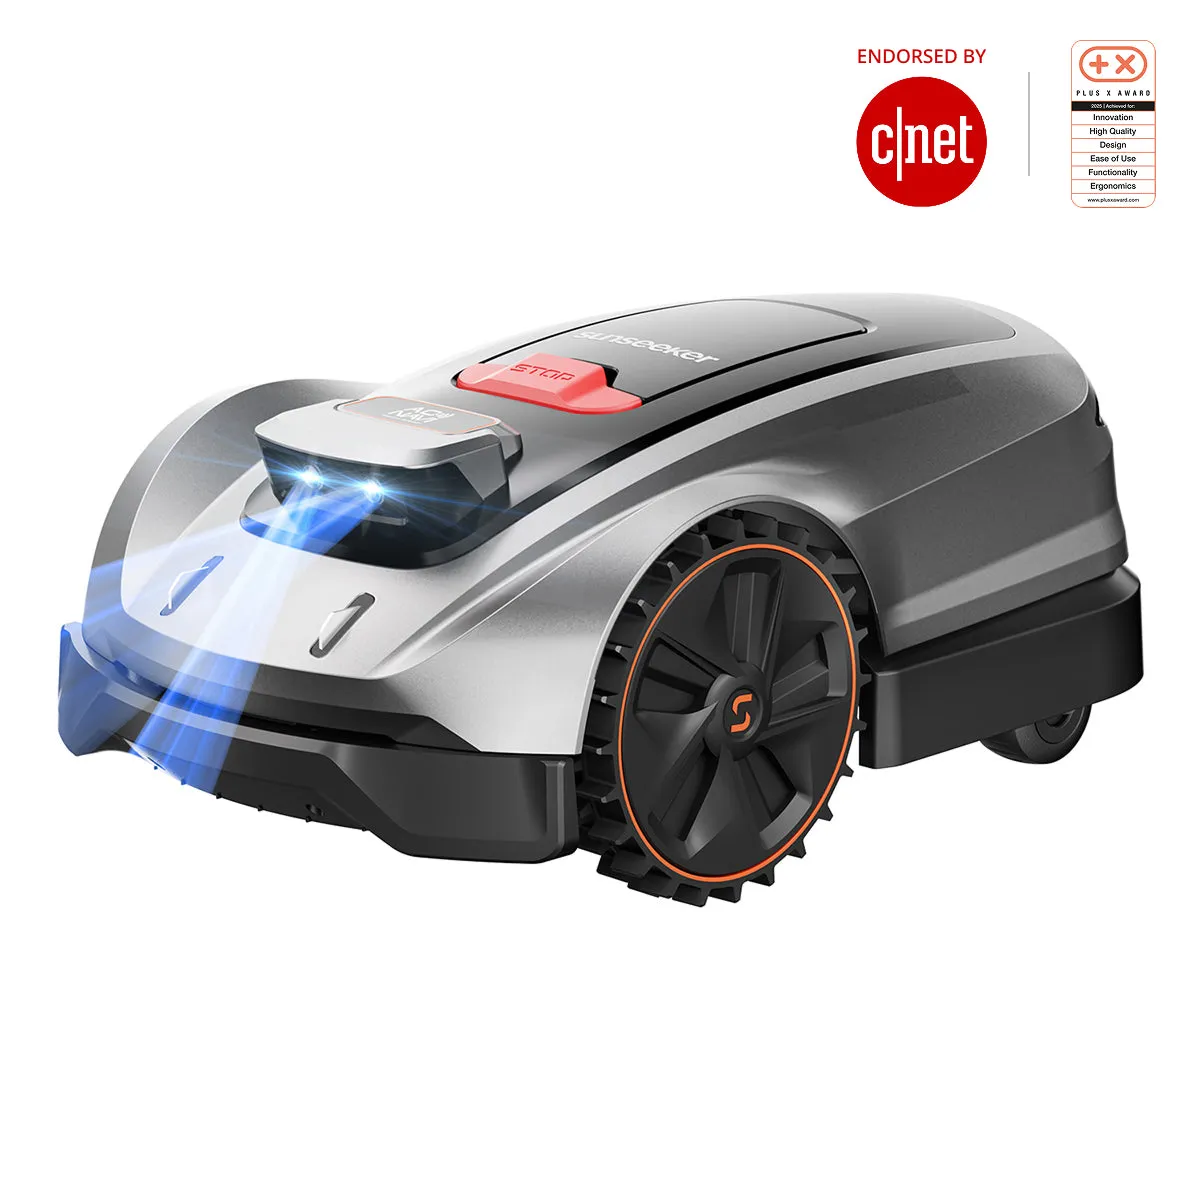
In complex gardens, two recharges are not a scandal—they’re often normal. It only becomes problematic when the mower regularly stops far away from the station due to an empty battery, does not continue the planned job, or—despite sufficient mowing windows—constantly leaves visibly large areas untouched. In that case, you shouldn’t start by swapping the battery; instead, sort out the diagnosis properly.
Check order for short runtime
- Grass too high? After a longer break, the robot needs significantly more power on its first use.
- Mowing height too low? Mowing too low increases load, grass clumping, and driving resistance.
- Many turns? Islands, narrow corridors, and edge corrections cost more energy than long straight runs.
- Slope or soft ground? Slipping wheels drain the battery without creating any mowing area.
- Blades dull? Dull blades tear instead of cutting and increase the load on the mowing motor.
- Firmware/App up to date? Especially with new wireless models, updates can improve return-to-base, job continuation, and navigation.
If the cut quality declines despite correct setup, it’s worth taking a look underneath the mower. Grass felt around the disc, blades that are firmly stuck, or worn-out screws slow down the cutting. If you drive the V3 or X3 more often in damp, denser grass and want more reserves in the grass flow, you can check a robust 7-blade cutting disc for Sunseeker instead of only replacing individual original blades again and again.
Practical takeaway: 600 or 1,200 m² are not battery charge figures. What matters is how many square meters your garden actually allows per charge cycle—taking slopes, turns, edges, and recharging times into account.
Why doesn’t the Sunseeker V3 find the charging station?
With the V3, some users report that the mower does not reliably return to the charging station or that it stops somewhere with an empty battery. Others have experienced the exact opposite: daily operation, no getting stuck, and it returns to the station every time. The difference often isn’t in the mower itself, but in the station placement, QR code visibility, edge guidance, and the way the robot “re-recognizes” the station when driving along the border.
A typical symptom: the V3 is close to the station, but seems confused, turns, drives past it, or needs an unusually long time. In user experiences, the alignment of the base station was described as crucial. The station should be positioned as parallel as possible to the lawn edge, so that when the robot drives along the edge it can clearly recognize the QR code and/or the optical marker.
Docking checklist for the V3
- Place the station parallel to the edge: Avoid a T-position where the robot only sees the station late or at an angle.
- Keep the QR code and front area clean: Dirt, a water film, grass clippings, or shadows can interfere with recognition.
- Create a clear approach: Don’t place toys, pots, lawn edge stones, or tall grass clumps directly in front of the station.
- Check the boundary line: The robot must be able to follow the edge logically without getting stuck in a corner.
- Check WLAN/Bluetooth/App: Not every docking problem is a wireless issue, but unstable setup makes diagnosis harder.
- Update firmware: Return logic and station behavior can change with updates.
If the V3 only has problems on wet grass or at dusk, that’s an indication of vision limitations. Camera and vision systems need clear contrasts. Dark shadows, wet edges, leaves, bare soil, and overhanging grass can make the boundary harder to read visually. Then you quickly end up doing layout work: repositioning the station, trimming the edges, setting the magnetic aids correctly, and simplifying the approach.
Edges, borders, and safe zones: Where users need to do touch-ups
Edges are a recurring topic with the Sunseeker V3 and X3. With the V3, users report that tall grass along lawn edges had to be trimmed manually in advance because the mower either rolled over it or didn’t handle the area cleanly as a cutting task. With the X3, user reports more often complain that borders are mowed visibly unevenly or crookedly. An experienced installation user described safe zones in problematic border areas as a possible workaround—but also as time-consuming fine-tuning.
Here you need to separate two things: navigation and cutting. If the mower doesn’t get close enough to the edge at all from a safety distance, no sharper blade will help. Then the edge distance, virtual boundary, safe zone, or physical lawn edge must be adjusted. If the mower reaches the edge but the grass still doesn’t move after passing over it, cutting height, blade protrusion, the blade disc, grass flow, and driving speed become relevant.
In our mower blade disc tests, we pay close attention to these edge and grass-flow issues. More blades can make the cutting pattern denser, but they do not fix a wrongly positioned edge. For users who want a finer cutting pattern in areas that are regularly reached with the Sunseeker V3 or X3, a precise 9-blade mower blade disc for V3 and X3 can be useful—especially if the original disc runs cleanly, but the stems still visibly remain frayed.
What to do when the edges are poor
- First observe: Does the mower approach the edge or does it avoid it?
- Clear the edge mechanically: Cut tall grass, soil edges, and overhanging stems once manually.
- Correct the boundary: For the X3, set the virtual line and Safezone more precisely; for the V3, create a clearly defined boundary visually.
- Don’t choose the cutting height too low: Mowing too low at the edges increases clogging and contact with the ground.
- Check the blades: Blades must swing freely, be sharp, and must not be blocked by grass felt.
A practical rule of thumb: Poor edges are rarely just a blade problem. First, the robot must reliably reach the edge; then optimizing the blades and mower blade disc is worth it.
Mapping on the X3 and X3 Plus: errors, remapping, and planning zones correctly
With the X3 and X3 Plus, the mapping is the point where you should take your time. User reports don’t criticize the basic principle, but the frustration when mapping is aborted, when there are Bluetooth issues, or when app corrections are unclear. One user warned, in essence, against leaving the mapping function when problems occur, because after earlier aborts he had to start over multiple times. Others ask whether incorrectly mapped gray or inaccessible areas can be deleted, or whether the entire zone needs to be recreated.
The practical recommendation: prepare the garden before the first mapping. Remove toys, hoses, pots, branches, and loose items from the area. Fully charge the battery. Keep your smartphone charged. Maintain a stable Bluetooth connection. No rush, no “I’ll quickly make a corridor.” The main outer boundary and the main zones should be cleanly completed in one calm pass.
Trees, flower beds, and obstacles: No-go zone or camera?
Many users ask whether they should mark trees and fixed obstacles as a no-go zone or whether they can rely on the camera. Our clear practical answer: fixed, valuable, or recurring obstacles should be deliberately planned in. A tree trunk, raised flower bed, pond edge, play structure, or trampoline leg is not a surprise, but part of the layout. Camera recognition is helpful for garden tools, pets, or forgotten items, but it shouldn’t be the only layer of protection for critical areas.
In narrow passages, less is often more. It’s better to have two clearly defined zones with a clear passage than one large area that’s hard to read. Also plan return routes to the station: the robot doesn’t just need to mow, but also find its way back when it’s tired, when the signal is weaker, or after rain.
If the mapping went wrong
- Check the app correction first: Is there a function to edit, split, or remove the zone?
- Analyze the gray areas: Are they real obstacles, shadow errors, signal gaps, or incorrectly driven boundaries?
- Don’t keep mowing blindly: Incorrect mapping later causes edge errors, omissions, and unnecessary driving routes.
- Re-map in case of major errors: It takes time, but it often saves weeks full of follow-up corrections.
For app and firmware issues, the rule is: take screenshots, note the exact model name, and don’t just write “X3.” X3, X3 Plus, regional variants, and firmware versions can differ in the menu. Anyone ordering accessories or contacting service should have this information ready.
Slopes, uneven lawns, and complex gardens: Where V3 and X3 reach their limits
Slope specifications are a classic example of the difference between the datasheet and a real garden. A short, dry test slope with grippy grass is something else than a longer incline with moss, wet soil, roots, bumps in the ground, and turning maneuvers at the top end. With the X3, there are users who praise the slopes—and individual harsh complaints where an X3 Plus was returned due to inclines or small elevations, and only a stronger model fit better.
With the V3, terrain is not just a matter of percentage. Vision needs clear boundaries, wheels need traction, and the mowing deck needs clearance from the ground. When the robot hits a bump in the ground, the blades get into the soil, or the wheels slip while turning, several effects occur at once: power consumption increases, the cut quality suffers, orientation becomes inaccurate, and the robot may avoid areas.
Typical problem areas in the garden
- narrow passages between the house wall and the flower bed
- soft edge areas after rain
- tree shade with bare patches and roots
- lawn edging stones with height misalignment
- slopes directly in front of a turn
- long reverse trips to the charging station
- multiple small zones with short mowing windows
If your garden has many of these points, you shouldn’t plan too tightly when choosing the model. A mower that fits the area on paper can have too little reserve in practice. This applies to battery, traction, navigation, and time windows. With wireless systems in particular, you also need to keep an eye on app area limits, zone logic, charging cycles, WLAN/Bluetooth, and for RTK/GNSS the location of the station or antenna. Adding extra zones does not automatically bypass an area limit.
Blades, blade disc, and cut quality: When accessories really help
Many mistakes are blamed on the blades too quickly. A Sunseeker that can’t find the station, maps incorrectly, or avoids an edge at a safety distance needs setup work first. Blades and the blade disc become relevant as soon as the robot reaches the area, but the cut remains visibly poor: frayed blade tips, uneven strips, grass clumps under the deck, loud operation, or blades that no longer swing out freely.
In the workshop, we always check four points on blade discs: runout, blade clearance, screw seating, and grass flow. More blades only provide an advantage if they can work freely. If the disc is packed with damp grass, if the screws are rusted in place, or if the deck is rubbing, then every theoretically good solution turns into a poor cut.
Maintenance routine for V3 and X3
- Visual inspection every 1 to 2 weeks: Especially with damp growth and lots of edge travel.
- Ensure blades move freely: Each blade must be able to swing out easily and fall back again.
- Remove grass residue: Don’t go under the mower with a pressure washer; it’s better to brush it off dry.
- Check screws: Loose screws cause imbalance; screws that are too tight can block the blades.
- Replace blades in time: Dull blades increase load, runtime, and fraying.
In case of unclear error conditions, we recommend this order: check setup, station, radio connection, and firmware; then mapping, zones, vision/RTK, and boundaries; then edges, traction, and getting stuck; only after that blades, cross-section image, battery, and accessories. This order saves money and prevents you from trying to mask a navigation problem with new blades.
Frequently Asked Questions
Is 30 to 40 minutes of runtime on the Sunseeker V3 normal?
Yes, 30 to 40 minutes can be completely plausible for the V3 depending on the garden. Slopes, tall grass, many turns, wet ground, and dull blades significantly shorten runtime. If the mower then reliably charges and continues working, this is less critical than a device that regularly stops in the garden when the battery runs low.
Why doesn’t the Sunseeker V3 drive in straight lines?
The V3 is described by many users as being based on random behavior and is not comparable to a systematic RTK line-mower. Vision helps it with boundaries and obstacles, but it does not replace precise line mapping. If you expect clean parallel lines, you should look more toward the X series or an RTK/mapping model.
What should I do if the V3 can’t find the charging station?
First, place the station parallel to the edge and make sure the QR code and/or optical markings are clearly visible. Remove obstacles in front of the station, cut back tall grass along the approach, and check firmware as well as the app. If the problem only occurs in rain, at dusk, or in shadows, visual recognition is likely part of the issue.
Do I need to remap the entire zone on the X3 if one area is incorrect?
Not always, but with severely incorrect outer boundaries, new mapping is often cleaner than endless correction work. First, check whether your app version allows editing, sharing, or removing individual areas. If gray areas or No-Go zones permanently disrupt mowing logic, a calm new mapping run is usually the more stable solution.
Should I mark trees and obstacles as a No-Go zone or leave it to the camera?
For fixed obstacles, you should plan them as a zone or restricted area with the X3 whenever possible. The camera is a good additional safeguard for unexpected objects, but it is not a substitute for a clean layout. Especially ponds, raised beds, play equipment, and sensitive tree trunks should be intentionally included in the map planning.
Conclusion: V3 and X3 work—when expectations and the garden match
The Sunseeker V3 is not a bad idea if the garden is small, clearly defined, and visually easy to read. Its strength is the simple start without boundary cable. Its weakness lies in random navigation, in edge areas, and in situations where users expect orderly paths or large area performance per charge.
The X3 and X3 Plus offer more mapping requirements, more zone logic, and—depending on the version—RTK-/V-SLAM support. In return, the requirements for clean setup, a stable app connection, sensible No-Go zones, and realistic mowing windows increase. Anyone with a winding garden with slopes should not only look at square meters, but at drive paths, return to the station, shade, edges, and recharging cycles.
For the cross-section, the following applies: first the robot must drive correctly, then optimizing the cutting technique is worthwhile. If V3 or X3 reach the area but stalks remain frayed, grass gets stuck under the disc, or the blades wear out quickly, then blades and the blade disc are the right starting point. That’s exactly where CUT GUARD comes in—not as a replacement for good mapping, but as a robust solution for the part that actually does the cutting.
Tip: You will find all matching replacement blade discs and mowing plates for Sunseeker in our overview: Blade discs for Sunseeker.
Comments