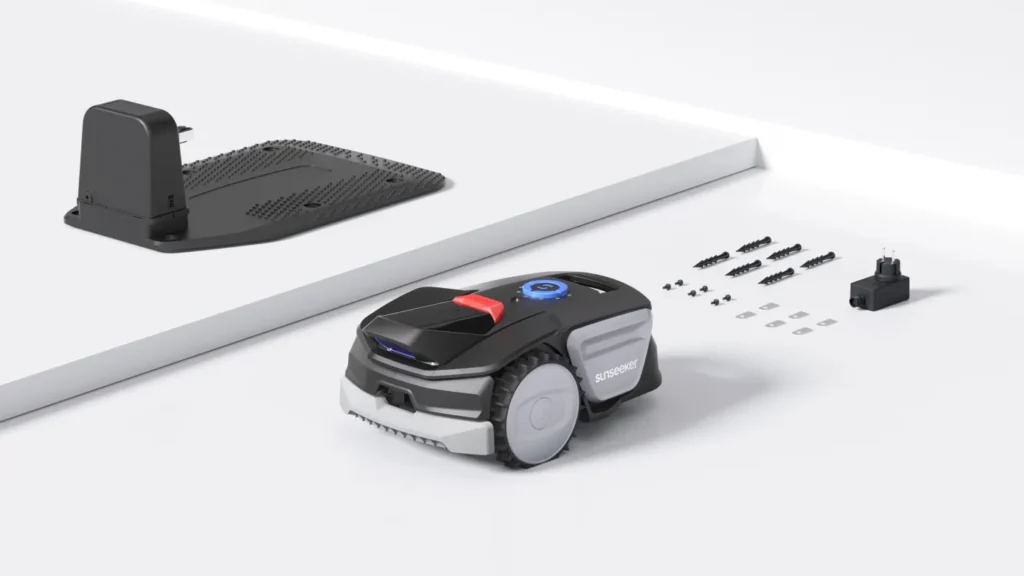
The mower is fully charged at the station, the app shows some status, but nothing happens outside—or even worse: it starts when nobody expects it. Exactly these kinds of app, start, and navigation questions keep coming up in user reports for Sunseeker models. With the Sunseeker V1, the situation is a bit more specific: so far, there is only limited reliable owner experience for the exact model. So if you search for “Sunseeker V1 experiences,” you’ll find more purchase interest, datasheet information, and comparisons with other cordless mowers than real long-term reports from multiple seasons.
This isn’t a reason to dismiss the V1 right away. But it does mean you shouldn’t treat it like a wire robot that’s been proven for years. The V1 is a compact, cordless lawn mower robot for small gardens. It uses Vision AI and a camera instead of boundary wires and, according to the manufacturer, is designed for areas up to 300 m². From a workshop perspective, however, it’s not only what’s written on the box that matters. What’s important is how the robot handles edges, narrow passages, changing flower beds, damp grass, app commands, and dull blades.
Sunseeker V1 experiences: Why are there so few real user reports so far?
The most important finding first: so far, there are hardly any robust long-term experiences available for the Sunseeker V1 itself. In user forums, the V1 is more often mentioned as a purchase candidate—for example, in the question of whether LiDAR or RTK is more useful for a small garden that’s frequently redesigned. But that hasn’t turned into a genuine experience report from a V1 owner with weeks- or season-long operation.
With young mowing robots, this is a typical problem. In the first few weeks, many things seem unremarkable: setup works, the first area is mowed, the app connects, and the robot drives back to the charging station. The weaknesses become apparent later—when the garden beds are rearranged, the lawn is denser, the sun is blasting the camera unit, the blades wear out, or the mower keeps producing the same error again and again in damp corners.
That’s why you shouldn’t automatically turn “no many complaints found” into “problem-free.” With Sunseeker-like models such as V3, L22, Orion, or X7, users do report issues like app connection problems, short battery life, missing mapping, illogical start behavior, or support questions. These are not proven V1 faults. However, they are sensible checkpoints before you buy a model that’s rarely discussed.
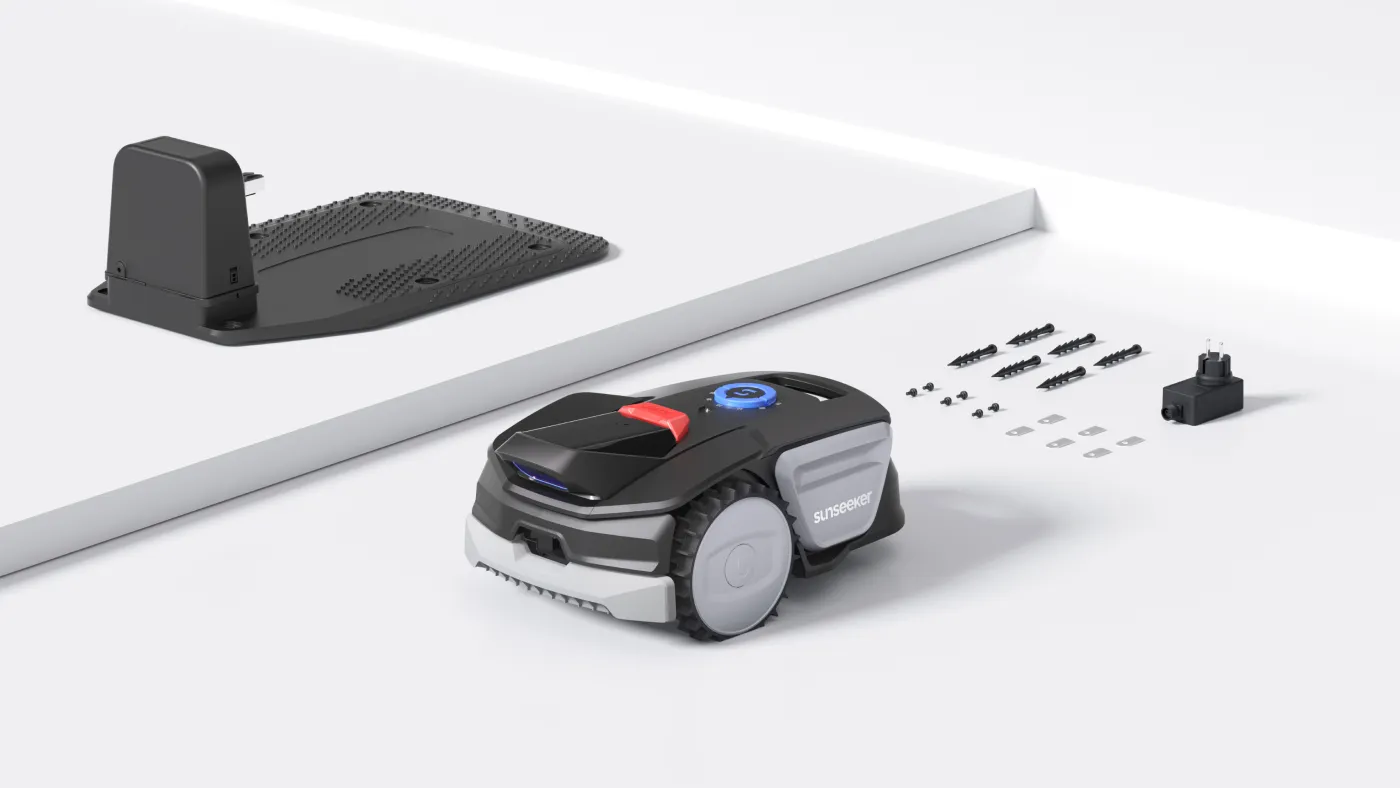
Practical rule of thumb: With the Sunseeker V1, the thin base of real-world experience is itself a purchase criterion. Plan your return policy, support path, and spare parts as if you were testing a young system.
Who is the Sunseeker V1 intended for?
The V1 fits best for small, manageable gardens where the lawn area is clearly separated from paths, flower beds, the terrace, or borders. The manufacturer’s area of 300 m² initially sounds like plenty of reserve. In a simple rectangle with short return routes, you can get closer to such specifications. In a complex garden with narrow passages, islands, shaded areas, toys on the lawn, and several separate areas, it’s different.
Many buyers underestimate how much the real garden can differ from the data sheet when it comes to cordless mowing robots. A small garden under 300 m² can be more demanding than an open 500-m² area if it’s frequently rearranged. Exactly this concern comes up in the purchase discussions close to the V1: What happens if flower beds, paths, or temporary obstacles change more often? Does it have to be relearned, re-mapped, or reconfigured?
In such cases, the Sunseeker V1 is primarily convincing due to its low weight, the omission of boundary wire, and the simple basic idea: place it, let it recognize the area, and mow. Users should be cautious if they expect multiple clearly separated zones, need an exact map view, or want the robot to run every day within narrow mowing windows. Even if a mower looks small, it still needs turning space, free edges, and a station that it can find reliably and reproducibly.
Typical garden profiles
| Garden profile | Assessment of the V1 | What to watch out for? |
|---|---|---|
| Small, open lawn area up to approx. 200 m² | Good starting point | Clear lawn edges, free docking station, regular mowing |
| Up to 300 m² with narrow passages | Check only with a buffer | Passage width, return route, obstacles, battery buffer |
| Multiple separate zones | Critical | Multi-zone function, transport routes, app limits |
| Frequently changing flower beds and paths | Test precisely | New detection, temporary obstacles, edge behavior |
LiDAR or RTK with the Sunseeker V1 – what is really relevant?
Many users ask with cordless mowers first: LiDAR or RTK? With the Sunseeker V1, you need to frame this question more accurately. The V1 is not understood as a classic RTK mower with an antenna, but as a Vision-AI model with camera-based recognition. This is a different navigation logic than with RTK/GNSS systems, LiDAR models, or wire robots.
RTK can be very precise in open sky conditions, but it requires a clean antenna or reference setup. Trees, house walls, narrow courtyards, and obstructions can interfere with positioning. LiDAR scans the environment and can work without satellite reference, but it is sensitive to certain environmental conditions, line of sight, and software logic. Camera or vision systems like the V1 must reliably interpret lawn and non-lawn areas, edges, obstacles, and lighting conditions.
In a small garden with frequently changing layouts, Vision AI can be practical because you don’t have to install an RTK antenna and you don’t have to lay a boundary wire. The catch: the mower must truly see and understand the boundary. A clean paved path next to dense grass is easier than a soft flowerbed edge, an unclear moss edge, or a narrow strip of soil. In practice, low sun, changing shadows, and wet grass can also make detection more demanding.
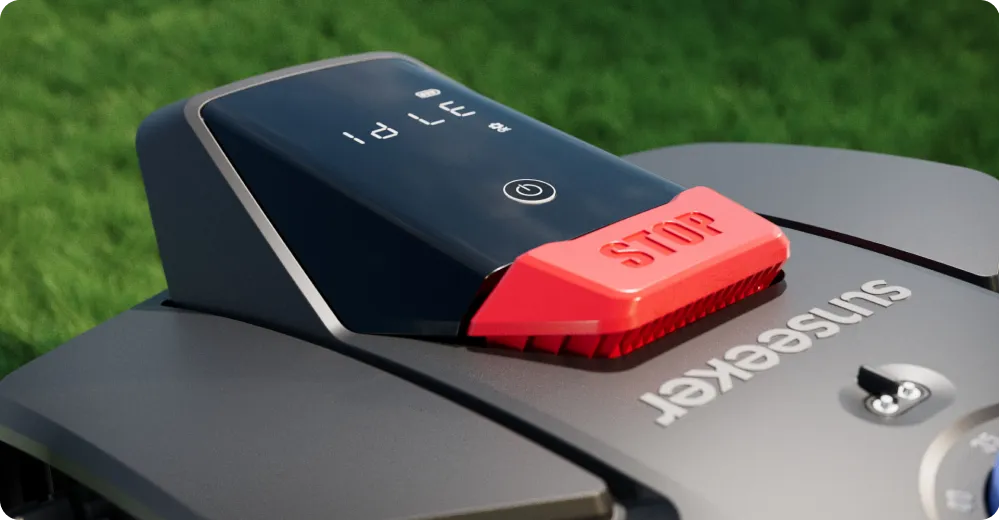
Practical rule of thumb: RTK, LiDAR, and vision solve different problems. With the V1, it’s not the antenna that’s the key issue, but whether the camera clearly recognizes your lawn boundaries in everyday use.
Does the Sunseeker V1 mow systematically or by random principle?
This question is important because users of newer robotic lawnmowers increasingly expect line patterns, a progress display, and zone control. In a user report about the Sunseeker V3, it was praised that the mower ran reliably for a week and returned to the station. At the same time, it was criticized that, without real mapping, it worked according to a rather random principle and didn’t clearly know whether the area had been fully taken care of.
You shouldn’t automatically transfer this to the V1, but it highlights the weak point of simpler wireless systems: “It mows” is not the same as “it works in a predictable way.” For a small garden, a less complex pattern is often enough if the mower runs regularly. But if you want to know which zone is finished, whether the edge has already been mowed, or why a corner was left standing again, you need more than just start/stop.
With the V1, you should clarify before purchasing which functions the app actually offers: Is there a visible map? Are there real multi-zones? Can you see progress? Can you lock individual areas? How does the mower react to a newly placed sand mound, a raised bed, or a narrow path? Manufacturer terms like “smart,” “Vision,” or “automatic” don’t replace a concrete function check.
How to recognize insufficient coverage
- individual islands remain unmowed despite multiple passes,
- the mower drives for a long time over already short areas,
- narrow corners are only hit by chance,
- the edge strip remains visibly higher,
- the app does not show a clear mowing progress.
From a cutting perspective, there’s also something else to consider: an uneven cut pattern is not always due to navigation. Dull or dirty blades fray the stems, especially when the robot approaches the same spot multiple times from different directions. In our CUT GUARD tests on cutting discs, you can see very quickly whether the cut pattern deteriorates due to navigation, blade angle, or grass that has become stuck on the mowing disc.
App, Bluetooth and control: what buyers should look out for
For the Sunseeker L22, one user reported Bluetooth pairing issues, delayed app commands, conflicting status displays, and the need to temporarily disconnect power to the base station. It was also discussed in comments that multiple Sunseeker or Robotic-Mower apps may exist. Once again: this is not a confirmed V1 error. But it’s a warning sign for everyone buying a wireless mower without a wire, because they expect “less technical stress.”
Before buying V1, you should therefore not only ask whether there is an app, but which app is intended for the specific model, the specific country, and the specific firmware. Check the QR code in the manual, the dealer information, the app ratings, and the support route. If a dealer names a different app icon than the manual, that’s a reason to ask questions before unboxing.
In everyday use, three app functions matter more than pretty screenshots: Start/Stop must respond reliably, the station status must be correct, and schedules must not trigger in illogical ways. For an L22, unexpected movement was described—even at night. For the V1, this is not documented, but exactly such situations should be tested in the first few days: schedule off, manual start, return, rain pause, restart after a power interruption.
First function test after unpacking
- Install the correct app via the manual or the official QR code.
- Check Bluetooth and Wi-Fi separately; don’t change everything at once.
- Start the robot manually once and stop it immediately again.
- Test the return to the station with low and normal battery levels.
- Only activate the schedule once Start/Stop and status are running cleanly.
Practical rule of thumb: A cordless lawn mower robot is only as relaxed as its app. Test commands, status, and schedule consciously in the first few days—not only when the mower is out at night.
Battery life and real area performance: Why 300 m² isn’t always 300 m²
The area specification of a lawn mower robot is no guarantee that it can easily handle every garden of that size in a single pass. With other Sunseeker models, users report about one hour of runtime and real area performance of around 200 to 250 m² per battery charge under their conditions. Such values depend heavily on the garden: grass density, moisture, cutting height, slope, overlap, return travel distance, and obstacles significantly change power consumption.
That’s why you should plan for a buffer with the V1. If the area is 280 to 300 m², but the garden is convoluted, only a short mowing window is available each day, or the lawn grows quickly after a vacation, the mower operates closer to its limit. A rectangular 180-m² garden is much more relaxed than a 280-m² garden with three separate sections and a narrow passage.
Mowing height also affects battery load. If the robot is set too low, resistance increases. With damp, dense grass, clippings stick to the mowing disc faster; the blades run harder and the cut pattern becomes duller and grayer. In practice, it helps not to set a new robotic mower to the minimum height right away, but first to cut short tips regularly and then lower it step by step.
Blades, mowing discs, and the cut pattern on the Sunseeker V1
When users talk about robotic mower problems, it’s often about the app, GPS, or navigation. But in the workshop, many cases end up involving the cutting system: dull replacement blades, stuck screws, a warped mowing disc, or grass that gets caught between the blade and the disc. A vision mower can navigate perfectly well—if the blades don’t swing freely and cleanly, the cut will look ragged.
On the Sunseeker V1, the cutting width is compact, so the mower works with a rather smaller mowing area per run. That’s suitable for small gardens, but it requires regular checks. If you notice gray blade tips, longer strips at the edge, or increasing noises, you shouldn’t immediately blame the app. First switch off the robot, secure it, check the underside, test the blades for mobility, and remove any grass that has become stuck.
Especially with young or less common models, it’s worth taking a look at compatible wear parts before the first season starts. If blades, screws, or discs aren’t available on short notice, a small cutting problem quickly turns into an enforced downtime; that’s why it makes sense to check early for robust cutting discs for Sunseeker before the original cutting system visibly starts to deteriorate in the damp spring.
Typical signs that blades are due
- light or gray blade tips instead of a clean cutting edge,
- more mowing noise on the same area,
- visible tearing marks in individual spots,
- grass clings to the mowing disc and blocks blades,
- the robot takes longer to achieve a similar cutting pattern.
Support, spare parts, and long-term use: The underestimated buying decision
In Sunseeker comparisons, it’s not only asked whether the mower does a good job today. Many users think further: What happens after two years? Are there batteries, wheels, blades, a charger, station parts, and a workshop? Does the entire robot have to be sent in? Does the dealer or the manufacturer respond? Exactly these questions are often underestimated with direct-to-consumer sales and young robotic mower lines.
With the Sunseeker V1, this is particularly relevant because there are still few genuine long-term reports. The nameplate, model number, app, firmware, and dealer country should all match. With rebranded or very similar devices, you should never judge based on the housing alone. Similar, related, or licensed builds do not automatically mean they are identical. For spare parts, what matters is what is stated on the nameplate and which support route the dealer confirms.
Accessories such as a dock garage should also be evaluated realistically. In user discussions, a garage is often seen as a “nice to have”: it can protect the plastic and the station from direct sun and weather, but it does not turn a poorly positioned station into a reliable docking spot. More important are a level surface, a clear approach area, good visibility conditions, and a power supply that does not rely on shaky extension solutions.
Practical rule of thumb: The best purchase price helps little if the blades, battery, or support are unclear later. For the V1, clarify the replacement parts route before buying—not only when the first defect occurs.
Buying checklist: Clarify these questions before buying the Sunseeker V1
Anyone who wants to buy the Sunseeker V1 should not only compare the area. What matters is whether your own garden fits the navigation type and whether you can live with the current data situation. This checklist separates brochures from real-world practice.
- Is there a real return policy? Especially with vision systems, you should be able to test your own garden.
- Which app is the right one? The app name, QR code, country, and firmware should be unambiguous.
- Are there real V1 owner reports? Individual purchase discussions do not replace long-term experience.
- How are changed flower beds handled? Clarify in advance whether the mower needs to be set up again.
- Can the V1 manage multiple zones? Don’t infer it from the word “smart”; instead, check the specific function.
- How freely positioned is the charging station? Return-trip problems often start with a poorly positioned station corner.
- How large is the actual area? For 300 m² with narrow sections, it’s better to plan a larger buffer.
- Are blades and wear parts available? Without blades, you won’t get a clean cutting pattern—no matter how good the navigation is.
- Who repairs in case of warranty? Clarify in advance whether it’s the dealer, the manufacturer, a return shipment, or a local workshop.
Frequently asked questions
Are there real Sunseeker V1 experience reports?
At the moment, there are only a few reliable long-term experiences with the Sunseeker V1. You’ll find more interest in buying and discussions about the right navigation than many reports from owners over multiple weeks or seasons.
Is the Sunseeker V1 an RTK or LiDAR robotic mower?
The Sunseeker V1 should primarily be classified as a Vision AI model with a camera, not as a classic RTK mower with an antenna. Therefore, you should mainly check whether lawn edges, paths, and flower beds in your own garden are clearly recognizable visually.
Does the Sunseeker V1 really manage 300 m²?
300 m² is only realistically achievable under suitable conditions as a manufacturer specification. Complex layouts, dense grass, slopes, long return trips, and short mowing times significantly reduce the practical buffer.
Do you need to reconfigure the Sunseeker V1 after changes to the garden?
This should be checked concretely with the dealer or in the manual before purchase. With vision systems, changed flower beds, new paths, or temporary obstacles can affect detection, even if no boundary wire is laid.
How often should you replace the blades on the Sunseeker V1?
As a rule of thumb, you should check the blades every 4 to 8 weeks and replace them earlier if the cut becomes frayed. Wet grass, sand, fallen fruit, small branches, and frequent edge mowing significantly shorten blade life.
Conclusion: Buy the Sunseeker V1 with a practical perspective
The Sunseeker V1 is exciting for small gardens where no boundary wire is supposed to be laid and where the area has visually clear boundaries. Its biggest strength is the simple idea: a compact mower, Vision AI, and little installation effort. Its biggest uncertainty is the thin base of experience for the exact model.
Anyone buying the V1 should test it like a new system during the first few days: pair the app properly, test start/stop, observe the charging station, check edge areas, realistically assess battery reserve, and inspect the blades early. Not every report about the V3, L22, Orion, or X7 applies to the V1. However, the topics mentioned there—app, mapping, battery runtime, illogical behavior, spare parts, and support—are exactly the points that determine in the garden whether a cordless robotic lawnmower truly provides relief.
From a workshop perspective, the honest recommendation is: the V1 can fit manageable, clear areas. If you expect multiple zones, precise maps, strict time windows, or maximum planning reliability, you should compare very carefully—and clarify before purchasing what the blades, mowing disc, battery, and support will look like in the second season.
Comments