The new EyePilot drives along the paving path, turns in front of a flowerbed edge, starts again—and exactly there, later, you’ll find a frayed line of grass or a blade with visible damage. That’s the practical frustration behind many questions about the Kress EyePilot: it’s not just raw mowing performance that matters, but whether zones, paths, hard edges, and obstacles are planned in such a way that the robot doesn’t constantly make tight turns or get guided to problematic areas.
Our assessment upfront: The EyePilot line 2026 is a young system and strongly dependent on mapping and settings. Long-term experience with the KR260E and KR260ES is still limited. Therefore, there is no guarantee against track misalignment, edge problems, illogical reverse movements, or missed sections—and certainly no reliable proof that EyePilot workflows regularly destroy blades on stones or edges. What can, however, be clearly inferred from user reports and workshop practice is this: tight zones, small safety clearances, and frequent turning maneuvers increase the load on the lawn mower robot, cutting disc, and blades.
Kress EyePilot 2026 in a real garden: What buyers need to know before mapping
EyePilot combines Vision AI with RTKⁿ positioning. That sounds like a system that automatically understands every garden. In practice, however, both components have different jobs: the camera is primarily used for orientation and obstacle avoidance in the immediate area. RTKⁿ, map, satellite position, and the available connection, on the other hand, form the basis for area planning, routes, zone changes, and a safe return trip.
Wi-Fi is not the magical lifeline for a poor map. It does not replace incorrectly set virtual boundaries, nor an unfavorably placed charging station, or an unstable satellite position. For Wi-Fi models, the station must be positioned sensibly relative to the home network; for 4G models, remote access remains independent of the home Wi-Fi. However, for mowing quality on the area, the map, position, and zone definition remain crucial.
Especially with the KR260E and KR260ES, prospective buyers often report similar garden layouts: the front garden and back garden are separated, with 10 to 15 meters of paving between them; a house wall limits one side, while gravel or flowerbeds limit the other. A programmed transfer route can be useful for this. But it is not a free pass for a winding, narrow passage with changing satellite reception and many hard edges.
With new product lines, you shouldn’t present predecessor issues as proven EyePilot shortcomings. They are still sensible checkpoints: in Kress-RTKⁿ forums, complex zone logic, subsequently added No-Go areas, and unclear route settings are discussed again and again. Anyone who assesses their garden as “simple” before purchase because the overall area looks rectangular often overlooks the real time-wasters: short mowing windows, narrow passages, long reverse drives, multiple separate areas, and many direction changes.
Practical rule of thumb: EyePilot can drive precisely – but only within a map that leaves enough space in the real garden for driving, turning, and the return route.
Areas, zones, paths, and No-Go areas: these terms must be clear before the first start
Many users don’t report defective parts first, but uncertainty during setup: What is an area, what is a zone, when do you need a path—and when is a virtual boundary enough? Separating these terms clearly saves you from unnecessary re-mapping later.
| Element | Practical task | Typical mistake |
|---|---|---|
| Area | Connected mowing area | Separate lawn sections are treated as one area, even though there is no clear transition. |
| Zone | Sub-area with its own priority, time, or mowing logic | Zone is too large with many curves, so the robot turns unnecessarily often. |
| Path / transfer path | Defined connection between two areas | The path is too close to a wall, gravel, or border stones. |
| No-go area | An area that should neither be driven over nor mowed | The boundary is planned only up to the visible edge; when turning, the robot continues to swing out. |
A large, open rectangular lawn usually works well with a digital map. It gets more difficult with narrow extensions, islands, edges of garden beds, play equipment, individual posts, or uneven transitions. Here, you should not only draw in the theoretical mowing width, but also take into account the entire vehicle movement. The robot needs space to approach, turn, correct its path, and, if necessary, to avoid obstacles.
As a general selection rule for systems with the 308V and 312V variants applies: 308V is better suited to a more straightforward scenario with fewer areas, while 312V is for more zones, longer paths, and higher time requirements. For EyePilot itself, the selection should also not be based solely on the square meter figure on the data sheet. In reality, more separated areas, many narrow passages, and long transfer routes require more buffer than a free, rectangular garden of the same size.
Does a 15-meter transport route over paving really work reliably?
Yes, a defined transfer route can work—if it is wide, clearly mapped, and set up free of critical edges. A brief user response to a roughly 15-meter-long, curving paving path is positive: program the path, and then the mower can use the switch between the areas. However, real long-term experience for exactly this EyePilot case is still lacking.
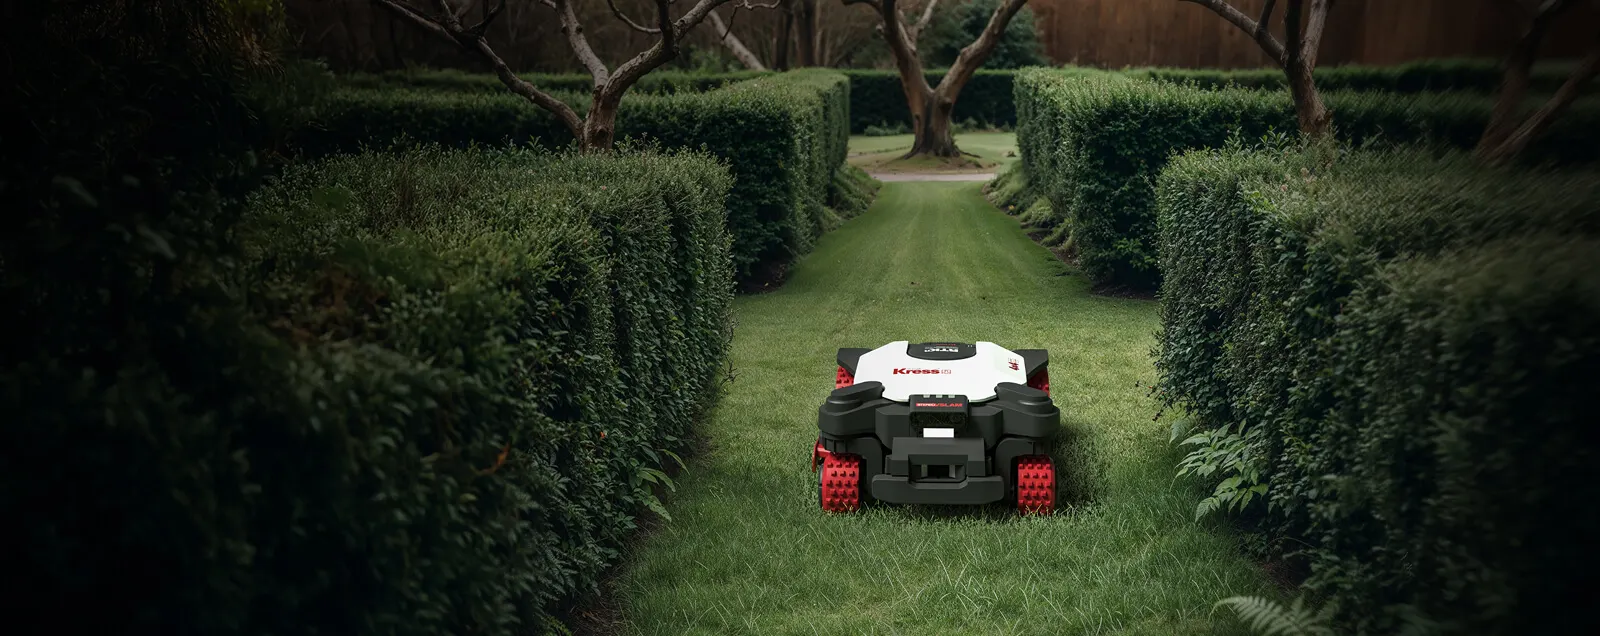
A transfer route becomes risky when several factors come together: a house wall on one side, a gravel strip on the other, shaded areas, curves, loose stones, lowered paving edges, or an access that people regularly cross. Then it’s not enough to “somehow push the robot through” geometrically. The path needs safety space on both sides and should be consciously observed during the first drives.
How to check a transition before regular operation
- Let the robot drive along the path several times at first without a mowing job and watch for any lateral corrections.
- Remove loose pebbles, protrusions, edge pieces, and sticking-out paving stones.
- Check whether the robot brakes at the same spots, oscillates, or makes multiple correction passes.
- Verify that the route works identically cleanly with changing light, shadows, and after a restart.
- For narrow passages, don’t rely on the camera alone: the map, position stability, and sufficient free width must all match.
If the EyePilot repeatedly corrects close to gravel, concrete, or curb stones, that’s not a good place to “see whether the AI can manage it.” Widen the passage, shift the path, or separate the area organizationally. A properly planned route not only protects the robot, but also reduces the number of maneuvers in which blades can come into contact with hard foreign objects.
Practical rule of thumb: A transfer path is a driving lane, not a mowing edge. The narrower and harder the surrounding environment, the larger the safety distance must be.
Obstacle detection in practice: Vision AI doesn’t see everything—and doesn’t replace garden planning
In forums, people often complain that obstacle detection doesn’t automatically mean that a robotic lawnmower can confidently handle every bush, post, stone, or step. Reports about older Kress RTKⁿ models describe objects that were hit, getting stuck, and situations in which uneven ground or depressions were misinterpreted as obstacles. This does not prove a corresponding series defect in the EyePilot. However, it shows which areas must be checked especially carefully during setup.

The most important distinction is this: Vision AI helps with immediate orientation and obstacle avoidance. It is not responsible for correcting a poor area map, making a too-small No-Go zone safe, or compensating for an unsuitable return route. With a ditch, a pond, a wall, a gravel bed, or a sharp-edged border, the virtual boundary remains the decisive safety line.
In practice, the following also applies: Vision-based obstacle avoidance works reliably mainly in daylight. The main mowing windows should therefore be scheduled for bright hours. Even though the EyePilot has lighting and additional sensing, you should not rely on nighttime camera decisions for challenging obstacle areas. At night, clear boundaries, sufficient distances, and a stable route are more important than hoping for perfect obstacle detection.
Think about safety distances correctly
Do not plan only up to the visible edge of the lawn, but up to the farthest point of a turning maneuver. This is especially true for round no-go zones, ditches, and hard edges. For example, a user report describes that a robot, while turning despite a zone being disabled, swung the vehicle body toward the ditch. Only a larger distance resolved the situation.
- Gravel and small stones: Don’t treat them as border decoration, but as a potential blade trap.
- Flowerbed and metal edges: Don’t plan toward the cutting disc; the entire robot needs room to turn.
- Walls and posts: Plan for clearance for lateral corrections and reverse movements.
- Pond, ditch, step: Set up the no-go zone generously and actively observe the first turn.
- Depressions and holes: Level them out before mapping, because the chassis reacts differently on uneven ground than on a flat surface.
Do EyePilot blades wear out faster because of edges and small stones?
A more frequent blade replacement due to EyePilot zones or obstacle workflows has not yet been reliably proven. For the new product line, there are not enough model-specific user reports. It would be irresponsible to turn a few indications of tight turns or early blade wear into a fixed EyePilot weakness.
Something else is proven and well supported by real-world experience: Hard, long blades of grass in the first mowing phase, many mowing hours, sand, small stones, contact with lawn edges, and frequent turning in narrow areas generally shorten the service life of robotic mower blades. A Kress RTKⁿ user reported heavily worn blades after the first operating phase and attributed this primarily to hard wild grass and the high initial load.
In our checks of cutting discs, we regularly see: A dull or damaged blade is not only noticeable on the blade itself. Typical consequences include frayed blades of grass, a grayish appearance in the cross-section, grass clippings under the disc, and a mower that works noticeably more erratically on difficult edges. Anyone who frequently mows along borders or looks for contact marks should therefore not only store individual replacement blades, but also check the mounting and the condition of the entire disc. If there is wear, play, or constant grass buildup, it’s worth taking a look at a suitable cutting disc for the robotic mower, because a clean-running disc makes blade movement and cleaning easier.
How to find the real cause of early wear
- First, check the driving tracks: are there grinding marks on stone, metal edges, paving, or gravel?
- Then check the map, the No-Go distance, and the transfer path—especially in areas where the robot often turns.
- Look at the blades: evenly dull blades usually indicate runtime and grass load; individual notches more often point to contact with something hard.
- Clean the cutting disc and the underside. Clumps of grass can impair the blades’ free movement.
- Only then judge based on the cutting pattern and replacement parts. Often the cause is not the blade material, but a recurring problem spot in the schedule.
Practical rule of thumb: Notches on individual blades indicate contact; even wear suggests mowing performance, grass type, and operating time. Don’t confuse the two.
Why does the Kress EyePilot drive in curves, skip lanes, or shut off the mowing deck?
If you notice unusual driving behavior, you should first check the map, station location, connection, and position stability—not immediately the blade or cutting height. A specific early report for a KR260ES describes repeated curved driving instead of straight lanes, skipped areas, the mowing deck frequently being switched off, and a very short runtime from the user’s perspective. According to the user’s own description, they re-mapped multiple times and changed settings; the grass was only about two centimeters high during that time.
A single report is not proof of a general EyePilot problem. However, it provides a good diagnostic sequence. Especially with a new system, blindly troubleshooting multiple points at once is of little use. Better is to check each change individually and then observe the mower’s ride on the same test area.
Service checklist for the first runs
- App, map, and virtual boundaries: Do the areas, zones, paths, and no-go areas actually match the garden?
- Charging station and location: Is the station positioned correctly, and for Wi-Fi models is it within a sensible range of the home network?
- Position: Is the satellite/RTKⁿ position stable, and are there problematic shadow areas, house walls, or narrow corridors?
- Connection: Does Wi-Fi work reliably, or for LTE/4G does the connection and the status in the app remain dependable?
- Only then start mowing: Check the blades, cutting disc, cutting height, and grass clippings under the mowing disc.
If the EyePilot leaves a strip behind a branch or a small object, run three simple tests: Remove the branch completely as a test. Check whether the strip always remains exactly in the same spot. Then check the map and the Wi-Fi/positioning situation in that area. Only when these points fit can the behavior be assessed meaningfully as a vision-based decision.
App, zone optimization, and mowing patterns: fewer turns, less strain
In older Kress-RTKⁿ discussions, the app is sometimes described as nested and not very self-explanatory. This is relevant for EyePilot buyers, because a powerful robot with an unclear zone configuration can quickly create more work instead of less. Therefore, before setting it up, note down all areas, transitions, restricted zones, and typical temporary obstacles.
A practical optimization is not necessarily to treat large, restless areas as a single zone. Additional, sensibly divided zones can reduce turning. Users report, for example, that narrower sub-zones and a suitable mowing pattern around rounded no-go areas can generate fewer unnecessary maneuvers. Fewer turns do not automatically mean less blade wear—but fewer tight direction changes near edges are mechanically simply the better starting point.
Temporary obstacles such as paddling pools, garden furniture, or parked vehicles do not belong in the category “the camera will see it.” If they regularly cause the mower to stop, the mapping should be checked and adjusted if necessary. For changes that cannot be clearly implemented by the app on its own, dealer or manufacturer support is more sensible than improvised mini-zones with overly tight distances.
Frequently Asked Questions
Can the Kress EyePilot connect two separate lawn areas across paving stones?
Yes—if you program a clean transfer path, it is generally possible. The route should be wide enough, free of loose gravel, and not set too close to the house wall, curb, or the edge of a flower bed. For curved 10- to 15-meter stretches, there are still no reliable long-term experiences with the new EyePilot models.
How large should a No-Go zone be around a trench or gravel bed?
Plan the zone significantly larger than just up to the visible edge. When turning, the robot may swing out further with the chassis or wheels than the cutting disc. The first turn in such areas should always be supervised.
Is Vision-AI at night just as reliable as during the day?
For demanding obstacle areas, schedule the main mowing times for bright daytime hours. Camera and vision functions benefit from good visibility conditions; virtual boundaries and sufficient distance remain especially important at night.
Why does the cutting image suddenly look gray or frayed?
First check blades, cutting disc, and grass clippings under the deck. Dull blades tend to tear stems rather than cut them, while blocked or dirty areas can impair the free movement of the blades. Only after the mechanical inspection is it worth adjusting the cutting height or schedule.
Conclusion: Plan EyePilot cleanly, check the blades deliberately
The Kress EyePilot can be an interesting 2026 system for clear areas, clean transitions, and generous safety distances. Its strength isn’t in solving every complex garden situation without preparation. The practical difference comes from a map that accounts for turns, from well-defined paths, and from No-Go zones that aren’t stuck to hard edges with millimeter precision.
For the claimed connection “EyePilot obstacle and zone workflows often lead to damaged blades,” there is currently no sufficient basis. If you need to replace blades early, you shouldn’t attribute it to the Vision-AI too quickly. First check the actual contact points, the zone logic, and the condition of the blades as well as the cutting disc.
The 3 most common reasons – in the correct diagnostic order
- App, map, WLAN/4G, and position: check boundaries, paths, station location, and RTKⁿ stability.
- Zones and time windows: de-escalate bottlenecks, prioritize daylight driving sessions, and reduce unnecessary turns.
- Blades, deck, and grass clippings: check blades for notches, clean the cutting disc, and inspect the cut pattern.
Comments