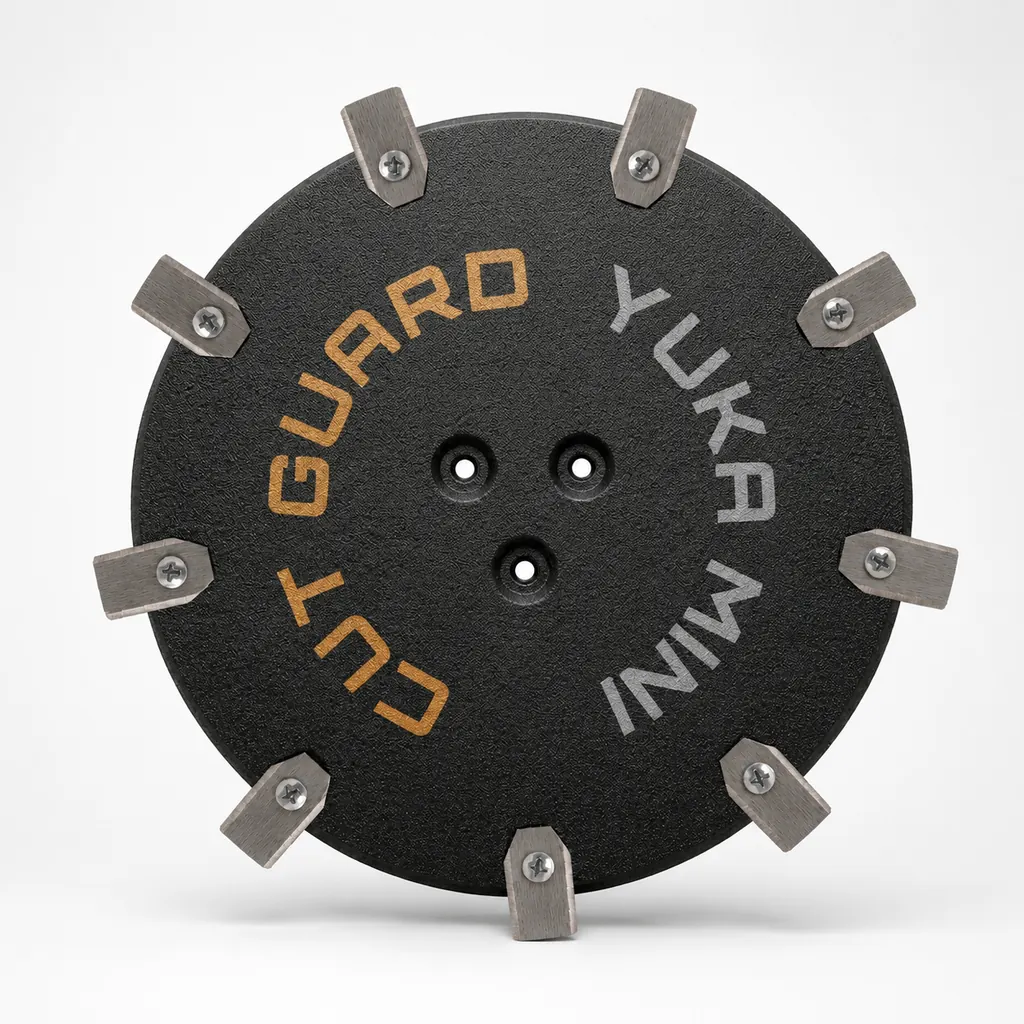
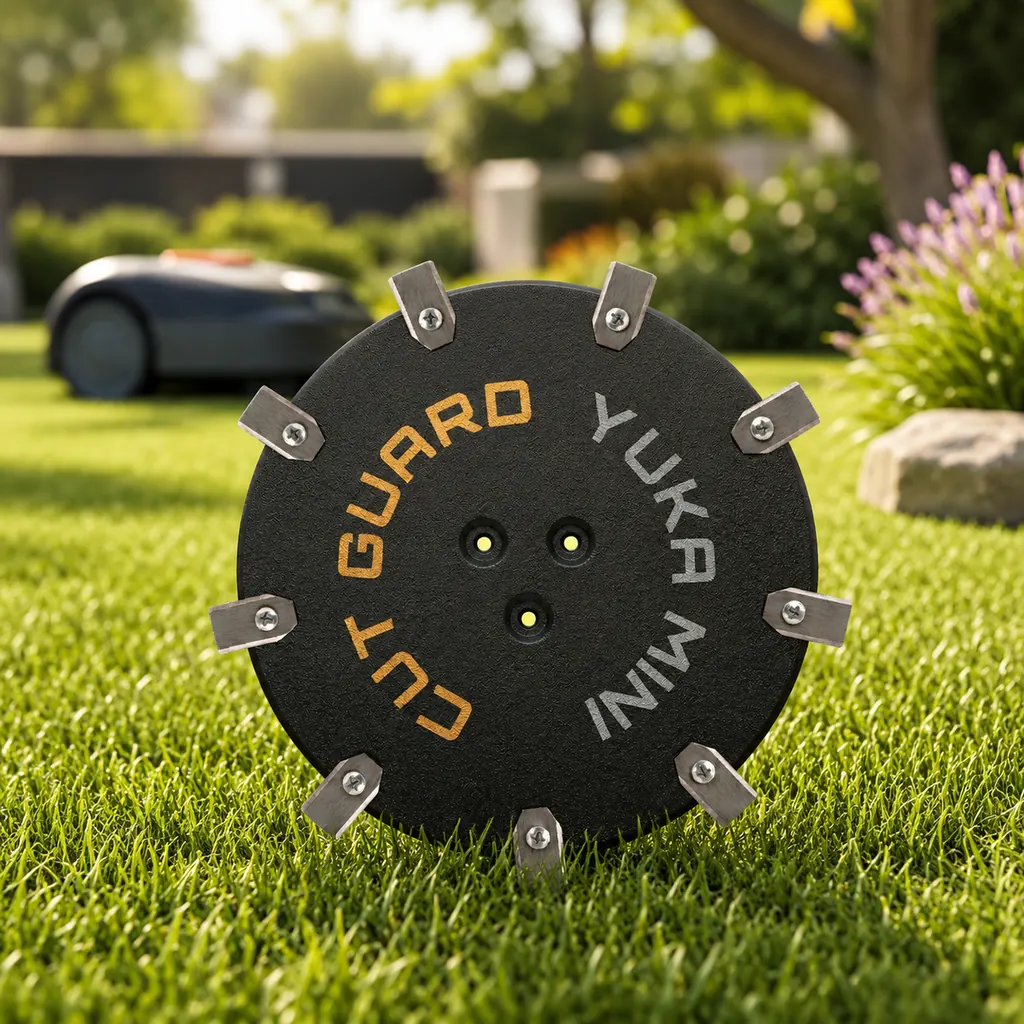
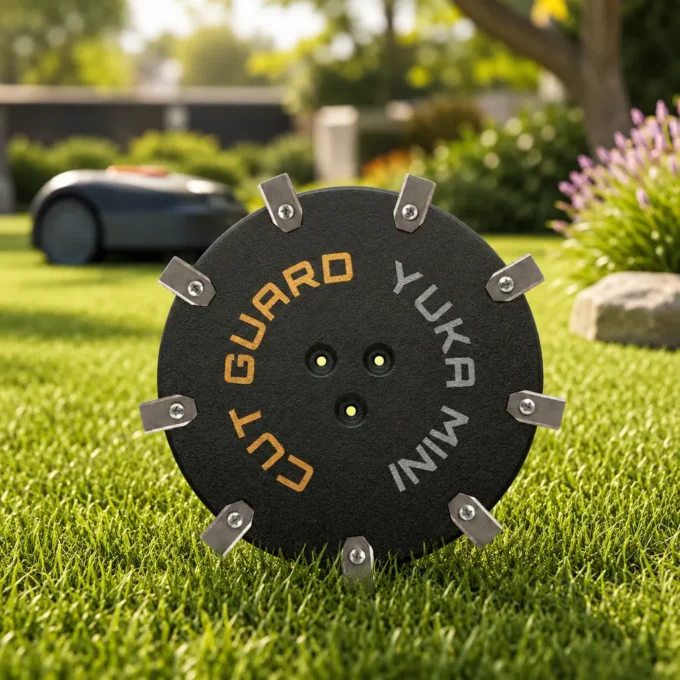
9-blade disc for Mammotion YUKA Mini and YUKA Mini 2 – Robotic lawnmower cutting disc / blade disc
- 9-blade cutting disc for Mammotion YUKA Mini and YUKA Mini 2 robotic mowers
- Also suitable as a robotic mower cutting plate, knife plate, or cutting disc
- With 9 blades for a clean, precise, and even lawn cut
- Durable and safe solution as a replacement cutting plate in case of wear or damage
- Ideal for maintenance, repair, and reliable lawn care during the mowing season
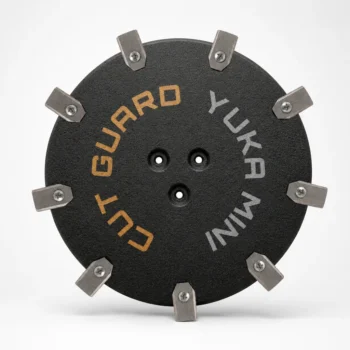
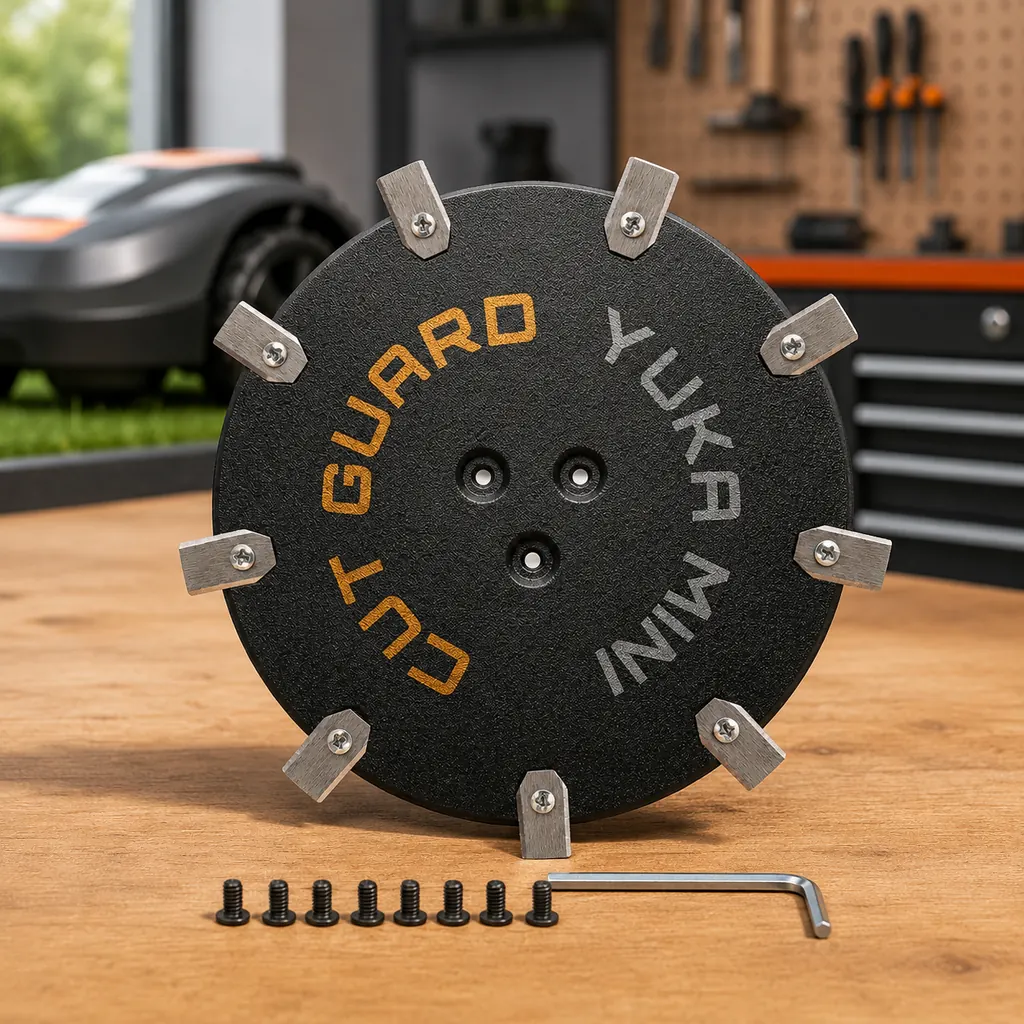
incl. 7 blades
+
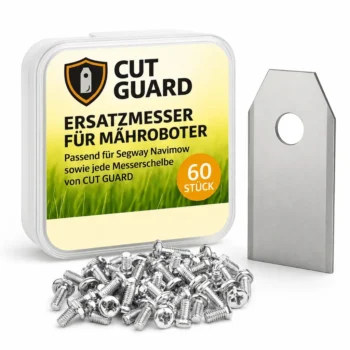
Compatibility – Mammotion
Fits the following robotic mowers:
- ✓ YUKA Mini
- ✓ YUKA Mini 2
More clean cuts in your garden: With the 9-blade cutting disc from Mammotion for YUKA Mini and YUKA Mini 2, the mowing disc runs smoothly again.
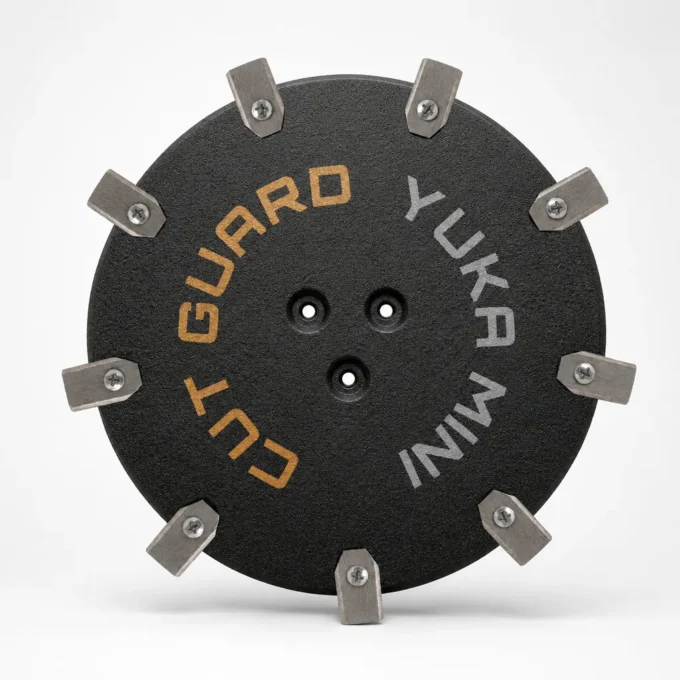
Another cut picture, just like freshly from the gardener
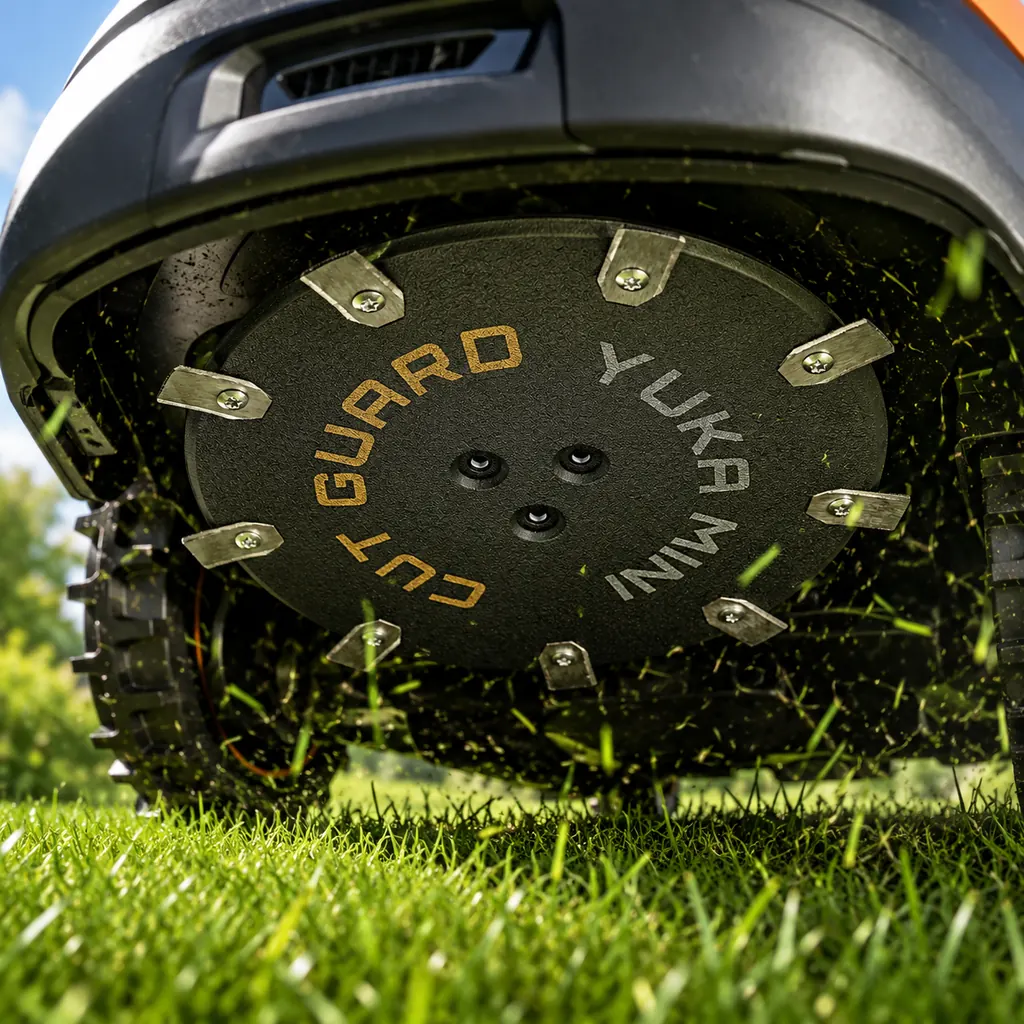
When the blades become dull, the robotic mower tears the grass instead of cutting it cleanly—this looks uneven and costs time. The blades are ripped off, the lawn discolors at the tips, and it quickly looks unkempt. The 9-blade cutting disc for Mammotion YUKA Mini and YUKA Mini 2 restores a fresh cut and helps your YUKA Mini mow evenly again. Nine sharp blades provide the maximum number of cutting points and the finest cutting pattern in this series—ideal for a particularly well-groomed lawn.
Fits perfectly for your Mammotion YUKA Mini, etc.
The 9-blade cutting disc fits perfectly for the Mammotion YUKA Mini and YUKA Mini 2. You can swap the cutting disc on the mowing disc quickly—without any long fiddling and without special tools.
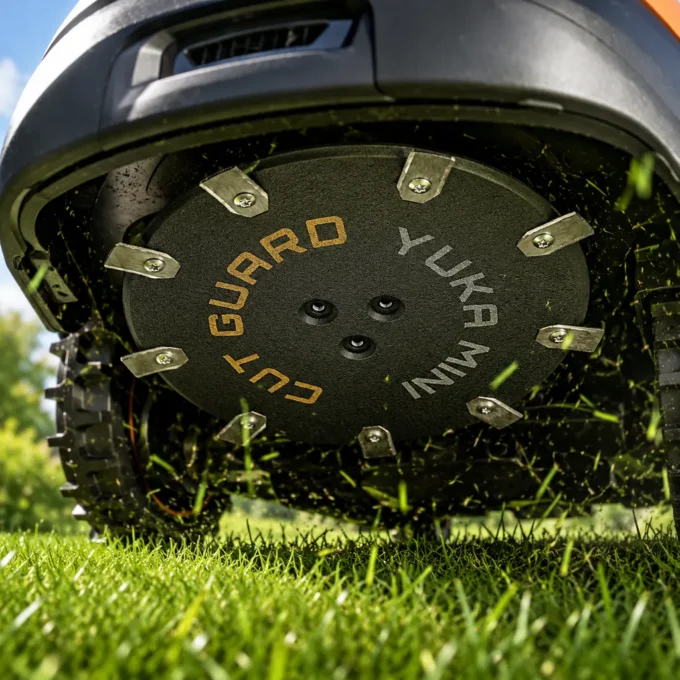
Everything you need for a quick swap
The 9 blades provide a finer cutting pattern, so the grass is trimmed more evenly. The more cutting edges there are, the more cleanly each blade of grass is captured—resulting in a dense, even lawn that impresses even up close. In the package, you’ll receive the complete cutting disc for replacement on the mowing disc / blade plate. The swap takes just a few minutes—no tools required. Ideal for the start of the season or when the old blades start to wear down in the middle of the season.
For a freely running mowing disc
With sharp blades, the cutting disc reduces the risk of grass building up on the mowing disc. Especially in damp weather or when the grass is tall, clippings tend to collect around the blades and slow down the rotation— a freely running mowing disc with fresh blades counteracts this purposefully. This keeps operation more reliable—even when the grass is a bit denser. Your Mammotion YUKA Mini can mow its route smoothly again, instead of fighting against resistance.
The most important points
Top reviews
passer perfekt til min mammotion yuka mini 2, og de 9 klinger giver en pæn og jævn klipning. nem montering og fungerer præcis som den skal.
Die Messerscheibe passt zur YUKA Mini 2, Montage ging ohne Probleme. Die Delivery kam aber einen Tag später als angekündigt.
After trying two other brands, this 9-blade cutting disc for the Mammotion YUKA Mini and Mini 2 is the first one that consistently sits flush and gives an even cut. I replaced it after noticing uneven streaks, and the new blades restore a cleaner finish right away. Installation was straightforward with my existing setup, and the disc felt sturdy in the first weeks of use.
zamówiłem tę tarczę na wymianę do mojego mammotion yuka mini i pasuje bez kombinowania. ma 9 kling, więc trawnik wygląda równo, a montaż w kilku minutach jest prosty nawet po sezonie.
Schnell bestellt, livré en 2 jours et ça se monte directement sur mon YUKA Mini 2. Coupe bien plus régulière, et les 9 lames restent efficaces malgré l’herbe humide.
The 9-blade cutting disc works great, my robotic lawnmower now cuts much neater. Only the delivery took a bit longer than promised, so that was a bit annoying. Otherwise, a good purchase for my mammotion yuka mini!
Replacing my old cutting disc with this 9-blade cutting disc was an easy process, only took 15 minutes. The cutting result is fantastic and I feel confident about the durability. The delivery was also fast, which was a big plus!
Write a review
CUT GUARD Assembly Instructions
General assembly instructions for cutting discs, replacement blades, and blades for compatible robotic mowers.
Note
These instructions generally apply to compatible cutting discs, replacement blades, and blades from CUT GUARD.
They do not refer to a specific model or version. Always additionally refer to the operating manual of your robotic mower.
Important Safety Notice
Sharp blades. Risk of injury. The knives and blades can cause serious cuts.
Always wear appropriate protective gloves during assembly, disassembly, cleaning, and maintenance.
Never work on the cutting disc while it is still moving.
1. General Safety Instructions
- The operator is responsible for accidents, injuries, and damages caused to other persons or their property.
- Keep children, animals, and uninvolved persons away during work and operation of the robotic mower.
- Never touch the cutting disc or the knives while they are still moving.
- Always turn off the robotic mower completely before performing work on the cutting disc or the knives.
- Remove the battery if possible or disconnect the device from the power supply.
- Always wear appropriate protective gloves.
- Do not use damaged, bent, heavily worn, or corroded knives, screws, or cutting discs.
- Regularly check the condition of the knives, fastening screws, and the cutting disc.
2. Required Tools and Materials
- Suitable screwdriver or bit, matching the screws used.
- Protective gloves.
- New or tested fastening screws.
- CUT GUARD cutting disc, replacement blades, or blades.
- Optional: soft surface for safely placing the robotic mower.
Important
Only use suitable screws and appropriate mounting materials.
If specified by the manufacturer or included in the delivery, use screws with locking lacquer
or suitable screw locking.
3. Preparation
- Stop the robotic mower completely.
- Turn off the device according to the operating manual.
- Remove the battery if possible.
- Wait until the cutting disc has completely come to a stop.
- Carefully turn the robotic mower upside down and place it on a stable, soft surface.
- Check the work area for cleanliness and adequate lighting.
4. Disassembly of the Existing Cutting Disc
- Loosen the fastening screws of the existing cutting disc.
- Completely remove the screws and set them aside safely.
- Carefully remove the existing cutting disc from the knife holder.
- Clean the knife holder of grass clippings, dirt, and debris.
- Check the knife holder for damage or unusual wear.
Warning
Do not use the new cutting disc if the knife holder, fastening points,
threads, or screws are damaged. In this case, the robotic mower may only be reused after proper
inspection.
5. Installation of the CUT GUARD Cutting Disc
- Place the CUT GUARD cutting disc correctly on the knife holder.
- Ensure that the cutting disc lies flat and is correctly centered.
- Insert the appropriate fastening screws.
- Tighten the screws evenly and firmly.
- Do not overtighten the screws to avoid damage to threads or components.
- After installation, check that the cutting disc is securely attached.
- Gently turn the cutting disc by hand and check if it runs freely.
6. Installation or Replacement of Replacement Blades
- Loosen the screws of the old blades.
- Carefully remove the old blades.
- Clean the contact surfaces on the cutting disc.
- Place the new CUT GUARD replacement blades on the designated fastening points.
- Ensure that the blades remain freely movable, as intended by design.
- Secure each blade with a suitable screw.
- Tighten the screws securely without overtightening.
- Check each blade for a secure fit and free movement.
7. Post-Installation Check
- Are all screws fully inserted and securely fastened?
- Is the cutting disc lying flat and securely?
- Can the blades move freely, if intended?
- Are there no tools or foreign objects left in the area of the cutting disc?
- Does the cutting disc run freely and without grinding?
8. Operation and Maintenance
- Regularly check knives, screws, and cutting disc for wear.
- Immediately replace damaged or heavily worn parts.
- Regularly clean the cutting disc of grass clippings and dirt.
- Do not use the robotic mower if unusual noises, vibrations, or running problems occur.
- Only use compatible spare parts and suitable mounting materials.
Note on Blade Replacement
Always replace blades in a timely manner. Dull or damaged blades can worsen the cutting quality,
put more strain on the robotic mower, and compromise safety.
9. Disclaimer
CUT GUARD cutting discs, replacement blades, and blades are accessories and spare parts for compatible robotic mowers.
They are not original accessories from the respective device manufacturer unless explicitly stated
in the product description.
The assembly and use are at your own risk. No liability is accepted for damages caused by improper assembly,
incorrect use, damaged components, or failure to observe the operating manual of the robotic mower.
Warning in Case of Injury
Seek medical assistance immediately in case of injury or accident.
GPSR Information on Product Safety
Product safety information in accordance with Regulation (EU) 2023/988 on general product safety.
Manufacturer & Responsible Person (EU)
Patryk Napiorkowski - Trivando
Am bhf Weinhübel 8
02827 Görlitz
Germany
Email:
service@trivando.de
Website:
www.trivando.de
Product Identification
Brand: CUT GUARD
Product Type: Blade discs, replacement blades, and blades for compatible robotic mowers
Intended Use: Accessories and replacement parts for suitable robotic mowers
Product Type: Cutting and fastening components for use in robotic mowers
Item Number / Model / Variant: see respective product description, packaging, or invoice
Compatibility: see product description and operating instructions of the robotic mower
Important Warning
Sharp blades. Risk of injury. The knives and blades can cause serious cuts.
Assembly, disassembly, cleaning, and maintenance should only be performed when the robotic mower is completely turned off.
Always wear appropriate protective gloves and wait until the blade disc has come to a complete stop.
Intended Use
CUT GUARD blade discs, replacement blades, and blades are intended solely as accessories and replacement parts for compatible robotic mowers.
The products may only be used for their intended purpose and only in conjunction with suitable, compatible devices.
Any other use, structural modification, or improper assembly may lead to injuries, malfunctions, or property damage.
Not Suitable For
- Children.
- Persons who have not read or understood the operating instructions of the robotic mower.
- Incompatible robotic mowers.
- Devices with damaged blade mounts, damaged threads, or defective fastening points.
- Use outside the intended application area.
- Use as a tool, hand knife, or for other cutting tasks outside the robotic mower.
Safety and Warning Notices
- Use only for the intended purpose.
- Use only with compatible robotic mowers, suitable blade discs, and appropriate mounting materials.
- Always turn off the robotic mower completely before any assembly, disassembly, cleaning, or maintenance.
- If possible, remove the battery or disconnect the device from the power supply.
- Always wait until the blade disc has come to a complete stop.
- Always wear appropriate protective gloves.
- Keep hands and feet away from rotating blades.
- Never touch knives, blades, or blade discs during operation.
- Do not use damaged, bent, heavily worn, rusted, or corroded knives, screws, or blade discs.
- Regularly check knives, screws, and blade discs for secure fit, wear, and damage.
- Use only suitable screws and appropriate mounting materials.
- If provided, use screws with locking lacquer or suitable screw locking.
- Keep children, animals, and uninvolved persons away from the work area.
- The robotic mower must not be operated if persons, especially children, or animals are in the work area.
- In case of unusual noises, vibrations, grinding noises, or running problems, stop operation immediately and check the assembly.
- In case of injuries or accidents, seek medical assistance immediately.
Assembly Instructions
Assembly may only be performed when the device is turned off. Always observe the operating instructions of the respective robotic mower.
Blade discs, replacement blades, and blades must be correctly seated and securely fastened. After assembly, check whether the blade disc runs freely and that no tools or foreign objects have been left in the area of the knives.
Check Before Operation
- Are all screws fully inserted and tightened?
- Is the blade disc correctly centered and securely fastened?
- Are the knives correctly mounted?
- Can movable knives move freely, if this is structurally intended?
- Are there no visible damages?
- Does the blade disc run freely and without grinding?
Maintenance and Inspection
- Regularly check knives, blades, screws, and blade discs for wear and damage.
- Immediately replace damaged or heavily worn parts.
- Regularly clean the blade disc of grass residues, dirt, and deposits.
- Do not use aggressive cleaning agents that may damage material or coating.
- Use only compatible replacement parts and suitable mounting materials.
Storage and Disposal
Store replacement blades, blades, screws, and blade discs dry, clean, and secure.
Keep out of reach of children and unauthorized persons.
Safely package used, damaged, or dull knives and blades to avoid cuts.
Dispose of metal parts, packaging, and accessories in accordance with local regulations.
Note on Original Accessories
CUT GUARD products are compatible accessories and replacement parts. They are not original accessories of the respective
device manufacturer unless explicitly stated in the product description. Brand names, model designations,
and manufacturer information are for compatibility indication only.
Contact for Safety Questions, Complaints, or Accidents
For questions regarding product safety, complaints, accidents, or indications of possible safety issues, please contact us immediately:
Patryk Napiorkowski - Trivando
Am bhf Weinhübel 8
02827 Görlitz
Germany
Email: service@trivando.de
Website: www.trivando.de
What is the difference between the 6-, 7-, and 9-blade cutting discs for my Mammotion YUKA Mini?
The 6-blade cutting disc is suitable for smaller, less stressed lawns, while the 7-blade variant provides a more even cut on medium-sized areas. The 9-blade cutting disc ensures a clean and precise cut on larger lawns and is ideal for frequent mowing, as it delivers a higher cutting quality.
How do I know that I need to replace the 9-blade cutting disc on my Mammotion YUKA Mini 2?
Look for uneven cuts, visible damage, or deformations on the cutting disc. A noticeable noise while mowing, such as squeaking or grinding, can also indicate that the blades are worn and a replacement is necessary.
How do I change the cutting disc on my Mammotion YUKA Mini robotic mower?
The replacement is done in three simple steps: 1. Turn off the robotic mower and remove it from the charging station. 2. Use a suitable wrench to loosen the screw of the cutting disc. 3. Remove the old disc and attach the new 9-blade cutting disc, then tighten it. The entire process takes only about 10-15 minutes.
What happens if I use the wrong disc for my Mammotion YUKA Mini 2?
Using an incompatible blade disc can lead to imbalance, which can damage the lawn mower robot and impair motor performance. This can result in increased wear or even a complete failure of the lawn mower robot.
Is the 9-blade disc compatible with other lawn mower robot models?
The 9-blade disc is specifically designed for the Mammotion YUKA Mini and YUKA Mini 2 models. For other models, we recommend checking the respective manufacturer specifications to ensure that the disc is compatible.