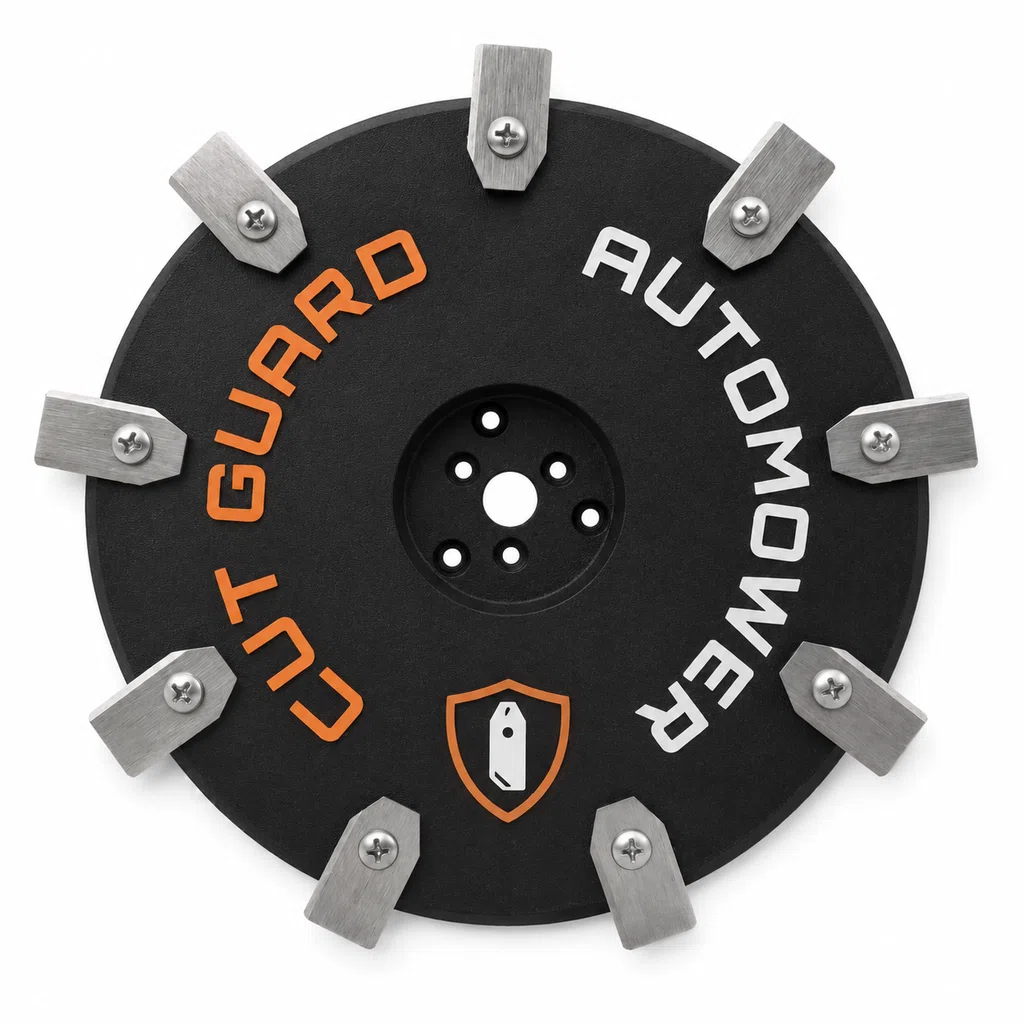
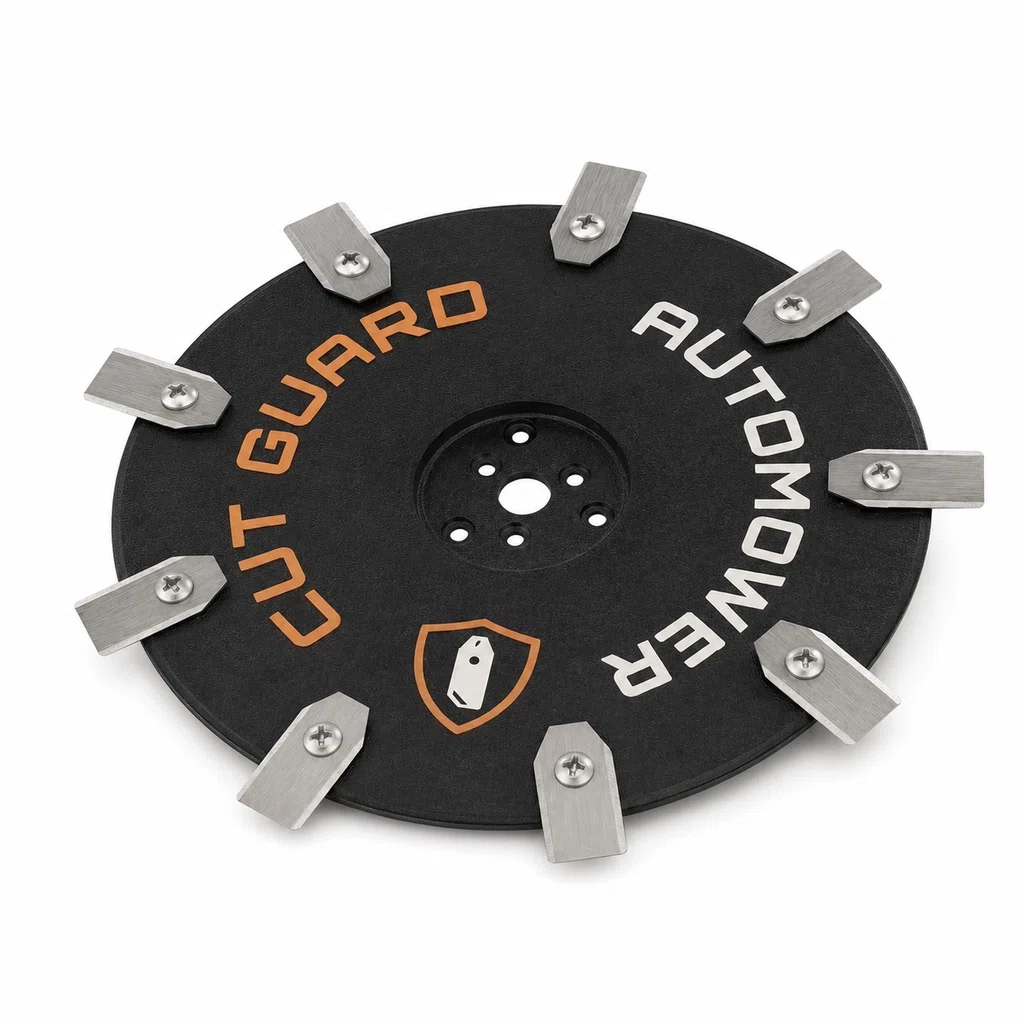
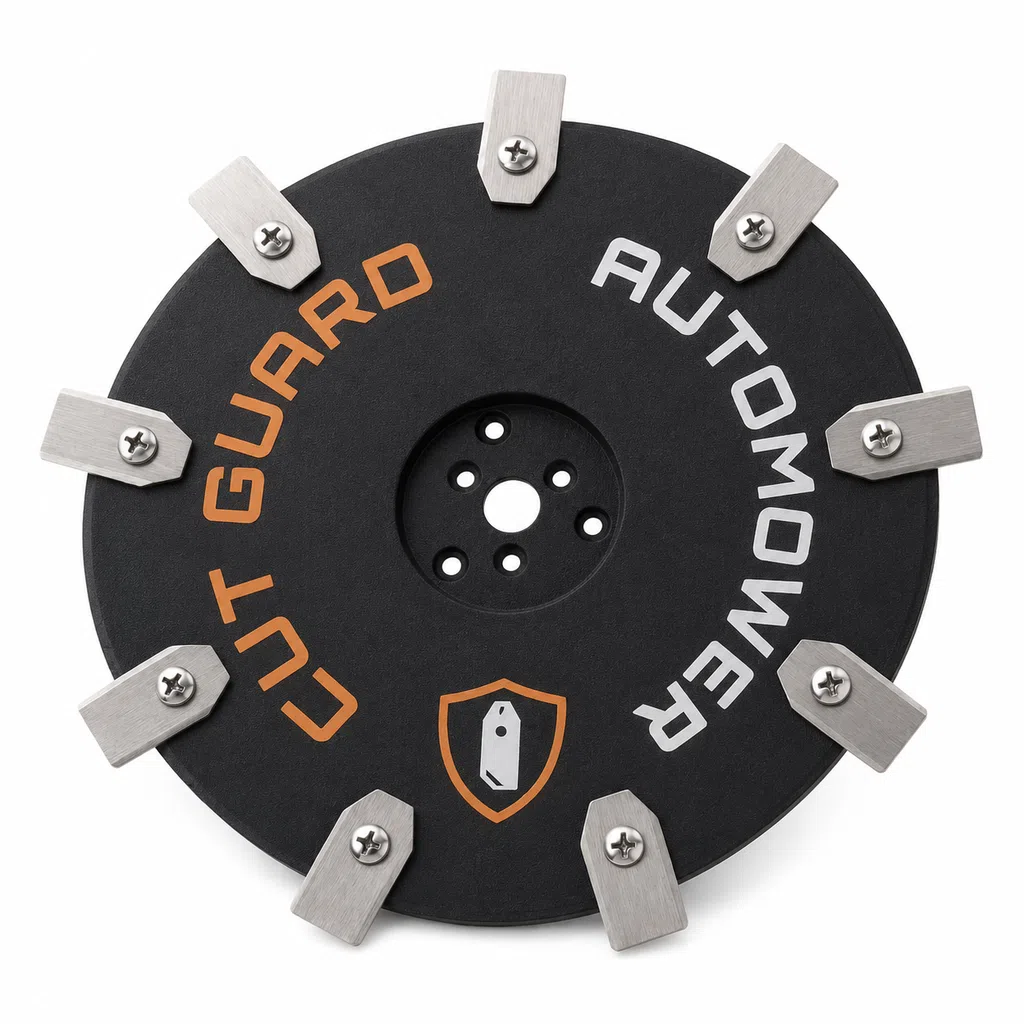
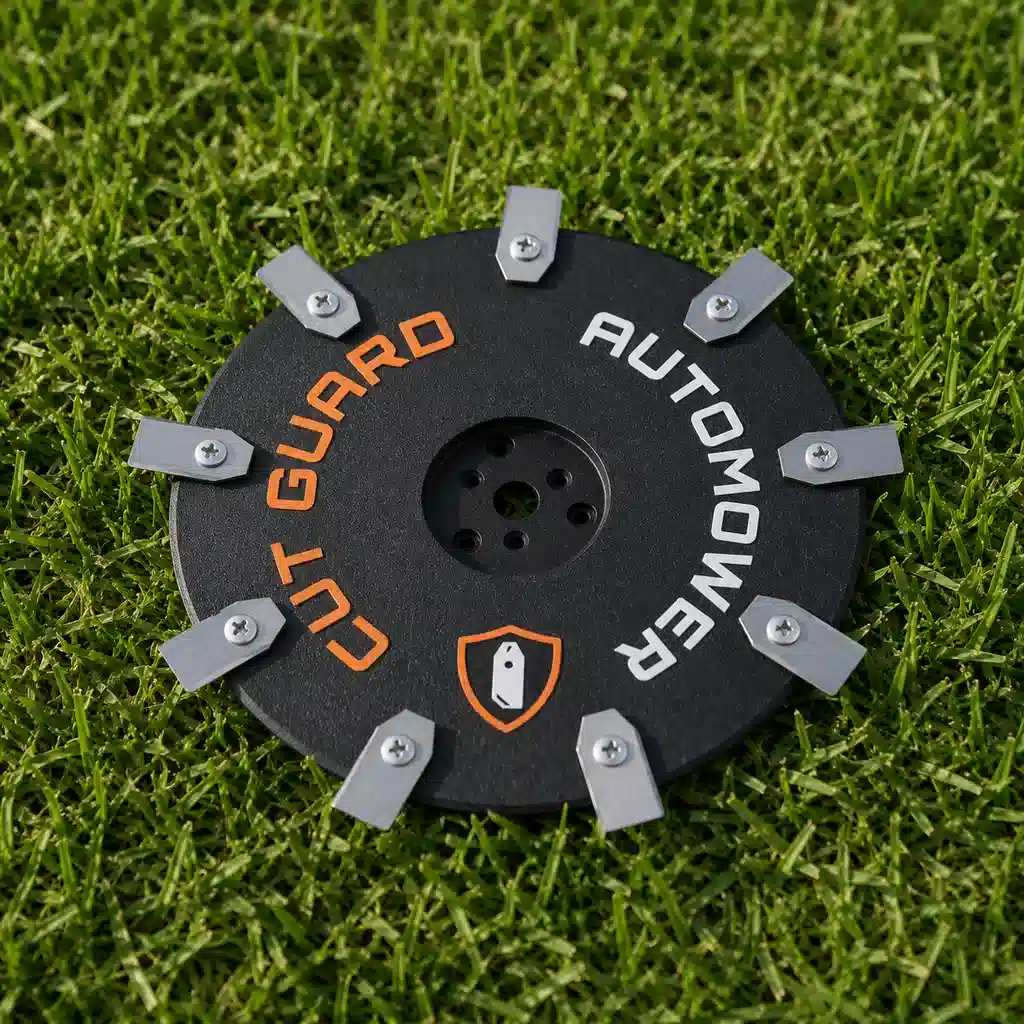
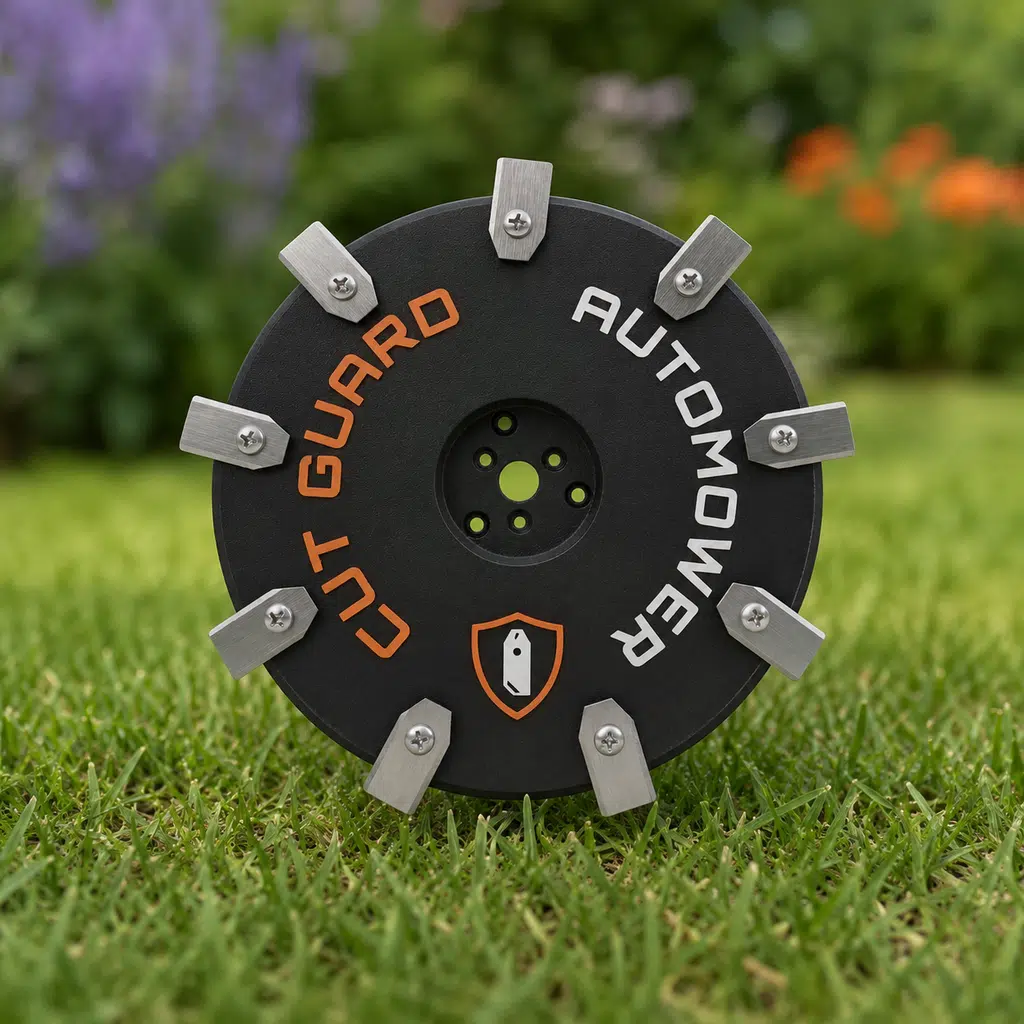
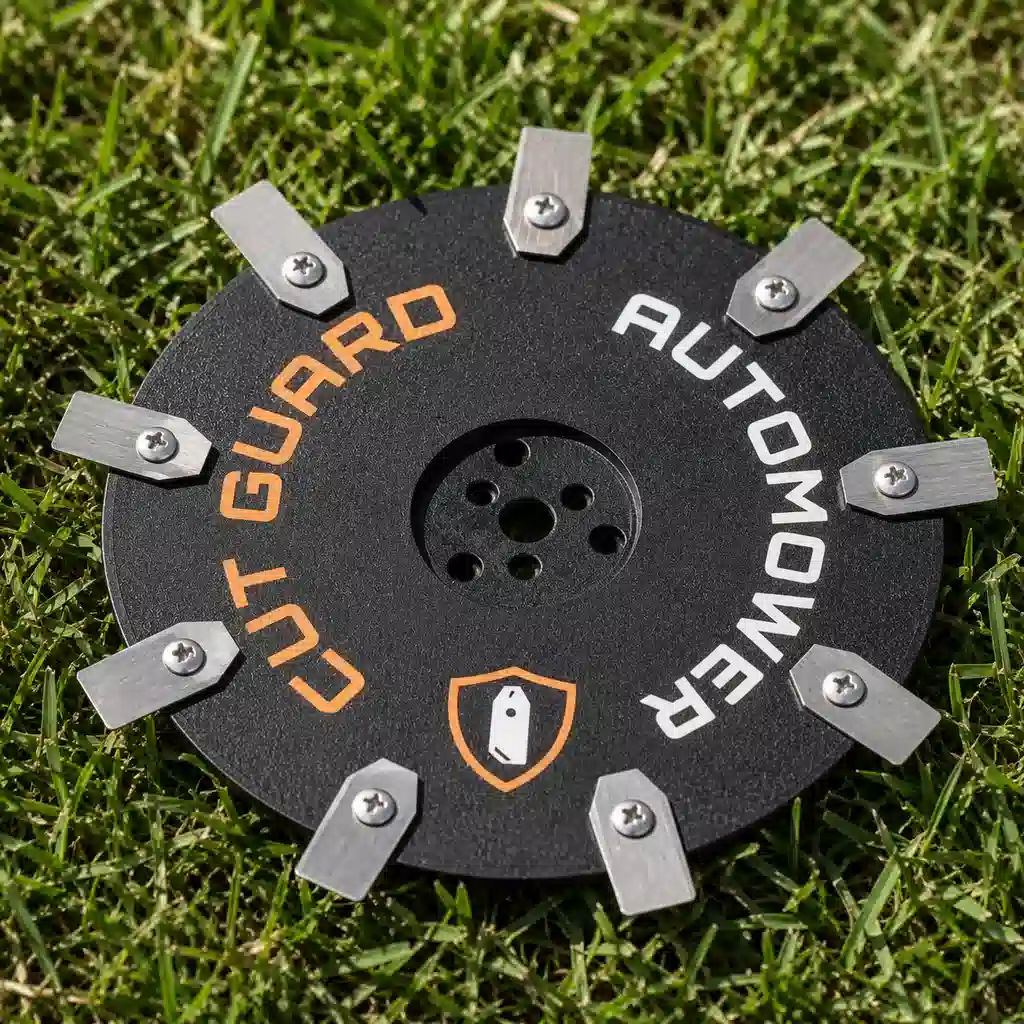
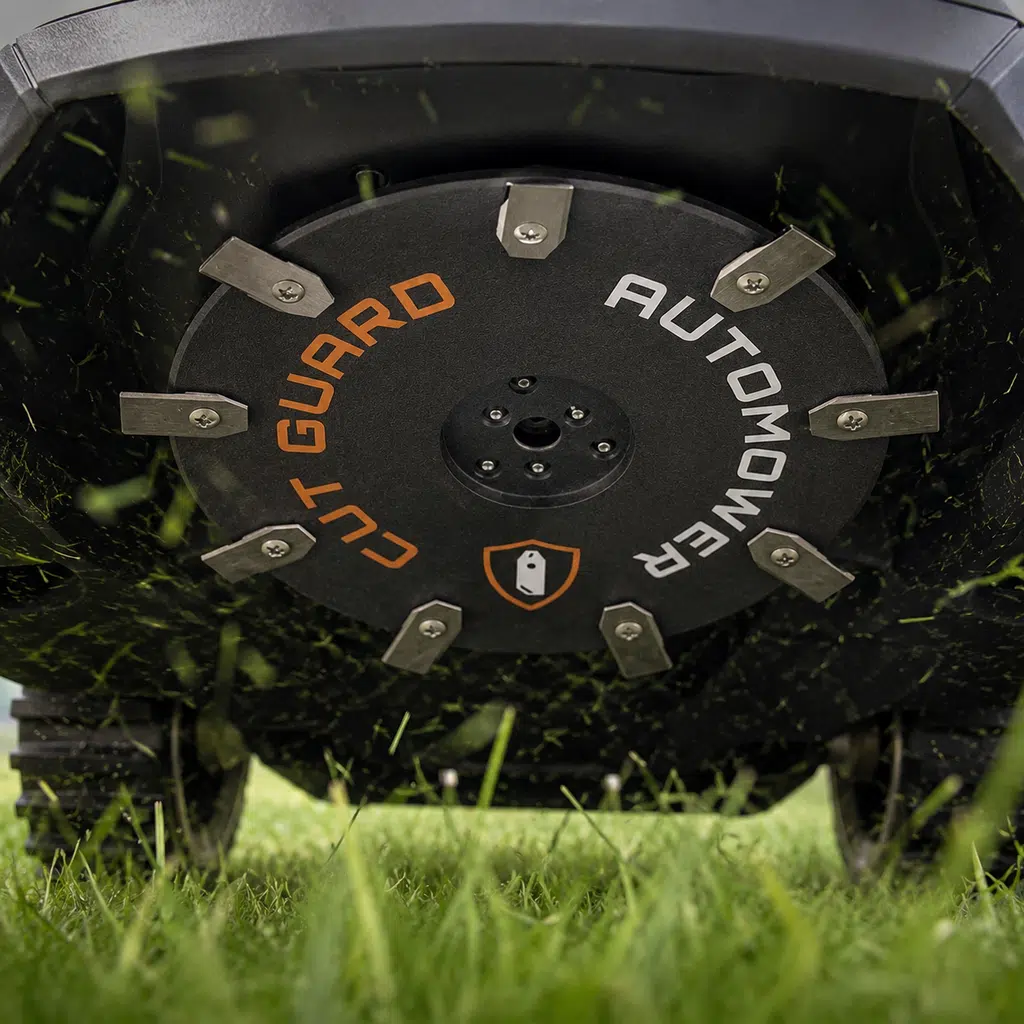
9-blade disc compatible with Husqvarna Automower 305, 310, 315X, 405, 410, 415, 435X & 535
- 9-blade cutting disc compatible with Husqvarna Automower 305, 310, 315X, 405, 410, 415, 435X, and 535
- More cutting points for a finer cut and a uniformly maintained lawn
- Suitable as a mowing plate, knife plate, or cutting disc for compatible Automower robotic mowers
- Supports quiet blade rotation and precise knife guidance during regular lawn care
- Practical spare part for maintenance, replacement, and reliable mowing performance during the gardening season
incl. 9 blades
+
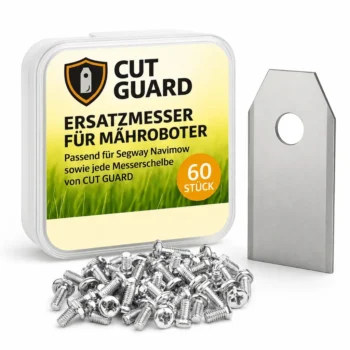
Compatibility – HUSQVARNA
Fits the following robotic mowers:
- ✓ Automower 305
- ✓ Automower 310
- ✓ Automower 315X
- ✓ Automower 405
- ✓ Automower 410
- ✓ Automower 415
- ✓ Automower 435X
- ✓ Automower 535
If your HUSQVARNA Automower no longer cuts through the grass as cleanly, this 9-blade cutting disc is the quick way to get an even cut again.
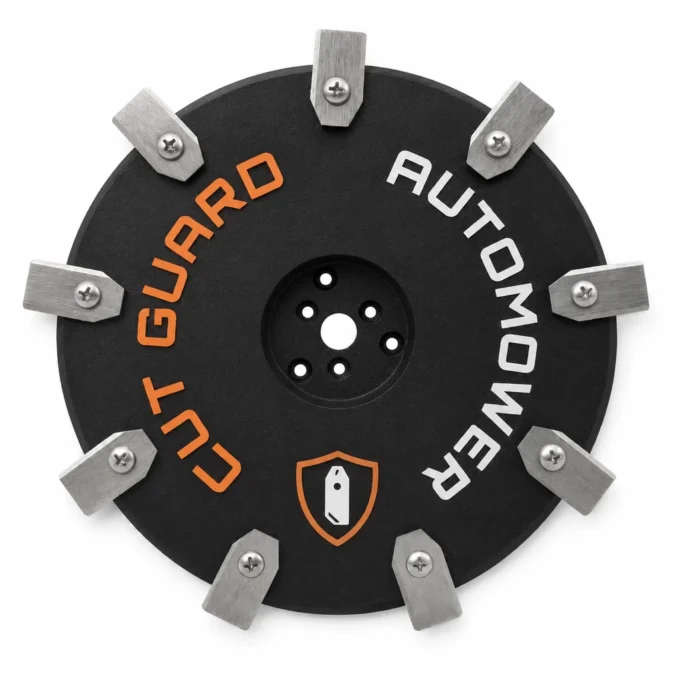
Frayed blades? Time for fresh blades
Dull blades tear the grass rather than cutting it cleanly—and then the lawn quickly looks „torn up”. The blades discolour at the tips, and the robotic mower takes longer to cover the same area. With the 9-blade cutting disc for HUSQVARNA Automower 305, 310, 315X, 405, 410, 415, 435X & 535, you restore cutting performance and give the mowing disc the right grip in the grass again. Ninefold blade setup—the top class for a perfect cut.
Fits perfectly for your HUSQVARNA Automower 305, among others
This cutting disc fits HUSQVARNA Automower 305, 310, 315X, 405, 410, 415, 435X & 535. Switching is effortless: loosen the old cutting disc, attach the new one—no long handling required.
What’s included: everything for the swap
The 9 blades provide a finer cutting pattern because the grass is captured more evenly. The more cutting points work at the same time, the denser and more uniform the lawn looks. You get a complete 9-blade cutting disc as a replacement for your mowing disc—ready to install. The swap is done in just a few minutes, completely without tools—ideal for the start of the season or when the blades start to wear down in the middle of the season.
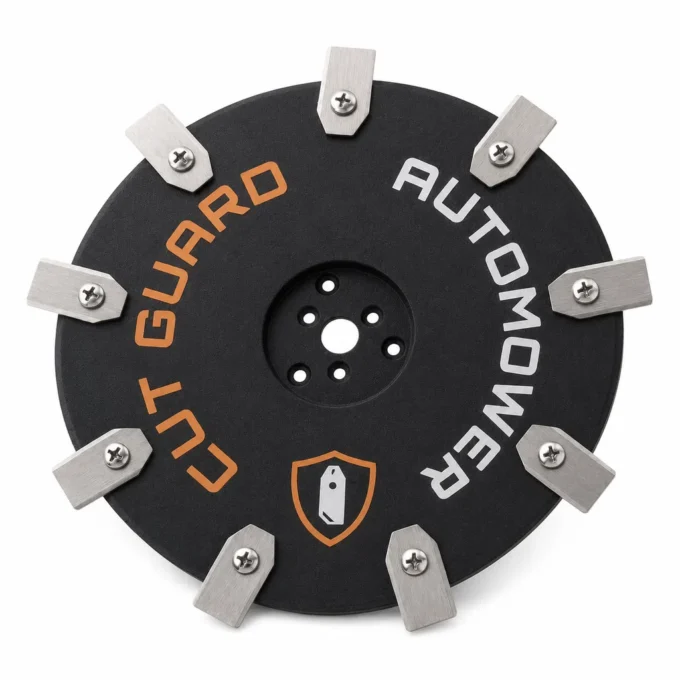
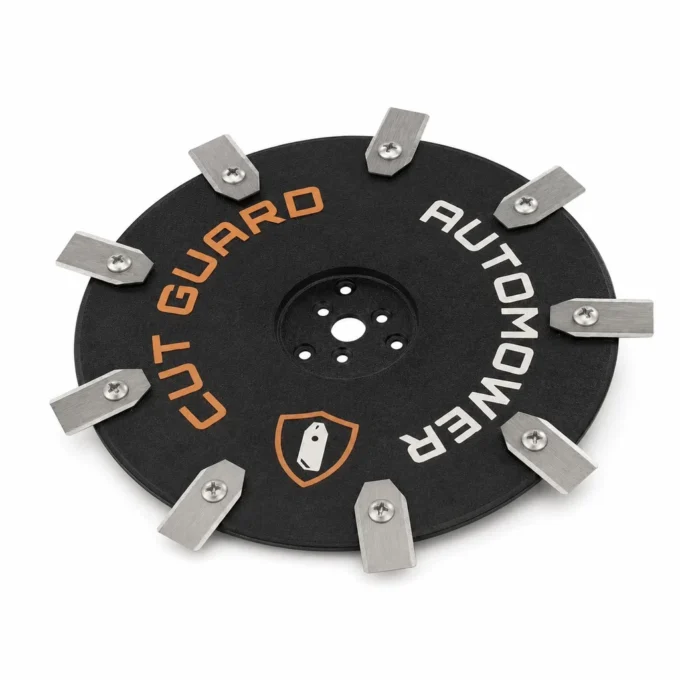
More smoothness in the cutting system
With fresh cutting edges, the mowing disc is less likely to “catch,” which reduces typical grass blockages. Without sharp blades, damp grass wraps around the cutting zone; with them, rotation stays constant. This way, your Automower runs more reliably and cuts more evenly—even when the grass is a bit denser. Fewer interruptions and a well-kept lawn throughout the season.
Everything important at a glance
Top reviews
Passer direkte til min Husqvarna Automower 405 og gav en mere jævn klipning efter udskiftningen. Jeg fik dog ikke helt samme stramme pasform første gang; skruen skulle lige justeres, før den sad helt ens.
Die 9-Klingen-Messerscheibe passt bei meinem Automower 310 direkt ohne großes Gefummel. Nach dem Wechsel sieht der Rasen deutlich gleichmäßiger aus, die Schnittkanten wirken sauberer. Läuft jetzt seit ein paar Wochen zuverlässig, auch bei etwas längeren Bahnen.
I definitely recommend this klingen-messerscheibe! Installation was easy, and the cutting quality is really great - my lawn looks like it has been to a salon. Much better results than the previous blades, and it operates more quietly.
Werkt prima op mijn Automower 435X; de 9 snijpunten zorgen voor een netter en gelijkmatiger maaibeeld. Alleen de bevestiging voelde bij de eerste montage wat stroef aan.
Installation rapide sur mon Husqvarna Automower 315X. La coupe est plus régulière et la tonte paraît plus fine.
Jeg købte 9-Klingen-Messerscheibe til min Husqvarna Automower 405, og den passede lige som den skulle. Udskiftningen tog cirka 10 minutter, og de 9 skærekanter gav et pænere, mere ensartet klippemønster især langs hækken. Jeg strammede skruerne efter instruktionen og tjekkede lige indstillingerne én gang—ingen problemer bagefter.
Bytte till denna 9-Klingen-Messerscheibe på min Husqvarna Automower 415 tog runt 10 minuter, och jag uppskattade att fästskruvarna passade utan att behöva trixa. Efter bytet fick jag fler skärpunkter som gav ett jämnare klippmönster, särskilt längs kanterna. Den enda lilla nackdelen var att jag behövde kontrollera klockningen en gång innan jag drog åt helt.
Schnell levering og perfekt pasform til min Husqvarna Automower 310. Udskiftningen tog ca. 10 minutter, og plænen ser jævnere ud med de 9 skærekanter.
works great on my husqvarna automower 410—cutting looks finer and more even after swapping the 9-blade disc. installation was straightforward and it holds up well so far.
After trying two other brands, this 9-blade disc was the first one that truly matched my Husqvarna Automower 315X. Swapping it took only a few minutes, and I noticed a finer cut pattern within a day—especially on the edges where my old blades tended to shred. It’s a solid replacement for regular maintenance, but I had to double-check alignment before tightening the screws to avoid slight wobble at startup.
bytte den här 9-klingiga messerscheiben på min husqvarna automower 410 och det märks direkt att klippningen blir mer jämn, särskilt på kanterna. den är lätt att montera och ser hållbar ut, men jag hade önskat lite bättre passform i mitten så den sitter helt perfekt från start.
Write a review
CUT GUARD Assembly Instructions
General assembly instructions for cutting discs, replacement blades, and blades for compatible robotic mowers.
Note
These instructions generally apply to compatible cutting discs, replacement blades, and blades from CUT GUARD.
They do not refer to a specific model or version. Always additionally refer to the operating manual of your robotic mower.
Important Safety Notice
Sharp blades. Risk of injury. The knives and blades can cause serious cuts.
Always wear appropriate protective gloves during assembly, disassembly, cleaning, and maintenance.
Never work on the cutting disc while it is still moving.
1. General Safety Instructions
- The operator is responsible for accidents, injuries, and damages caused to other persons or their property.
- Keep children, animals, and uninvolved persons away during work and operation of the robotic mower.
- Never touch the cutting disc or the knives while they are still moving.
- Always turn off the robotic mower completely before performing work on the cutting disc or the knives.
- Remove the battery if possible or disconnect the device from the power supply.
- Always wear appropriate protective gloves.
- Do not use damaged, bent, heavily worn, or corroded knives, screws, or cutting discs.
- Regularly check the condition of the knives, fastening screws, and the cutting disc.
2. Required Tools and Materials
- Suitable screwdriver or bit, matching the screws used.
- Protective gloves.
- New or tested fastening screws.
- CUT GUARD cutting disc, replacement blades, or blades.
- Optional: soft surface for safely placing the robotic mower.
Important
Only use suitable screws and appropriate mounting materials.
If specified by the manufacturer or included in the delivery, use screws with locking lacquer
or suitable screw locking.
3. Preparation
- Stop the robotic mower completely.
- Turn off the device according to the operating manual.
- Remove the battery if possible.
- Wait until the cutting disc has completely come to a stop.
- Carefully turn the robotic mower upside down and place it on a stable, soft surface.
- Check the work area for cleanliness and adequate lighting.
4. Disassembly of the Existing Cutting Disc
- Loosen the fastening screws of the existing cutting disc.
- Completely remove the screws and set them aside safely.
- Carefully remove the existing cutting disc from the knife holder.
- Clean the knife holder of grass clippings, dirt, and debris.
- Check the knife holder for damage or unusual wear.
Warning
Do not use the new cutting disc if the knife holder, fastening points,
threads, or screws are damaged. In this case, the robotic mower may only be reused after proper
inspection.
5. Installation of the CUT GUARD Cutting Disc
- Place the CUT GUARD cutting disc correctly on the knife holder.
- Ensure that the cutting disc lies flat and is correctly centered.
- Insert the appropriate fastening screws.
- Tighten the screws evenly and firmly.
- Do not overtighten the screws to avoid damage to threads or components.
- After installation, check that the cutting disc is securely attached.
- Gently turn the cutting disc by hand and check if it runs freely.
6. Installation or Replacement of Replacement Blades
- Loosen the screws of the old blades.
- Carefully remove the old blades.
- Clean the contact surfaces on the cutting disc.
- Place the new CUT GUARD replacement blades on the designated fastening points.
- Ensure that the blades remain freely movable, as intended by design.
- Secure each blade with a suitable screw.
- Tighten the screws securely without overtightening.
- Check each blade for a secure fit and free movement.
7. Post-Installation Check
- Are all screws fully inserted and securely fastened?
- Is the cutting disc lying flat and securely?
- Can the blades move freely, if intended?
- Are there no tools or foreign objects left in the area of the cutting disc?
- Does the cutting disc run freely and without grinding?
8. Operation and Maintenance
- Regularly check knives, screws, and cutting disc for wear.
- Immediately replace damaged or heavily worn parts.
- Regularly clean the cutting disc of grass clippings and dirt.
- Do not use the robotic mower if unusual noises, vibrations, or running problems occur.
- Only use compatible spare parts and suitable mounting materials.
Note on Blade Replacement
Always replace blades in a timely manner. Dull or damaged blades can worsen the cutting quality,
put more strain on the robotic mower, and compromise safety.
9. Disclaimer
CUT GUARD cutting discs, replacement blades, and blades are accessories and spare parts for compatible robotic mowers.
They are not original accessories from the respective device manufacturer unless explicitly stated
in the product description.
The assembly and use are at your own risk. No liability is accepted for damages caused by improper assembly,
incorrect use, damaged components, or failure to observe the operating manual of the robotic mower.
Warning in Case of Injury
Seek medical assistance immediately in case of injury or accident.
GPSR Information on Product Safety
Product safety information in accordance with Regulation (EU) 2023/988 on general product safety.
Manufacturer & Responsible Person (EU)
Patryk Napiorkowski - Trivando
Am bhf Weinhübel 8
02827 Görlitz
Germany
Email:
service@trivando.de
Website:
www.trivando.de
Product Identification
Brand: CUT GUARD
Product Type: Blade discs, replacement blades, and blades for compatible robotic mowers
Intended Use: Accessories and replacement parts for suitable robotic mowers
Product Type: Cutting and fastening components for use in robotic mowers
Item Number / Model / Variant: see respective product description, packaging, or invoice
Compatibility: see product description and operating instructions of the robotic mower
Important Warning
Sharp blades. Risk of injury. The knives and blades can cause serious cuts.
Assembly, disassembly, cleaning, and maintenance should only be performed when the robotic mower is completely turned off.
Always wear appropriate protective gloves and wait until the blade disc has come to a complete stop.
Intended Use
CUT GUARD blade discs, replacement blades, and blades are intended solely as accessories and replacement parts for compatible robotic mowers.
The products may only be used for their intended purpose and only in conjunction with suitable, compatible devices.
Any other use, structural modification, or improper assembly may lead to injuries, malfunctions, or property damage.
Not Suitable For
- Children.
- Persons who have not read or understood the operating instructions of the robotic mower.
- Incompatible robotic mowers.
- Devices with damaged blade mounts, damaged threads, or defective fastening points.
- Use outside the intended application area.
- Use as a tool, hand knife, or for other cutting tasks outside the robotic mower.
Safety and Warning Notices
- Use only for the intended purpose.
- Use only with compatible robotic mowers, suitable blade discs, and appropriate mounting materials.
- Always turn off the robotic mower completely before any assembly, disassembly, cleaning, or maintenance.
- If possible, remove the battery or disconnect the device from the power supply.
- Always wait until the blade disc has come to a complete stop.
- Always wear appropriate protective gloves.
- Keep hands and feet away from rotating blades.
- Never touch knives, blades, or blade discs during operation.
- Do not use damaged, bent, heavily worn, rusted, or corroded knives, screws, or blade discs.
- Regularly check knives, screws, and blade discs for secure fit, wear, and damage.
- Use only suitable screws and appropriate mounting materials.
- If provided, use screws with locking lacquer or suitable screw locking.
- Keep children, animals, and uninvolved persons away from the work area.
- The robotic mower must not be operated if persons, especially children, or animals are in the work area.
- In case of unusual noises, vibrations, grinding noises, or running problems, stop operation immediately and check the assembly.
- In case of injuries or accidents, seek medical assistance immediately.
Assembly Instructions
Assembly may only be performed when the device is turned off. Always observe the operating instructions of the respective robotic mower.
Blade discs, replacement blades, and blades must be correctly seated and securely fastened. After assembly, check whether the blade disc runs freely and that no tools or foreign objects have been left in the area of the knives.
Check Before Operation
- Are all screws fully inserted and tightened?
- Is the blade disc correctly centered and securely fastened?
- Are the knives correctly mounted?
- Can movable knives move freely, if this is structurally intended?
- Are there no visible damages?
- Does the blade disc run freely and without grinding?
Maintenance and Inspection
- Regularly check knives, blades, screws, and blade discs for wear and damage.
- Immediately replace damaged or heavily worn parts.
- Regularly clean the blade disc of grass residues, dirt, and deposits.
- Do not use aggressive cleaning agents that may damage material or coating.
- Use only compatible replacement parts and suitable mounting materials.
Storage and Disposal
Store replacement blades, blades, screws, and blade discs dry, clean, and secure.
Keep out of reach of children and unauthorized persons.
Safely package used, damaged, or dull knives and blades to avoid cuts.
Dispose of metal parts, packaging, and accessories in accordance with local regulations.
Note on Original Accessories
CUT GUARD products are compatible accessories and replacement parts. They are not original accessories of the respective
device manufacturer unless explicitly stated in the product description. Brand names, model designations,
and manufacturer information are for compatibility indication only.
Contact for Safety Questions, Complaints, or Accidents
For questions regarding product safety, complaints, accidents, or indications of possible safety issues, please contact us immediately:
Patryk Napiorkowski - Trivando
Am bhf Weinhübel 8
02827 Görlitz
Germany
Email: service@trivando.de
Website: www.trivando.de
What are the advantages of the CUT GUARD 9-blade cutting disc compared to the original cutting disc from Husqvarna for the models 305, 310, 315X, 405, 410, 415, 435X, and 535?
The CUT GUARD 9-blade cutting disc offers more cutting points due to its additional blade, resulting in a finer cut and a more even lawn surface. While the original cutting disc has only 3 blades, the 9-blade variant allows for more precise blade guidance and a smooth blade rotation, improving the care of your lawn.
Which number of blades is best for my Husqvarna Automower: 6, 7, or 9 blades?
For the models 305, 310, and 315X, the 9-blade cutting disc from CUT GUARD is recommended, as it provides a finer cut for small to medium-sized lawns. The 6 or 7-blade variants may be sufficient for larger areas but do not offer the same precision and care, especially on uneven terrain.
How do I install the CUT GUARD 9-blade cutting disc on my Husqvarna Automower 405, 410, 415, 435X, or 535?
Changing the cutting disc is simple: First, you will need a Phillips screwdriver. Remove the screws from the old disc, place the new CUT GUARD 9-blade cutting disc on, and tighten the screws. The entire process takes only about 10-15 minutes.
How do I know when I should change the blades of my CUT GUARD cutting disc?
Pay attention to an uneven cutting pattern or a significantly reduced mowing performance of your Husqvarna Automowers. If the lawn looks tousled after mowing or the robot struggles to cut through thick grass, the blades are likely worn out and should be replaced.
What common problems occur when using the CUT GUARD 9 blade disc with my Husqvarna Automowers?
A common problem is the blades sticking together due to grass clippings, which can impair mowing performance. Improper installation could also cause the disc to rotate unevenly. Users also report issues with battery life when the blades are dull and the robot has to exert more power.