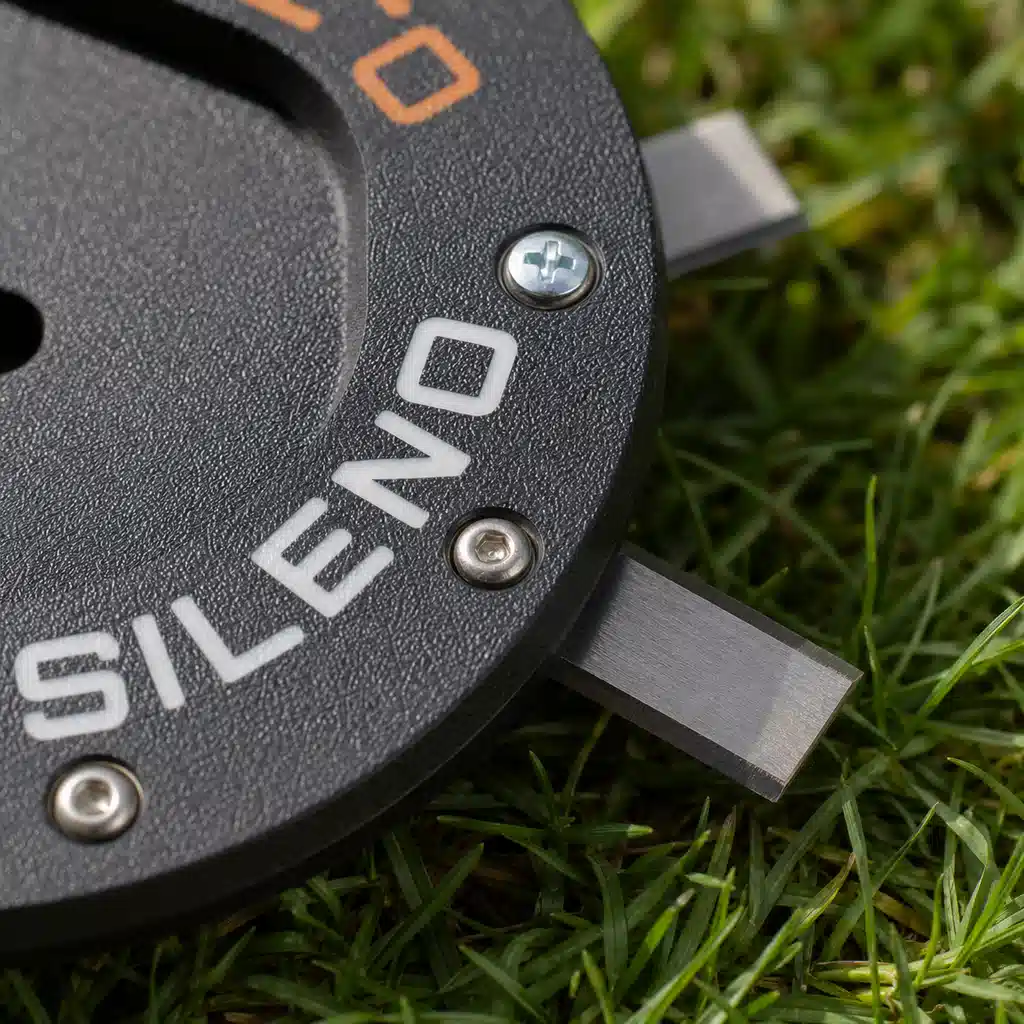
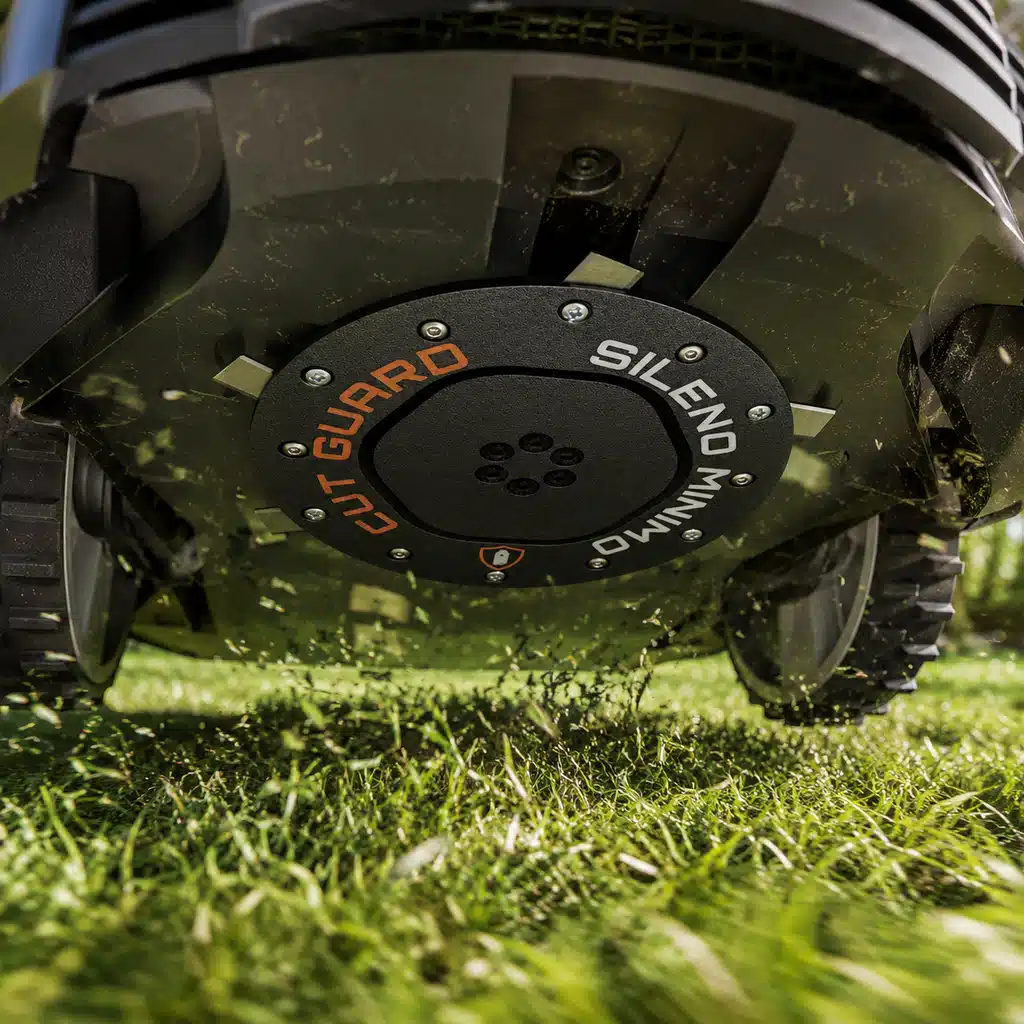
Cutting disc for Gardena Sileno Minimo
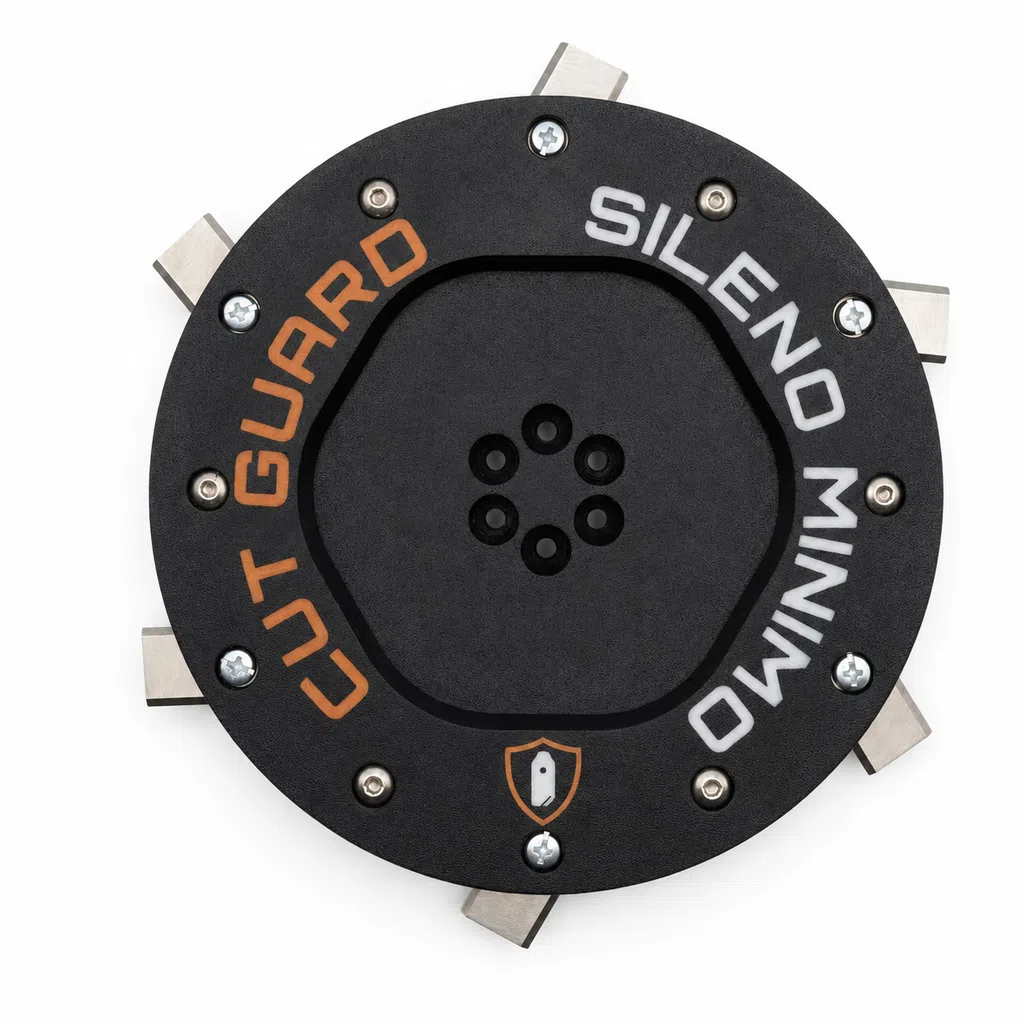
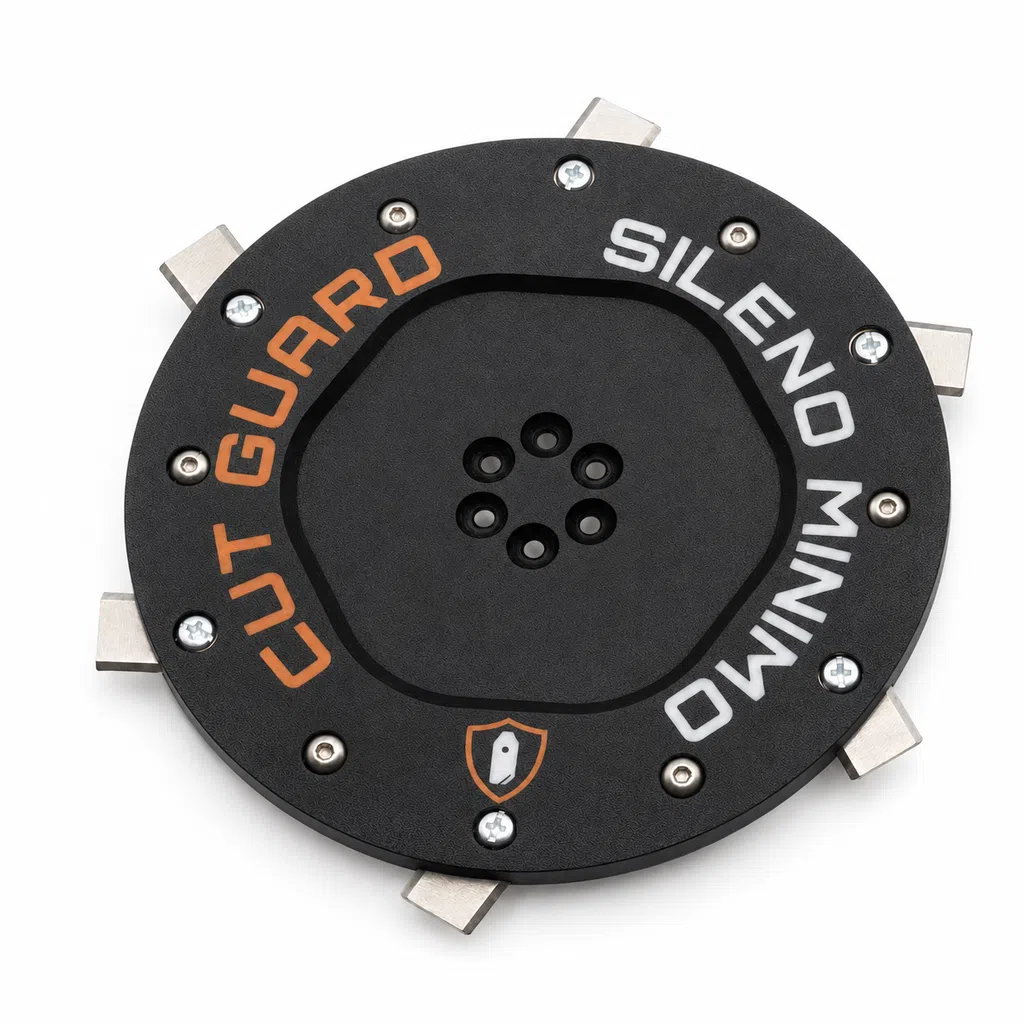
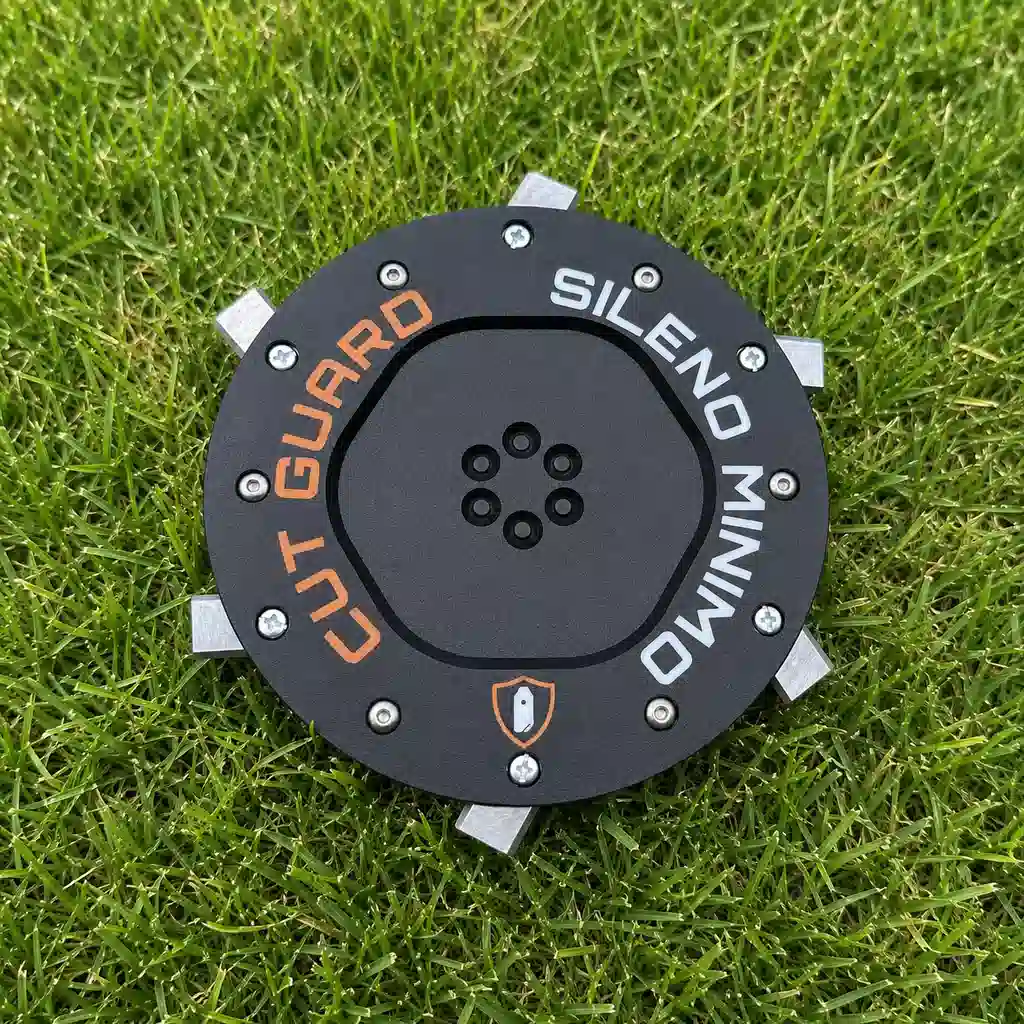
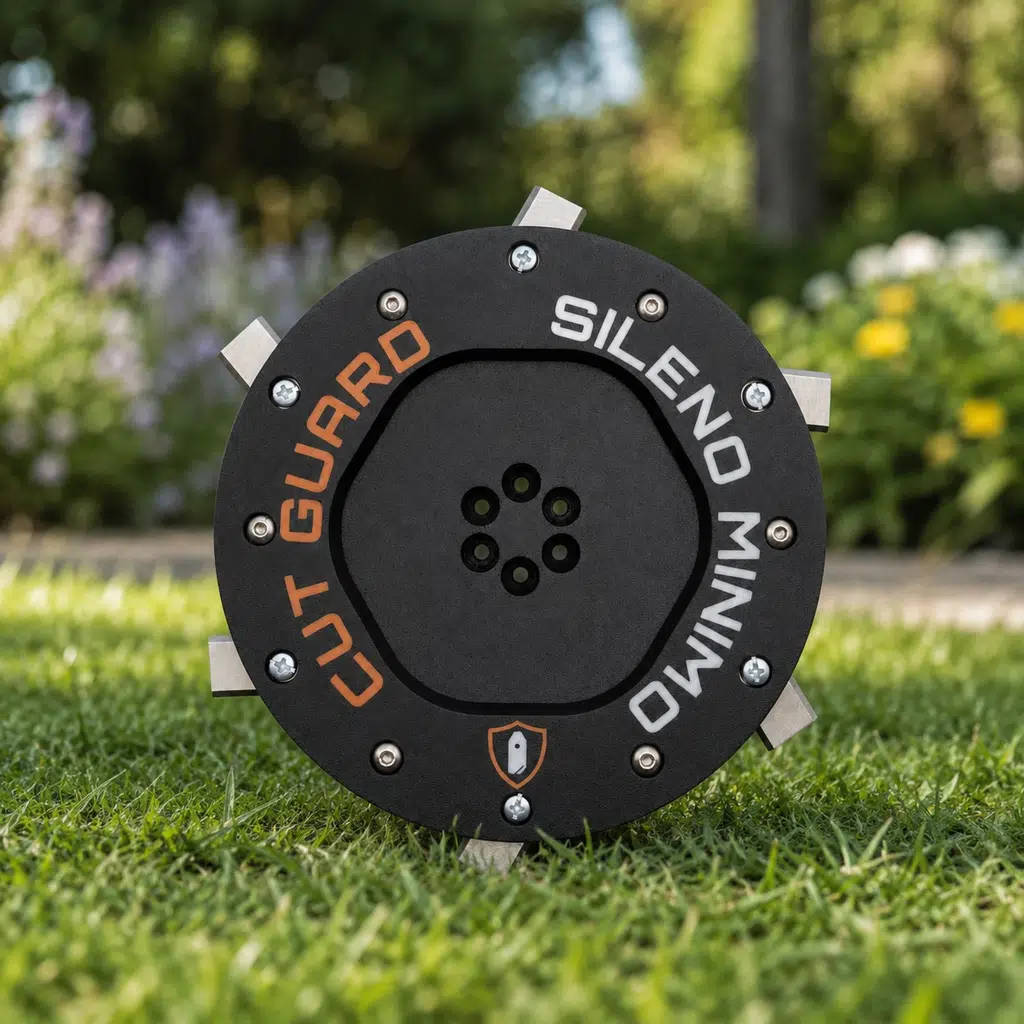
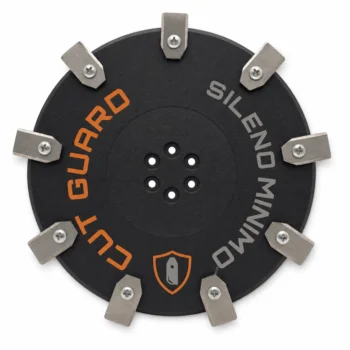
- Cutting disc for GARDENA Sileno Minimo robotic lawnmower – suitable e.g. for 19060-20 and 19061-20
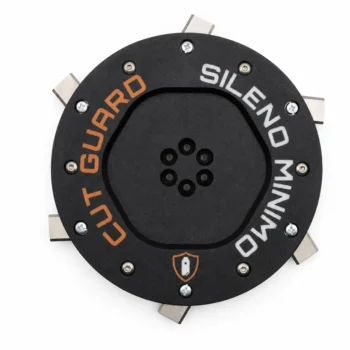
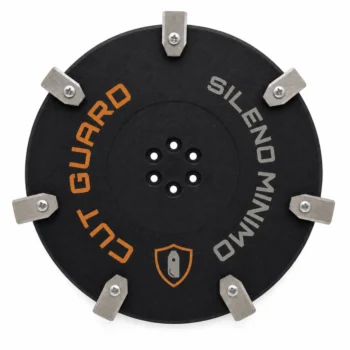
- Three variants to choose from: 6, 7 or 9 blades – more blades mean a finer cut
- Protection for all three versions – guides the blades and reduces grass blockages
- Blades pre-assembled, quick replacement in a few minutes and usually without tools
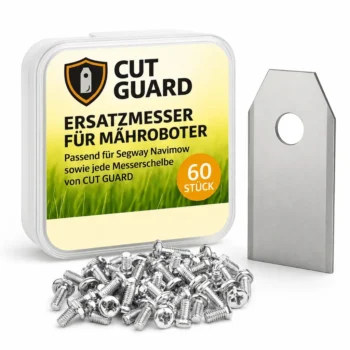
- Optional as a set with 60 replacement blades – stock up for the whole season
 +
+
 +
+
+
+
Compatibility – GARDENA
Fits the following robotic mowers:
- ✓ Sileno Minimo
The Sileno Minimo is built for small gardens – and therefore drives quite often. On just a few square meters, the same blade of grass meets the blades several times a week and is trimmed by only a few millimeters each time. That’s exactly why you need truly sharp cutting edges. Here you will find the right replacement mowing disc with 6, 7 or 9 blades – each variant with protective frame and ready to install.
6, 7 or 9 blades – which cutting disc fits your small lawn?
All three versions sit identically on the GARDENA Sileno Minimo and provide the protective frame. The only difference is how many cuts per revolution take place – and thus how fine the result is on a small area that is often mowed.
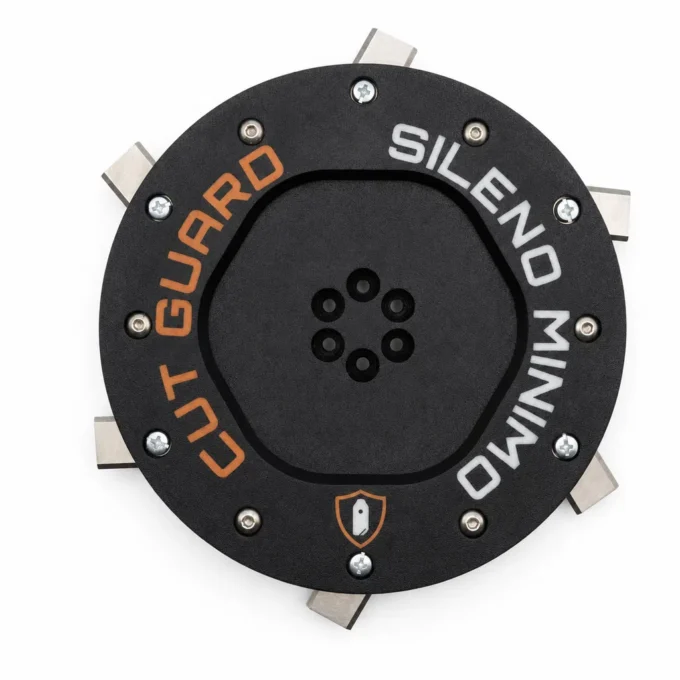
The blade plate you know from the Minimo. If you simply want to replace the worn cutting disc and continue where the robotic lawnmower left off in its first season, this is the right choice – straightforward and proven.
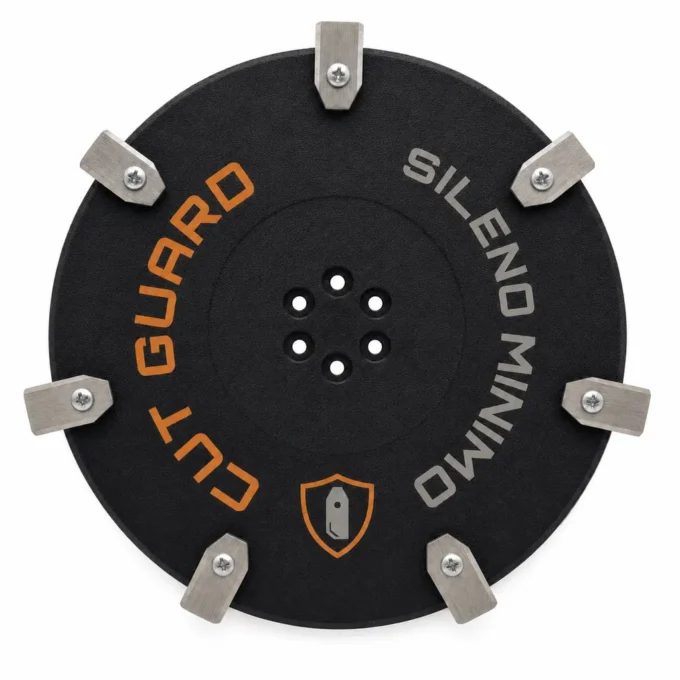
One more cut per revolution. This pays off when the lawn grows strongly between two rounds – for example after rainy days in early summer. The blade(s) capture the grass more often, and the cut pattern looks more closed.
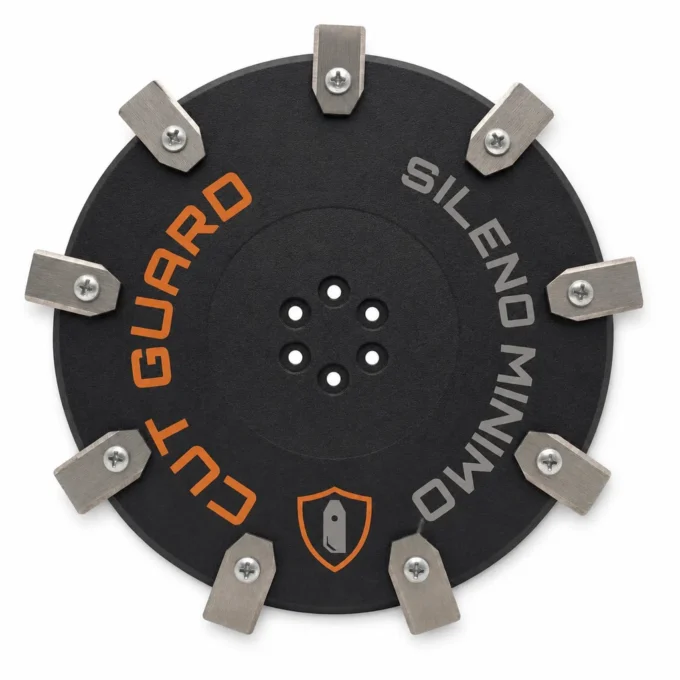
Nine blades for the finest cut of this series. On a small property that you can constantly see from the window or the terrace, it is exactly this detail – the blade tips remain unobtrusive.
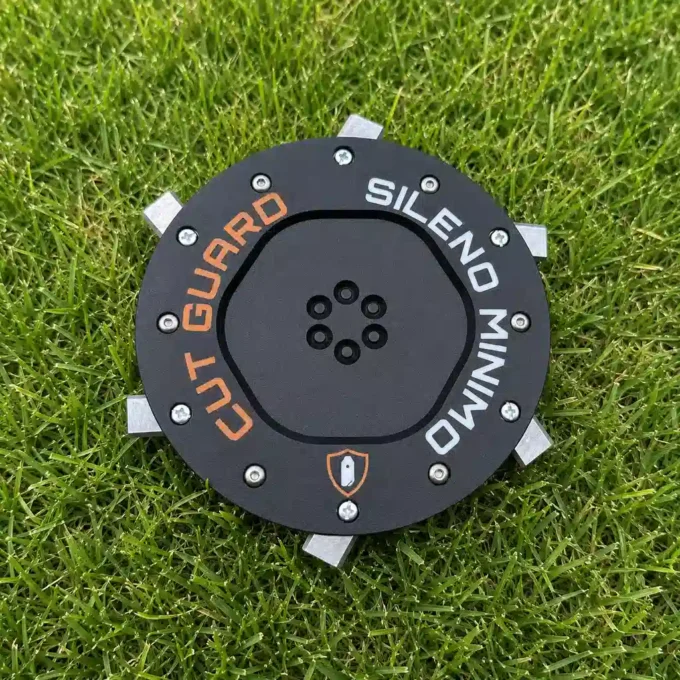
Millimeter work instead of big mowing
A Sileno Minimo works differently than a large robotic lawnmower. With each run, it removes only a few millimeters and repeats this several times per week on the same, manageable area. This principle only works as long as the blades cut the grass cleanly – with such small cutting quantities, there is no room for dull cutting discs.
That is exactly why wear shows up early on the Minimo: instead of a clean cut, the grass is more likely to be pulled and frayed. The tip dries out at the break point and turns brown – and because the area is small, you can see this grayish haze immediately and everywhere.
With a fresh cutting disc, the original condition is restored: the blades cut the stalk cleanly, the cut edge stays green, and the lawn looks evenly maintained after every round instead of being stressed.
The disc is delivered fully equipped and fits the mounting of the Sileno Minimo – without adapters and without any adjustment work. Place it on, put the robotic lawnmower back in the station, next round.
Protection on board, tool-free replacement
Each of the three versions – 6, 7 and 9 blades – is delivered with a blade guard. It supports controlled blade guidance during operation and keeps the freely swinging blades on their path, so the disc runs smoothly.
On small properties, this is particularly beneficial because the robotic lawnmower often travels close to flower beds, edges and paths. Damp cuttings otherwise like to collect around the blades and slow down rotation – a freely running mowing disc keeps the flow of grass moving and ensures trouble-free operation.
The swap itself hardly costs you any time: switch off the robotic lawnmower, carefully tip it over, remove the old cutting disc, and attach the new one. You usually don’t need any tools for this, and since the blades are already pre-assembled, the individual screwing on of the blades is also eliminated. Gloves are still a good idea – even dull blades can cut.
A quick look at the mowing disc is worth it in between: after contact with stones or roots, you should check the cutting disc for notches. The same applies before storing it in autumn – remove grass clippings, let it dry, and then the Minimo starts in spring without surprises.
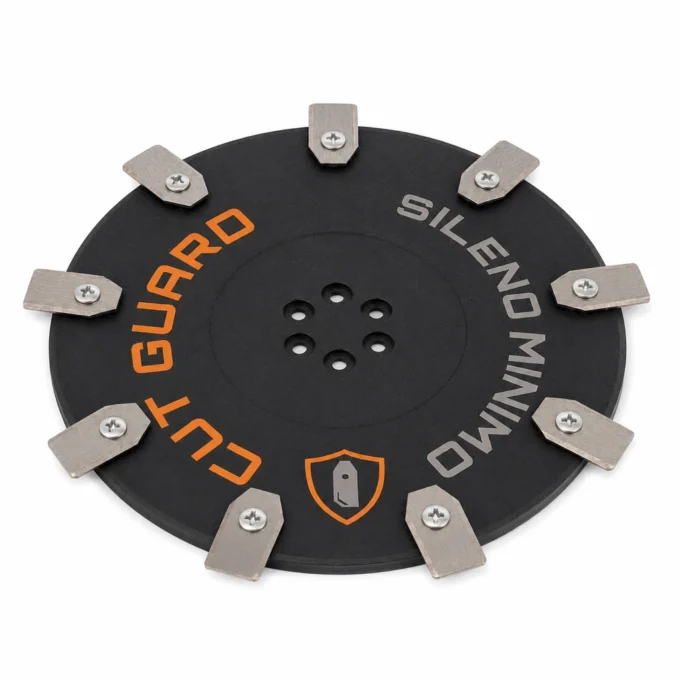
Simply choose the desired number of blades above – 6, 7, or 9; if you want, you can get it right away together with the 60er Klingen Set=60 blades set. Each variant fits the GARDENA Sileno Minimo, includes the guard, and arrives ready to install, pre-equipped for you.
More Gardena models
Top reviews
I got this cutting disc for my Gardena Sileno Minimo and the swap went quickly, about 10–15 minutes. It comes with 6 blades and a protective cover that really reduces grass clogging, and I didn’t even have to wrestle with any extra screws to get everything into the right position. The cut looks even even on my smaller areas.
I ordered a cutting disc for my Gardena Sileno Minimo, and it fit without any problems. With 6 blades, it actually gives a smooth cut on my small flower beds, and the guard seems to reduce grass from sticking. The replacement took me about 15 minutes. The only small downside is that the protective shield can be a bit sensitive to get into the correct position the first time.
Write a review
CUT GUARD Assembly Instructions
General assembly instructions for cutting discs, replacement blades, and blades for compatible robotic mowers.
Note
These instructions generally apply to compatible cutting discs, replacement blades, and blades from CUT GUARD.
They do not refer to a specific model or version. Always additionally refer to the operating manual of your robotic mower.
Important Safety Notice
Sharp blades. Risk of injury. The knives and blades can cause serious cuts.
Always wear appropriate protective gloves during assembly, disassembly, cleaning, and maintenance.
Never work on the cutting disc while it is still moving.
1. General Safety Instructions
- The operator is responsible for accidents, injuries, and damages caused to other persons or their property.
- Keep children, animals, and uninvolved persons away during work and operation of the robotic mower.
- Never touch the cutting disc or the knives while they are still moving.
- Always turn off the robotic mower completely before performing work on the cutting disc or the knives.
- Remove the battery if possible or disconnect the device from the power supply.
- Always wear appropriate protective gloves.
- Do not use damaged, bent, heavily worn, or corroded knives, screws, or cutting discs.
- Regularly check the condition of the knives, fastening screws, and the cutting disc.
2. Required Tools and Materials
- Suitable screwdriver or bit, matching the screws used.
- Protective gloves.
- New or tested fastening screws.
- CUT GUARD cutting disc, replacement blades, or blades.
- Optional: soft surface for safely placing the robotic mower.
Important
Only use suitable screws and appropriate mounting materials.
If specified by the manufacturer or included in the delivery, use screws with locking lacquer
or suitable screw locking.
3. Preparation
- Stop the robotic mower completely.
- Turn off the device according to the operating manual.
- Remove the battery if possible.
- Wait until the cutting disc has completely come to a stop.
- Carefully turn the robotic mower upside down and place it on a stable, soft surface.
- Check the work area for cleanliness and adequate lighting.
4. Disassembly of the Existing Cutting Disc
- Loosen the fastening screws of the existing cutting disc.
- Completely remove the screws and set them aside safely.
- Carefully remove the existing cutting disc from the knife holder.
- Clean the knife holder of grass clippings, dirt, and debris.
- Check the knife holder for damage or unusual wear.
Warning
Do not use the new cutting disc if the knife holder, fastening points,
threads, or screws are damaged. In this case, the robotic mower may only be reused after proper
inspection.
5. Installation of the CUT GUARD Cutting Disc
- Place the CUT GUARD cutting disc correctly on the knife holder.
- Ensure that the cutting disc lies flat and is correctly centered.
- Insert the appropriate fastening screws.
- Tighten the screws evenly and firmly.
- Do not overtighten the screws to avoid damage to threads or components.
- After installation, check that the cutting disc is securely attached.
- Gently turn the cutting disc by hand and check if it runs freely.
6. Installation or Replacement of Replacement Blades
- Loosen the screws of the old blades.
- Carefully remove the old blades.
- Clean the contact surfaces on the cutting disc.
- Place the new CUT GUARD replacement blades on the designated fastening points.
- Ensure that the blades remain freely movable, as intended by design.
- Secure each blade with a suitable screw.
- Tighten the screws securely without overtightening.
- Check each blade for a secure fit and free movement.
7. Post-Installation Check
- Are all screws fully inserted and securely fastened?
- Is the cutting disc lying flat and securely?
- Can the blades move freely, if intended?
- Are there no tools or foreign objects left in the area of the cutting disc?
- Does the cutting disc run freely and without grinding?
8. Operation and Maintenance
- Regularly check knives, screws, and cutting disc for wear.
- Immediately replace damaged or heavily worn parts.
- Regularly clean the cutting disc of grass clippings and dirt.
- Do not use the robotic mower if unusual noises, vibrations, or running problems occur.
- Only use compatible spare parts and suitable mounting materials.
Note on Blade Replacement
Always replace blades in a timely manner. Dull or damaged blades can worsen the cutting quality,
put more strain on the robotic mower, and compromise safety.
9. Disclaimer
CUT GUARD cutting discs, replacement blades, and blades are accessories and spare parts for compatible robotic mowers.
They are not original accessories from the respective device manufacturer unless explicitly stated
in the product description.
The assembly and use are at your own risk. No liability is accepted for damages caused by improper assembly,
incorrect use, damaged components, or failure to observe the operating manual of the robotic mower.
Warning in Case of Injury
Seek medical assistance immediately in case of injury or accident.
GPSR Information on Product Safety
Product safety information in accordance with Regulation (EU) 2023/988 on general product safety.
Manufacturer & Responsible Person (EU)
Patryk Napiorkowski - Trivando
Am bhf Weinhübel 8
02827 Görlitz
Germany
Email:
service@trivando.de
Website:
www.trivando.de
Product Identification
Brand: CUT GUARD
Product Type: Blade discs, replacement blades, and blades for compatible robotic mowers
Intended Use: Accessories and replacement parts for suitable robotic mowers
Product Type: Cutting and fastening components for use in robotic mowers
Item Number / Model / Variant: see respective product description, packaging, or invoice
Compatibility: see product description and operating instructions of the robotic mower
Important Warning
Sharp blades. Risk of injury. The knives and blades can cause serious cuts.
Assembly, disassembly, cleaning, and maintenance should only be performed when the robotic mower is completely turned off.
Always wear appropriate protective gloves and wait until the blade disc has come to a complete stop.
Intended Use
CUT GUARD blade discs, replacement blades, and blades are intended solely as accessories and replacement parts for compatible robotic mowers.
The products may only be used for their intended purpose and only in conjunction with suitable, compatible devices.
Any other use, structural modification, or improper assembly may lead to injuries, malfunctions, or property damage.
Not Suitable For
- Children.
- Persons who have not read or understood the operating instructions of the robotic mower.
- Incompatible robotic mowers.
- Devices with damaged blade mounts, damaged threads, or defective fastening points.
- Use outside the intended application area.
- Use as a tool, hand knife, or for other cutting tasks outside the robotic mower.
Safety and Warning Notices
- Use only for the intended purpose.
- Use only with compatible robotic mowers, suitable blade discs, and appropriate mounting materials.
- Always turn off the robotic mower completely before any assembly, disassembly, cleaning, or maintenance.
- If possible, remove the battery or disconnect the device from the power supply.
- Always wait until the blade disc has come to a complete stop.
- Always wear appropriate protective gloves.
- Keep hands and feet away from rotating blades.
- Never touch knives, blades, or blade discs during operation.
- Do not use damaged, bent, heavily worn, rusted, or corroded knives, screws, or blade discs.
- Regularly check knives, screws, and blade discs for secure fit, wear, and damage.
- Use only suitable screws and appropriate mounting materials.
- If provided, use screws with locking lacquer or suitable screw locking.
- Keep children, animals, and uninvolved persons away from the work area.
- The robotic mower must not be operated if persons, especially children, or animals are in the work area.
- In case of unusual noises, vibrations, grinding noises, or running problems, stop operation immediately and check the assembly.
- In case of injuries or accidents, seek medical assistance immediately.
Assembly Instructions
Assembly may only be performed when the device is turned off. Always observe the operating instructions of the respective robotic mower.
Blade discs, replacement blades, and blades must be correctly seated and securely fastened. After assembly, check whether the blade disc runs freely and that no tools or foreign objects have been left in the area of the knives.
Check Before Operation
- Are all screws fully inserted and tightened?
- Is the blade disc correctly centered and securely fastened?
- Are the knives correctly mounted?
- Can movable knives move freely, if this is structurally intended?
- Are there no visible damages?
- Does the blade disc run freely and without grinding?
Maintenance and Inspection
- Regularly check knives, blades, screws, and blade discs for wear and damage.
- Immediately replace damaged or heavily worn parts.
- Regularly clean the blade disc of grass residues, dirt, and deposits.
- Do not use aggressive cleaning agents that may damage material or coating.
- Use only compatible replacement parts and suitable mounting materials.
Storage and Disposal
Store replacement blades, blades, screws, and blade discs dry, clean, and secure.
Keep out of reach of children and unauthorized persons.
Safely package used, damaged, or dull knives and blades to avoid cuts.
Dispose of metal parts, packaging, and accessories in accordance with local regulations.
Note on Original Accessories
CUT GUARD products are compatible accessories and replacement parts. They are not original accessories of the respective
device manufacturer unless explicitly stated in the product description. Brand names, model designations,
and manufacturer information are for compatibility indication only.
Contact for Safety Questions, Complaints, or Accidents
For questions regarding product safety, complaints, accidents, or indications of possible safety issues, please contact us immediately:
Patryk Napiorkowski - Trivando
Am bhf Weinhübel 8
02827 Görlitz
Germany
Email: service@trivando.de
Website: www.trivando.de
Frequently asked questions
Does this cutting disc fit my GARDENA Sileno Minimo?
Yes. The disc is precision-made for the Sileno Minimo’s mounting, including model numbers 19060-20 and 19061-20. Before ordering, briefly compare the model name on the type plate as well as the design of your current disc—then there will be no surprises during installation.
The Minimo mows several times per week—how often do I need to change the disc?
There is no fixed interval; the cutting pattern is what matters. Since the Minimo removes only a few millimeters with each run, wear becomes noticeable earlier than with robots that have less frequent mowing sessions: As soon as the blade tips fray or turn brownish, the blades no longer cut cleanly. Keeping replacement blades on hand helps you avoid having to postpone the change.
Is a set of 9 blades really worth it for such a small area?
Especially there. On a small property, you see the lawn up close— from the window, from the terrace, or while passing by. Nine blades produce the finest cut of this series; the clippings are broken down into smaller pieces and the blade tips hardly fall over. If you just want to keep the lawn short, the 6-blade or 7-blade variant works just as well.
What else is different about the three variants?
Only in the number of cuts per revolution. Mounting, installation, and protection are the same for all three versions, as is handling when changing. More blades mean more cutting points and thus a finer result—the 6-blade version corresponds to the classic replacement, the 7-blade version is in between, and the 9-blade version is the fine-cut variant.
Is the guard included with all variants?
Yes, all three versions are supplied with a guard—equally for 6, 7, and 9 blades. The guard supports controlled blade guidance during operation and helps reduce grass blockages on the mowing disc. This is helpful for the Minimo because it often travels close to flowerbeds and along edges.
Do I need tools to replace the disc?
In general, no. Switch off the robot, carefully tilt it, remove the old disc, and attach the new one—that’s done in just a few minutes. Since the blades are already pre-assembled, you also don’t need to screw the blades on individually. Please wear gloves: Even dull blades still cut.
Do I need to pre-assemble anything on the Minimo mowing disc?
Yes. Each disc comes fully fitted—the 6-blade version with 6, the 7-blade version with 7, and the 9-blade version with 9 already mounted blades. You can therefore place the mowing disc directly from the packaging onto the robot and let it drive its next round without having to assemble anything beforehand.
Is this an original Gardena part for the Minimo?
No, this is a compatible cutting disc from CUT GUARD. It is manufactured to fit precisely in the Sileno Minimo’s mounting and is designed for continuous operation with short mowing intervals—a more affordable alternative to the original part, with pre-assembled blades and available for quick delivery.