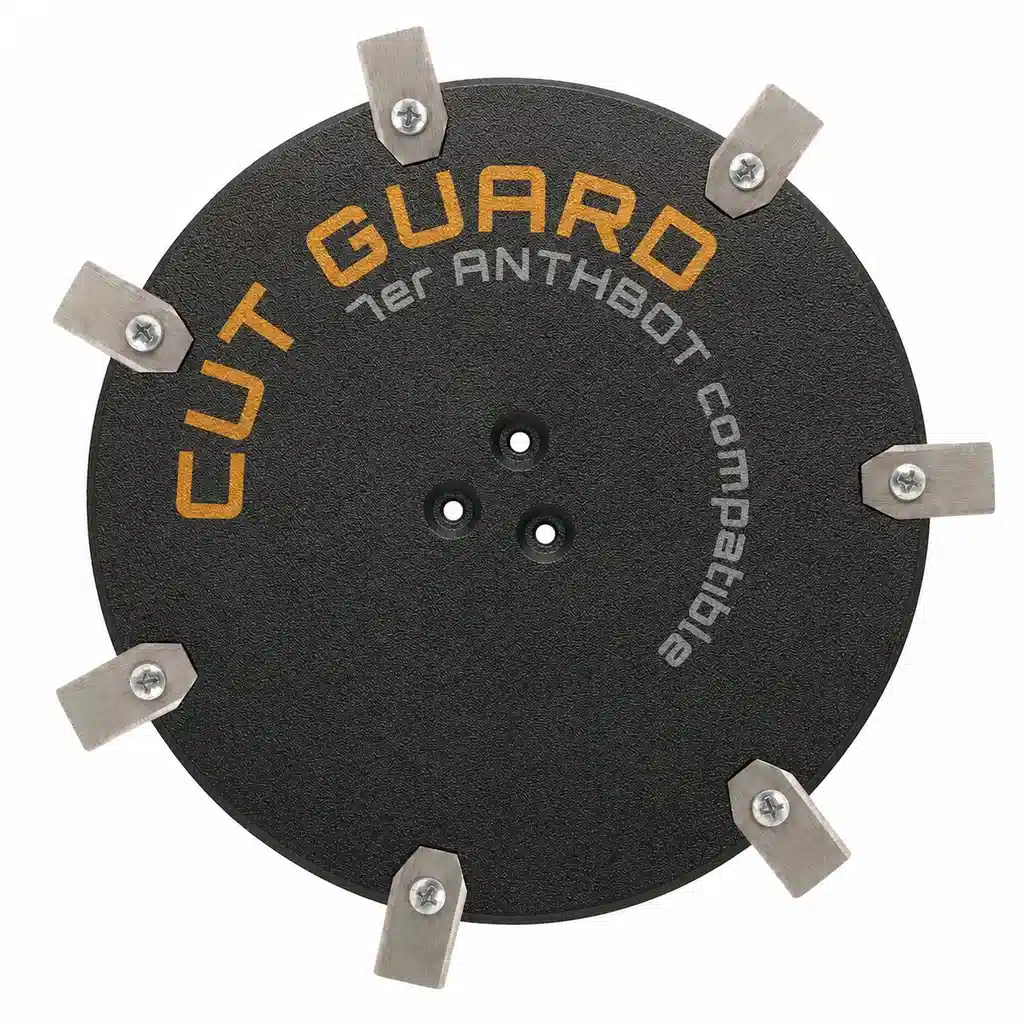
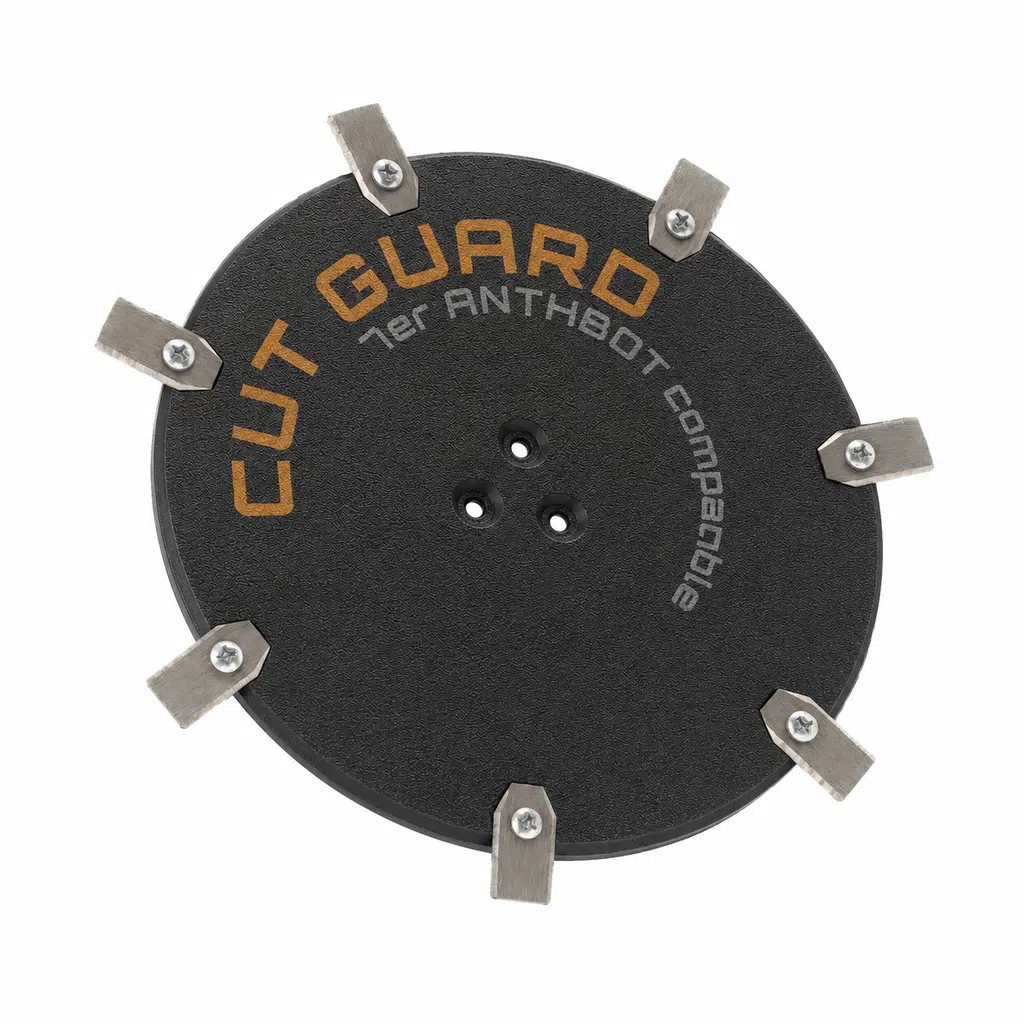
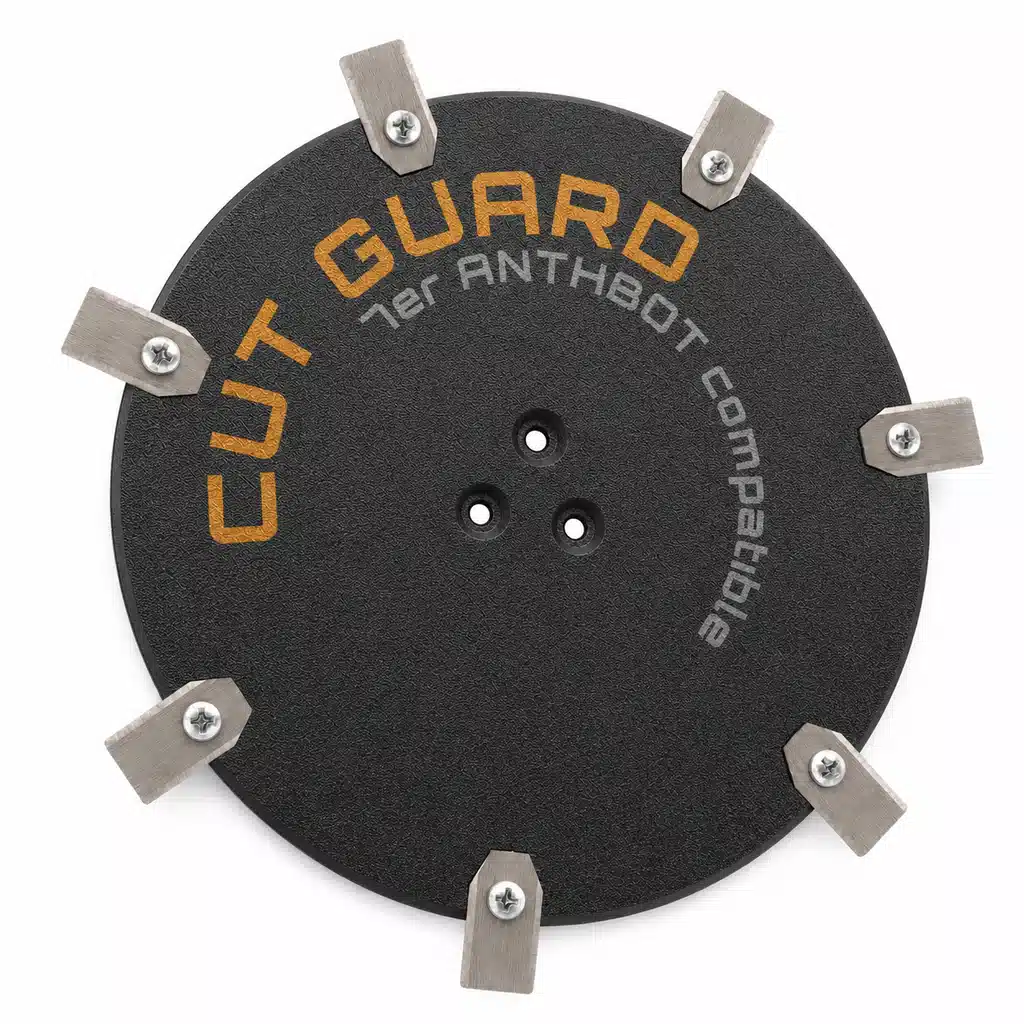
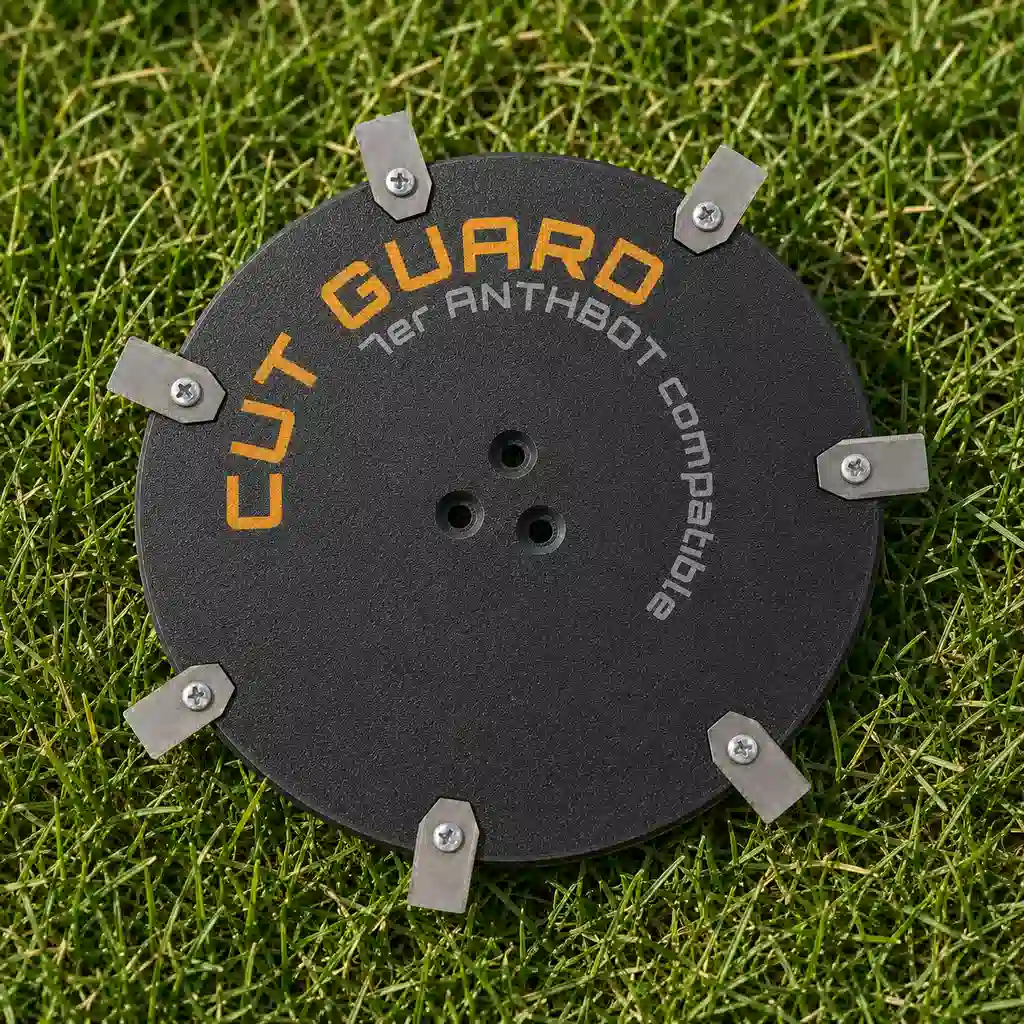
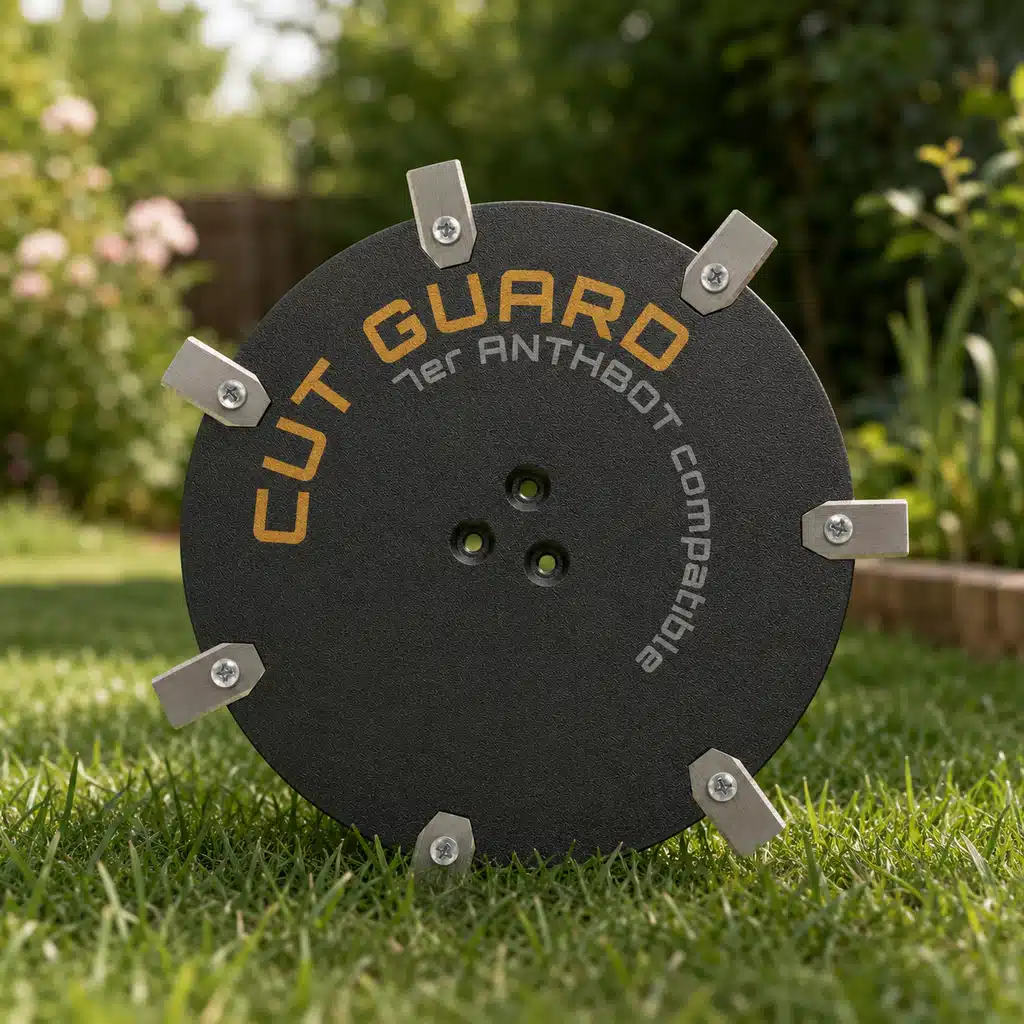
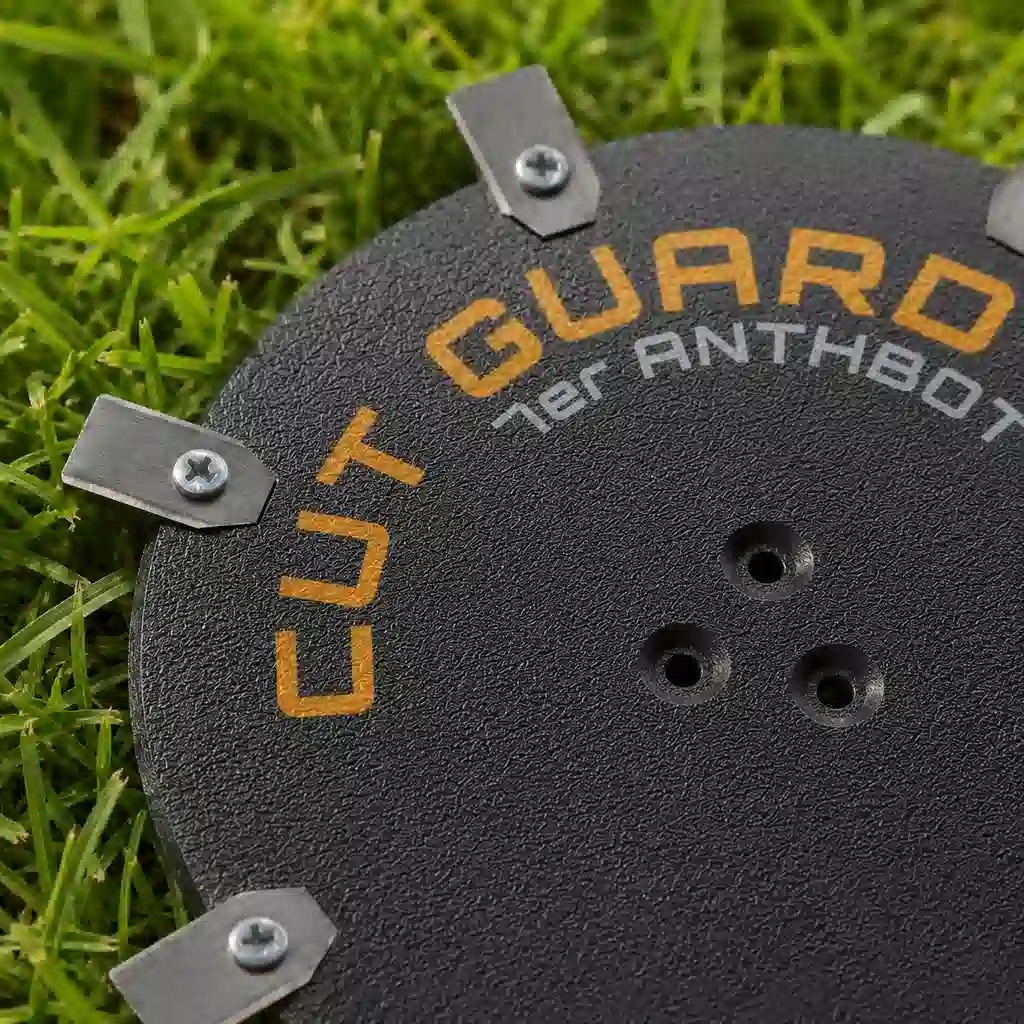
Cutting disc for ANTHBOT Genie 600, 1000, 3000, M5, M9 and M5 LiDAR
- Cutting disc for ANTHBOT Genie 600, Genie 1000, Genie 3000, M5, M9 & M5 LiDAR
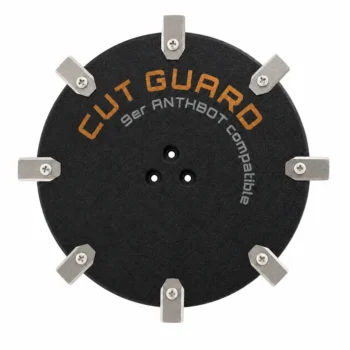
- Two versions to choose from: 7 blades (all-round) or 9 blades (fine cut)
- Blades pre-assembled – unpack, screw on, mow away
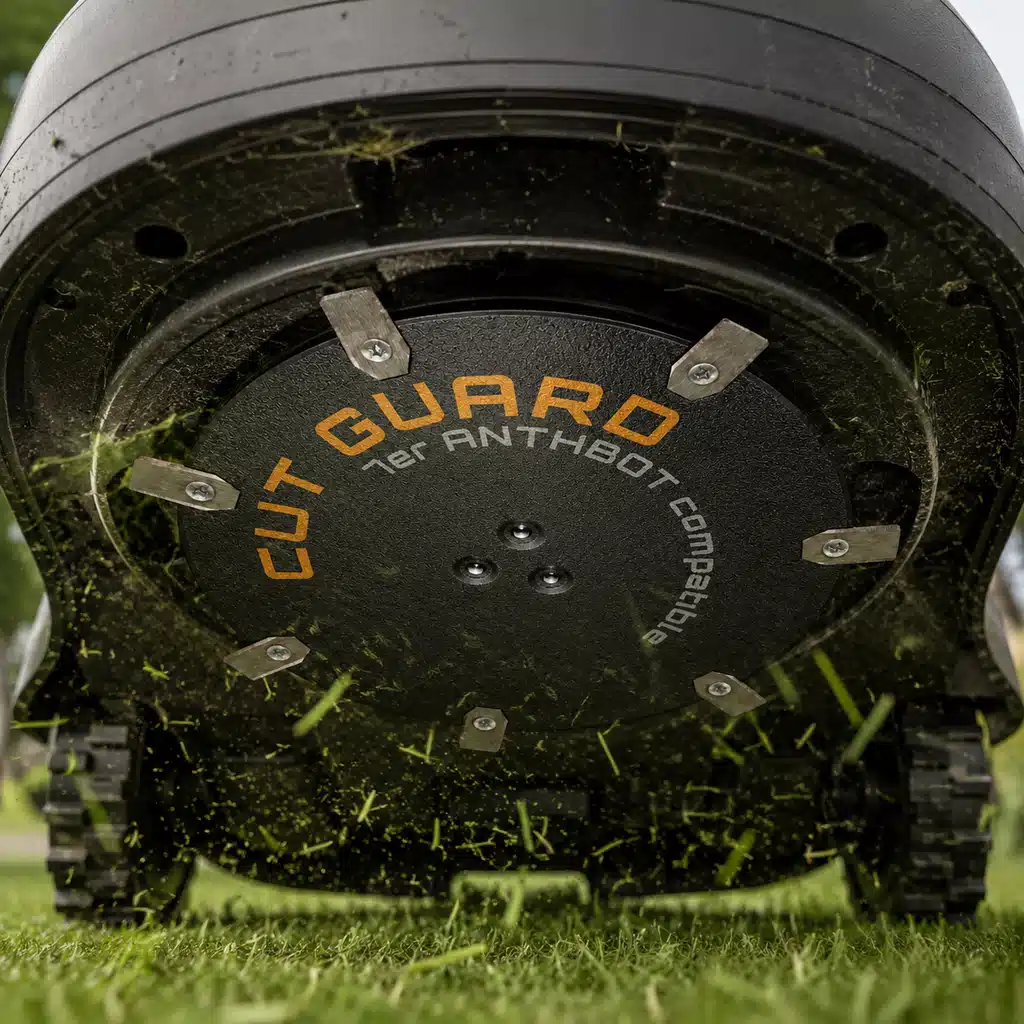
- Original mounting: fits without adapter, drilling, or modification
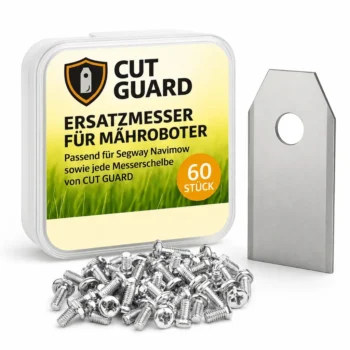
- Optional as a set with 60 replacement blades – stock up for the whole season
 +
+
 +
+
Compatibility – ANTHBOT
Fits the following robotic mowers:
- ✓ Genie 600
- ✓ Genie 1000
- ✓ Genie 3000
- ✓ M5
- ✓ M9
- ✓ M5 Lidar
A mowing disc for the entire ANTHBOT family: whether Genie 600, Genie 1000, Genie 3000 or M5, M9 and M5 LiDAR – this cutting disc fits all six models. Available with 7 or 9 blades, fully assembled.
7 or 9 blades – which one fits your ANTHBOT?
Both versions sit on the same mounting and can be freely combined with any of the six models. The key factor is what your lawn should look like – and how strongly it grows between mowing sessions.
Seven freely swinging blades cover the typical use of the Genie and M-Series: regularly mowed areas, normal growth, reliable results. The cutting disc runs quietly and the blades wear evenly – the first choice if you simply need replacement for the worn original cutting disc.
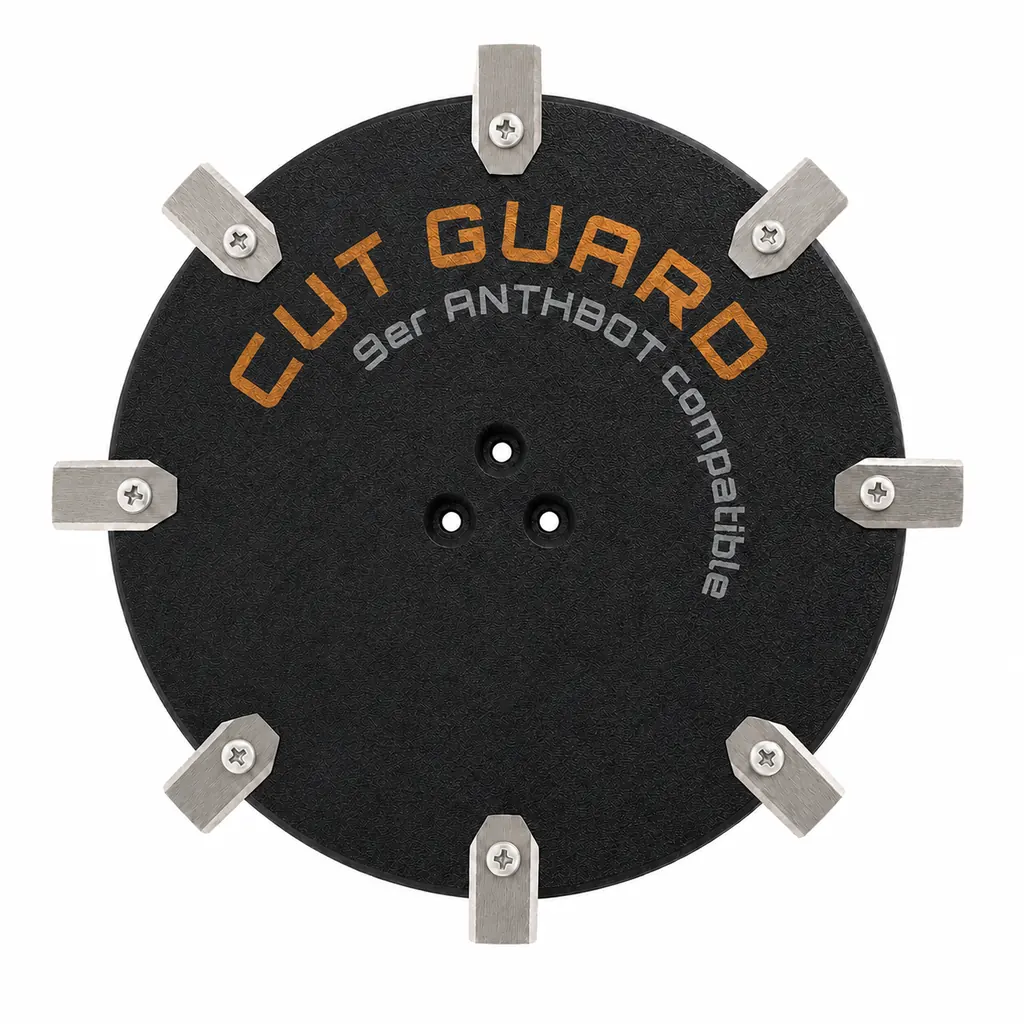
Nine blades cut each blade of grass into shorter sections. The cuttings become finer, distribute better, and decompose faster – a noticeable advantage for mulching. Recommended for the Genie 3000 on large areas and everywhere you want the lawn to look freshly rolled.
A replacement part for the entire ANTHBOT fleet
ANTHBOT uses the same blade plate mount in the Genie series (600, 1000, 3000) and in the M series (M5, M9, M5 LiDAR). This disc is made exactly for that: it fits in without adapters, without drilling, and without modification – unscrew, attach, tighten.
That makes inventory management easy: anyone running two different ANTHBOT models – for example, a Genie 1000 in the front yard and an M5 LiDAR behind the house – only needs one disc type as a replacement. The replacement blades are also identical and can be swapped with each other.
Replacement parts for ANTHBOT have been difficult to obtain so far, because the brand is new to the German market. With this cutting disc, you keep the robotic lawnmower ready for use without having to wait for deliveries from overseas – shipping from the EU, in just a few days to you.
The only difference between the variants is the number of blades: 7 for everyday use, 9 for fine cutting. Both are delivered with pre-assembled blades.
Why LiDAR robotic lawnmowers need sharp blades
The strength of the ANTHBOT robotic lawnmowers is also the greatest strain on the cutting system: they mow frequently, often daily, and cover considerable distances in the process. Every trip costs blade sharpness – due to sand, twigs, fallen fruit, or simply the sheer operating time.
Dull blades crush and tear the stems instead of cutting them. This becomes visible in brown, fibrous tips and an overall dull look of the lawn – often just a few days after mowing. Then fertilizing or watering more treats the symptom instead of the cause.
Therefore, check the cut pattern and the blades themselves briefly every few weeks: notches, rust, or bent blades are clear replacement signals. After a collision with a fixed obstacle, it’s also worth taking a look at the disc – if it runs unevenly, the mowing motor’s bearing will suffer in the long run.
The replacement itself is routine: switch off the robotic lawnmower, turn it over, unscrew the disc, and fit the new one. With a suitable screwdriver, this is done in just a few minutes – for each of the six compatible models in the same way.
Your ANTHBOT stays ready for use
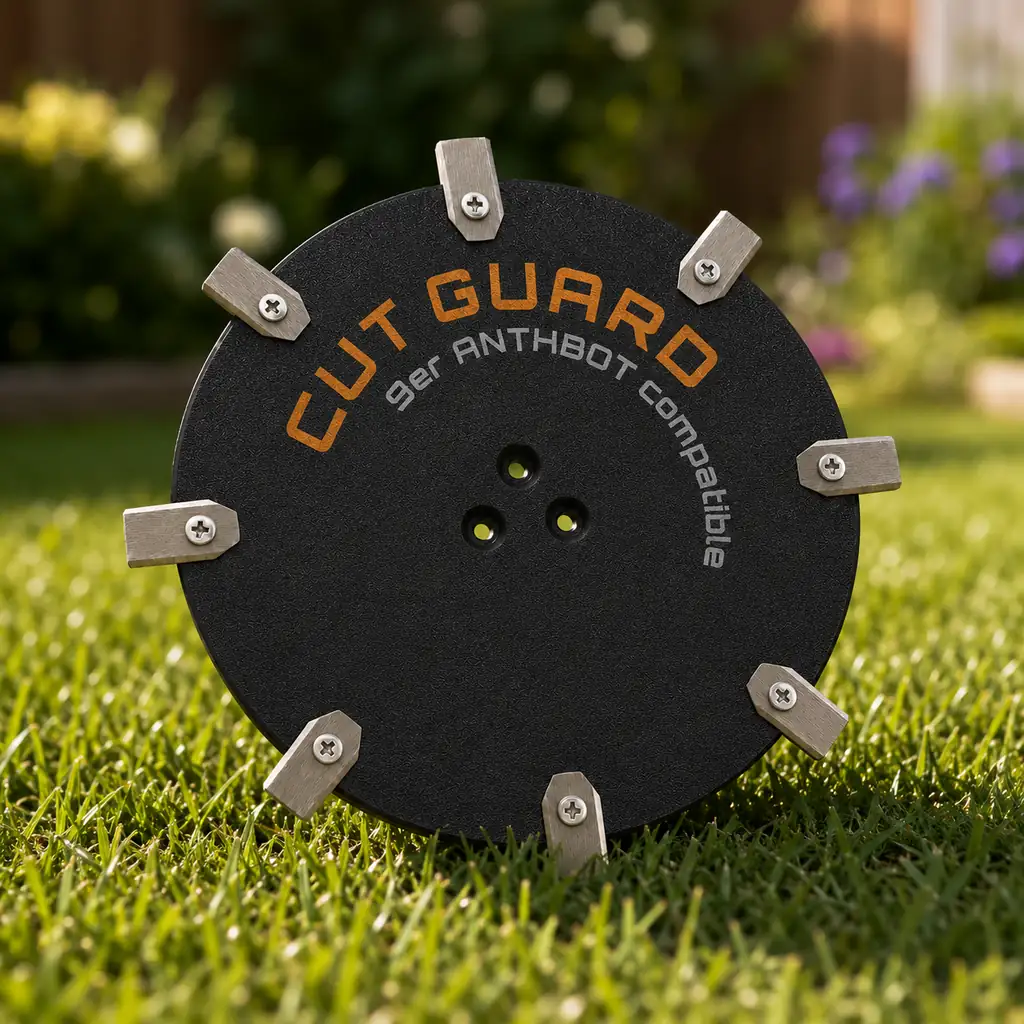
Whether as precautionary replacement in the cupboard or as an immediate swap for a damaged disc: With the matching blade plate and fresh blades, your Genie or M5 delivers the cut pattern you bought it for. Simply select the desired number of blades above – if you want, directly in the set with 60 replacement blades.
More ANTHBOT models
Top reviews
Fits my ANTHBOT Genie 600 just as described; 7 blades run quietly and the cut looks even. Small criticism: the screw mounting feels a bit tighter—during installation you need a little more patience.
I replaced the disc on my ANTHBOT Genie 1000 and it fits without any hassle. The 7 blades guide the grass well, and the rotation is noticeably quieter than with the old set. I received the correct version for the standard and the installation went quickly, without any play. Maria
Write a review
CUT GUARD Assembly Instructions
General assembly instructions for cutting discs, replacement blades, and blades for compatible robotic mowers.
Note
These instructions generally apply to compatible cutting discs, replacement blades, and blades from CUT GUARD.
They do not refer to a specific model or version. Always additionally refer to the operating manual of your robotic mower.
Important Safety Notice
Sharp blades. Risk of injury. The knives and blades can cause serious cuts.
Always wear appropriate protective gloves during assembly, disassembly, cleaning, and maintenance.
Never work on the cutting disc while it is still moving.
1. General Safety Instructions
- The operator is responsible for accidents, injuries, and damages caused to other persons or their property.
- Keep children, animals, and uninvolved persons away during work and operation of the robotic mower.
- Never touch the cutting disc or the knives while they are still moving.
- Always turn off the robotic mower completely before performing work on the cutting disc or the knives.
- Remove the battery if possible or disconnect the device from the power supply.
- Always wear appropriate protective gloves.
- Do not use damaged, bent, heavily worn, or corroded knives, screws, or cutting discs.
- Regularly check the condition of the knives, fastening screws, and the cutting disc.
2. Required Tools and Materials
- Suitable screwdriver or bit, matching the screws used.
- Protective gloves.
- New or tested fastening screws.
- CUT GUARD cutting disc, replacement blades, or blades.
- Optional: soft surface for safely placing the robotic mower.
Important
Only use suitable screws and appropriate mounting materials.
If specified by the manufacturer or included in the delivery, use screws with locking lacquer
or suitable screw locking.
3. Preparation
- Stop the robotic mower completely.
- Turn off the device according to the operating manual.
- Remove the battery if possible.
- Wait until the cutting disc has completely come to a stop.
- Carefully turn the robotic mower upside down and place it on a stable, soft surface.
- Check the work area for cleanliness and adequate lighting.
4. Disassembly of the Existing Cutting Disc
- Loosen the fastening screws of the existing cutting disc.
- Completely remove the screws and set them aside safely.
- Carefully remove the existing cutting disc from the knife holder.
- Clean the knife holder of grass clippings, dirt, and debris.
- Check the knife holder for damage or unusual wear.
Warning
Do not use the new cutting disc if the knife holder, fastening points,
threads, or screws are damaged. In this case, the robotic mower may only be reused after proper
inspection.
5. Installation of the CUT GUARD Cutting Disc
- Place the CUT GUARD cutting disc correctly on the knife holder.
- Ensure that the cutting disc lies flat and is correctly centered.
- Insert the appropriate fastening screws.
- Tighten the screws evenly and firmly.
- Do not overtighten the screws to avoid damage to threads or components.
- After installation, check that the cutting disc is securely attached.
- Gently turn the cutting disc by hand and check if it runs freely.
6. Installation or Replacement of Replacement Blades
- Loosen the screws of the old blades.
- Carefully remove the old blades.
- Clean the contact surfaces on the cutting disc.
- Place the new CUT GUARD replacement blades on the designated fastening points.
- Ensure that the blades remain freely movable, as intended by design.
- Secure each blade with a suitable screw.
- Tighten the screws securely without overtightening.
- Check each blade for a secure fit and free movement.
7. Post-Installation Check
- Are all screws fully inserted and securely fastened?
- Is the cutting disc lying flat and securely?
- Can the blades move freely, if intended?
- Are there no tools or foreign objects left in the area of the cutting disc?
- Does the cutting disc run freely and without grinding?
8. Operation and Maintenance
- Regularly check knives, screws, and cutting disc for wear.
- Immediately replace damaged or heavily worn parts.
- Regularly clean the cutting disc of grass clippings and dirt.
- Do not use the robotic mower if unusual noises, vibrations, or running problems occur.
- Only use compatible spare parts and suitable mounting materials.
Note on Blade Replacement
Always replace blades in a timely manner. Dull or damaged blades can worsen the cutting quality,
put more strain on the robotic mower, and compromise safety.
9. Disclaimer
CUT GUARD cutting discs, replacement blades, and blades are accessories and spare parts for compatible robotic mowers.
They are not original accessories from the respective device manufacturer unless explicitly stated
in the product description.
The assembly and use are at your own risk. No liability is accepted for damages caused by improper assembly,
incorrect use, damaged components, or failure to observe the operating manual of the robotic mower.
Warning in Case of Injury
Seek medical assistance immediately in case of injury or accident.
GPSR Information on Product Safety
Product safety information in accordance with Regulation (EU) 2023/988 on general product safety.
Manufacturer & Responsible Person (EU)
Patryk Napiorkowski - Trivando
Am bhf Weinhübel 8
02827 Görlitz
Germany
Email:
service@trivando.de
Website:
www.trivando.de
Product Identification
Brand: CUT GUARD
Product Type: Blade discs, replacement blades, and blades for compatible robotic mowers
Intended Use: Accessories and replacement parts for suitable robotic mowers
Product Type: Cutting and fastening components for use in robotic mowers
Item Number / Model / Variant: see respective product description, packaging, or invoice
Compatibility: see product description and operating instructions of the robotic mower
Important Warning
Sharp blades. Risk of injury. The knives and blades can cause serious cuts.
Assembly, disassembly, cleaning, and maintenance should only be performed when the robotic mower is completely turned off.
Always wear appropriate protective gloves and wait until the blade disc has come to a complete stop.
Intended Use
CUT GUARD blade discs, replacement blades, and blades are intended solely as accessories and replacement parts for compatible robotic mowers.
The products may only be used for their intended purpose and only in conjunction with suitable, compatible devices.
Any other use, structural modification, or improper assembly may lead to injuries, malfunctions, or property damage.
Not Suitable For
- Children.
- Persons who have not read or understood the operating instructions of the robotic mower.
- Incompatible robotic mowers.
- Devices with damaged blade mounts, damaged threads, or defective fastening points.
- Use outside the intended application area.
- Use as a tool, hand knife, or for other cutting tasks outside the robotic mower.
Safety and Warning Notices
- Use only for the intended purpose.
- Use only with compatible robotic mowers, suitable blade discs, and appropriate mounting materials.
- Always turn off the robotic mower completely before any assembly, disassembly, cleaning, or maintenance.
- If possible, remove the battery or disconnect the device from the power supply.
- Always wait until the blade disc has come to a complete stop.
- Always wear appropriate protective gloves.
- Keep hands and feet away from rotating blades.
- Never touch knives, blades, or blade discs during operation.
- Do not use damaged, bent, heavily worn, rusted, or corroded knives, screws, or blade discs.
- Regularly check knives, screws, and blade discs for secure fit, wear, and damage.
- Use only suitable screws and appropriate mounting materials.
- If provided, use screws with locking lacquer or suitable screw locking.
- Keep children, animals, and uninvolved persons away from the work area.
- The robotic mower must not be operated if persons, especially children, or animals are in the work area.
- In case of unusual noises, vibrations, grinding noises, or running problems, stop operation immediately and check the assembly.
- In case of injuries or accidents, seek medical assistance immediately.
Assembly Instructions
Assembly may only be performed when the device is turned off. Always observe the operating instructions of the respective robotic mower.
Blade discs, replacement blades, and blades must be correctly seated and securely fastened. After assembly, check whether the blade disc runs freely and that no tools or foreign objects have been left in the area of the knives.
Check Before Operation
- Are all screws fully inserted and tightened?
- Is the blade disc correctly centered and securely fastened?
- Are the knives correctly mounted?
- Can movable knives move freely, if this is structurally intended?
- Are there no visible damages?
- Does the blade disc run freely and without grinding?
Maintenance and Inspection
- Regularly check knives, blades, screws, and blade discs for wear and damage.
- Immediately replace damaged or heavily worn parts.
- Regularly clean the blade disc of grass residues, dirt, and deposits.
- Do not use aggressive cleaning agents that may damage material or coating.
- Use only compatible replacement parts and suitable mounting materials.
Storage and Disposal
Store replacement blades, blades, screws, and blade discs dry, clean, and secure.
Keep out of reach of children and unauthorized persons.
Safely package used, damaged, or dull knives and blades to avoid cuts.
Dispose of metal parts, packaging, and accessories in accordance with local regulations.
Note on Original Accessories
CUT GUARD products are compatible accessories and replacement parts. They are not original accessories of the respective
device manufacturer unless explicitly stated in the product description. Brand names, model designations,
and manufacturer information are for compatibility indication only.
Contact for Safety Questions, Complaints, or Accidents
For questions regarding product safety, complaints, accidents, or indications of possible safety issues, please contact us immediately:
Patryk Napiorkowski - Trivando
Am bhf Weinhübel 8
02827 Görlitz
Germany
Email: service@trivando.de
Website: www.trivando.de
Frequently asked questions
Does this cutting disc really fit all ANTHBOT models?
Yes. The Genie series (600, 1000, 3000) and the M series (M5, M9, M5 LiDAR) use the same blade plate mount. The disc is screwed on like the original—no adapters, no drilling, no modifications.
Should I take 7 or 9 blades?
The 7-blade version is the all-rounder for regularly mowed areas with normal growth. The 9-blade version cuts more finely and chops the clippings more—ideal for mulching, for dense lawns, and for large areas, for example with the Genie 3000.
Are the blades already mounted?
Yes, both variants are delivered with fully mounted blades. You only screw on the disc and the robot can start mowing right away—no additional accessories are needed.
How often do I need to change the blades on an ANTHBOT?
Thanks to RTK and LiDAR navigation, ANTHBOT robots mow often—sometimes daily—so blades dull faster. As a guideline: replace every four to eight weeks, depending on the area and growth. Brown, frayed tips of the grass are the clearest sign.
What does the set with 60 replacement blades offer?
You can replace blades for an entire season without reordering, and you pay less as a set than when buying individually. The blades fit both disc variants and can be swapped with each other.
How much effort is it to change the mowing disc?
A suitable screwdriver is all you need: switch off the robot, carefully turn it over, unscrew the old disc, and screw the new one on tightly. Then check whether all blades swing freely. In practice, this only takes a few minutes.
How can I tell if a cutting disc is worn out?
Typical signs are a more unsteady, louder operation, an uneven cutting pattern, and visible notches or deformations. After a collision with a fixed obstacle, you should generally check the disc—an unbalanced disc puts strain on the motor and bearings.
Is this an original part from ANTHBOT?
No, it is a compatible replacement cutting disc from CUT GUARD. It is manufactured to fit the ANTHBOT mount precisely, is available immediately from the EU, and is cheaper than going through the manufacturer.