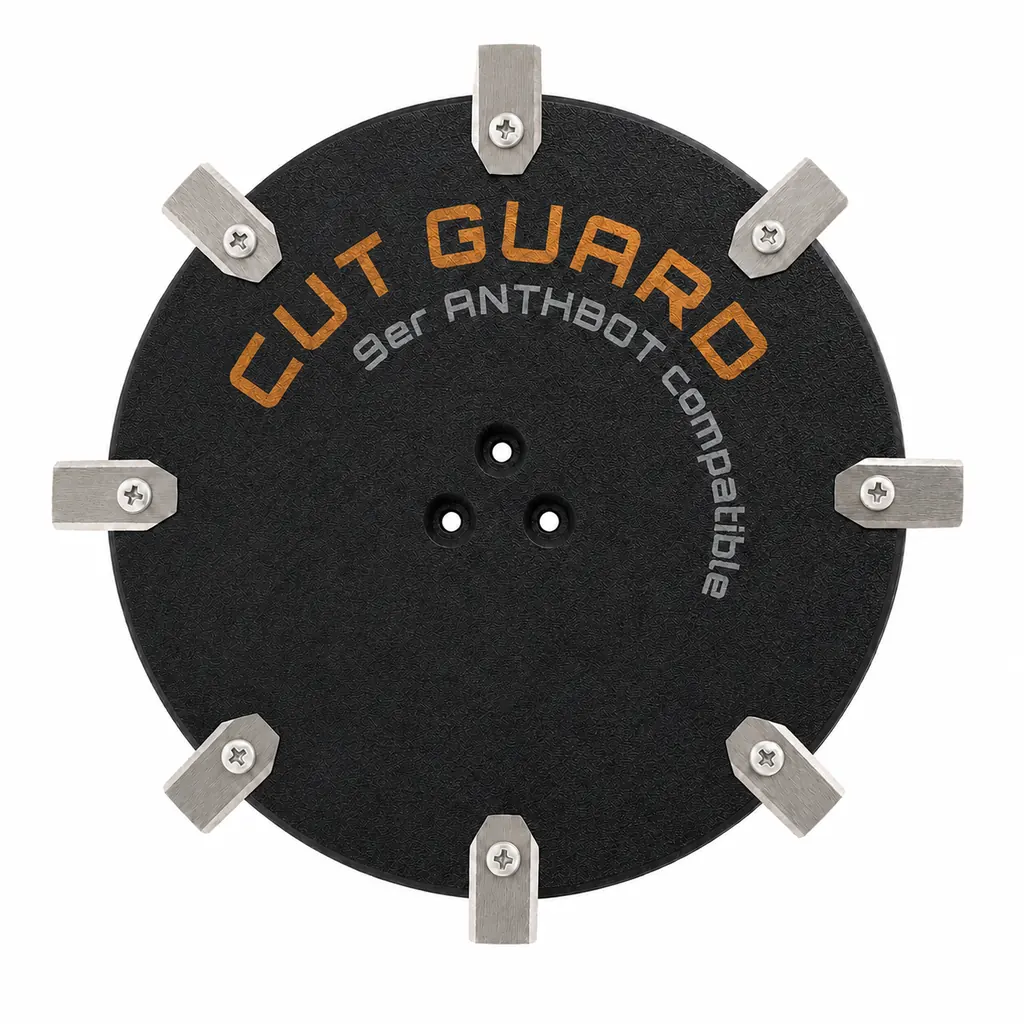
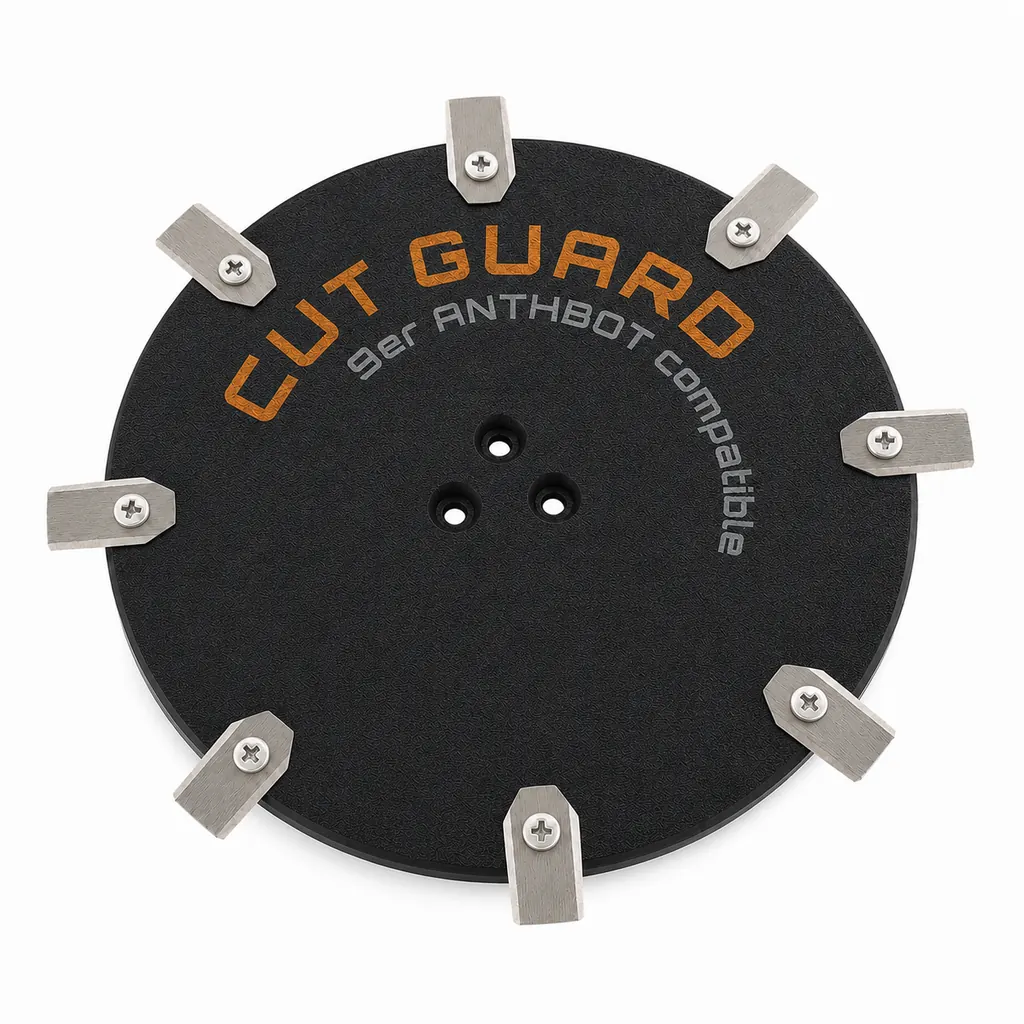
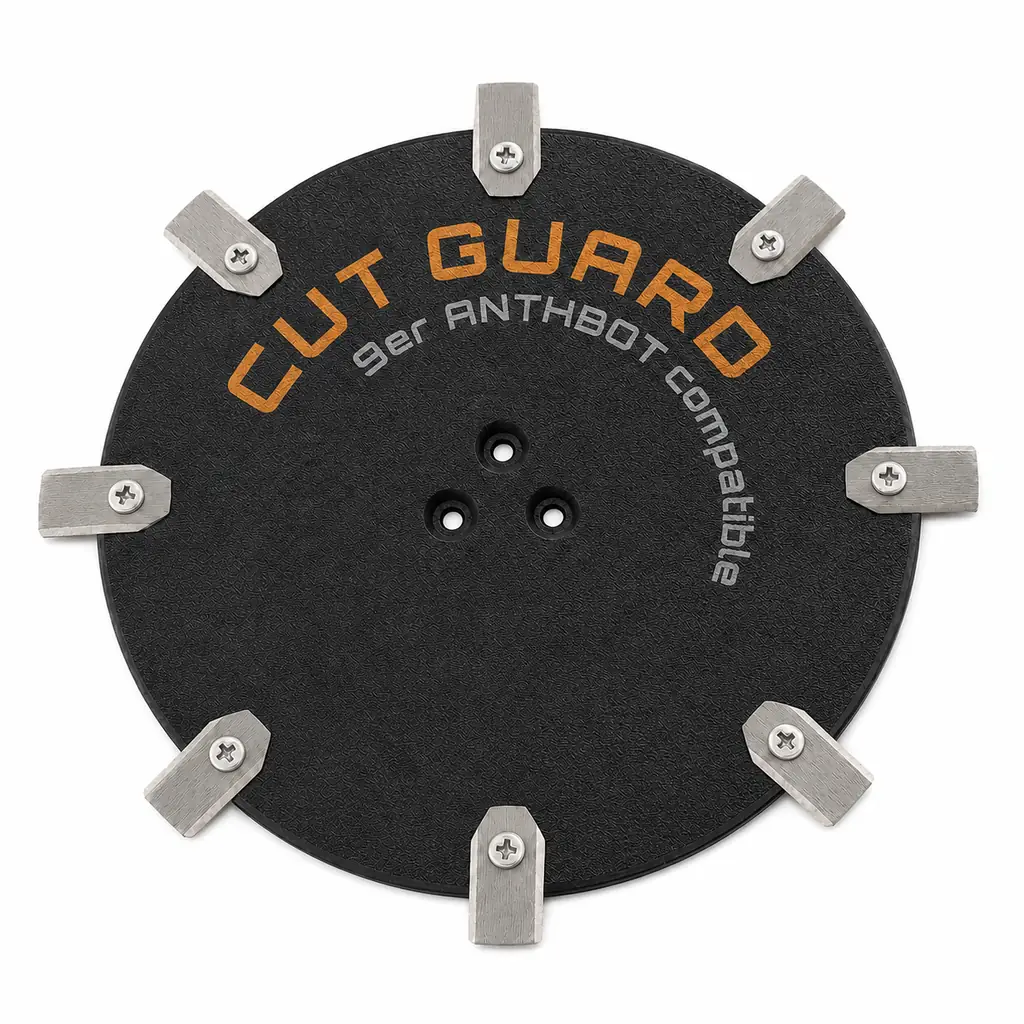
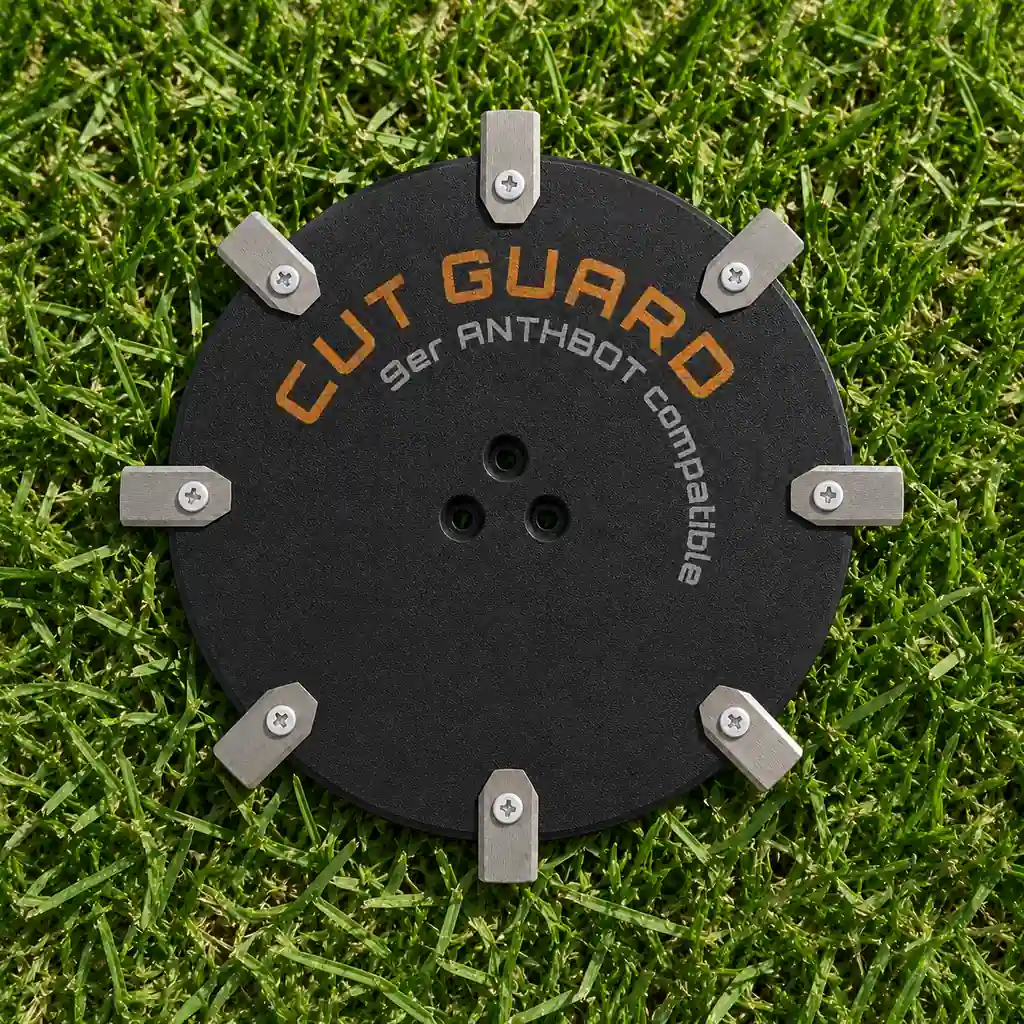
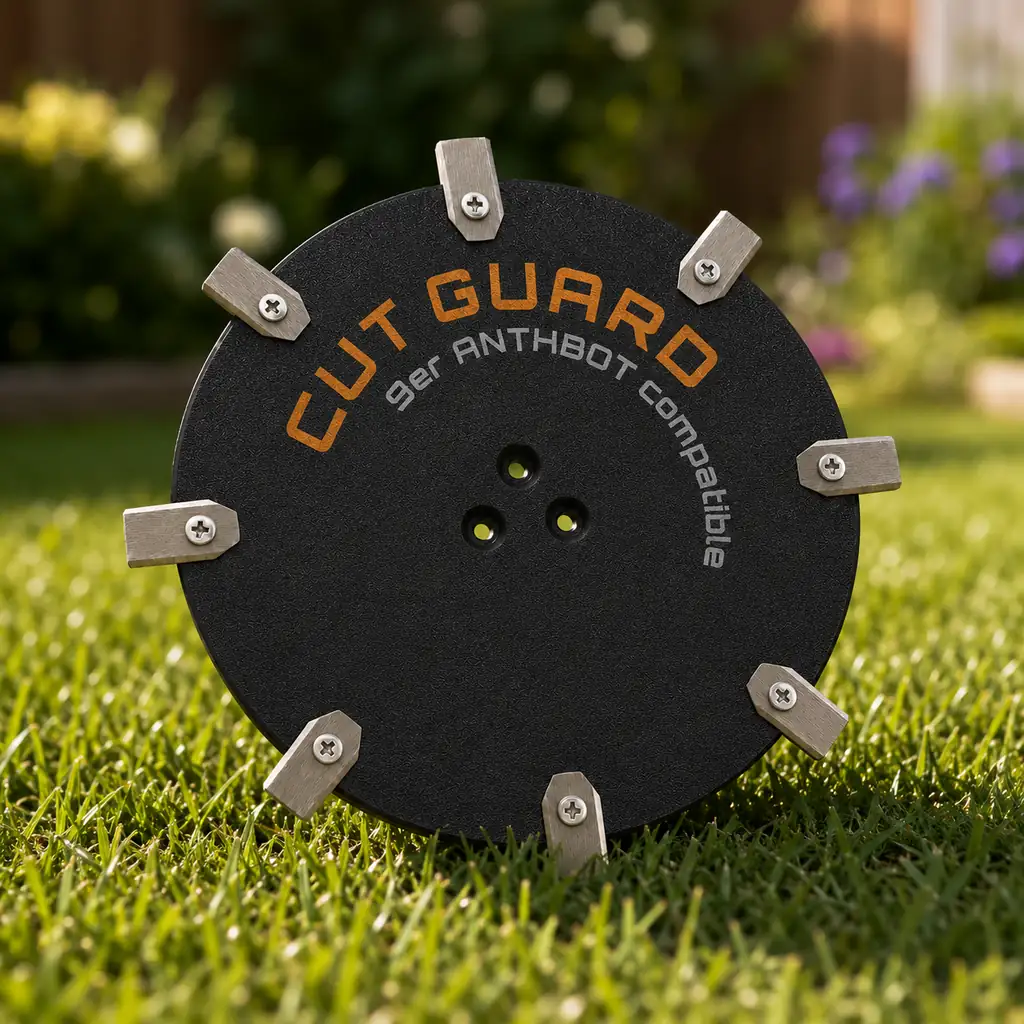
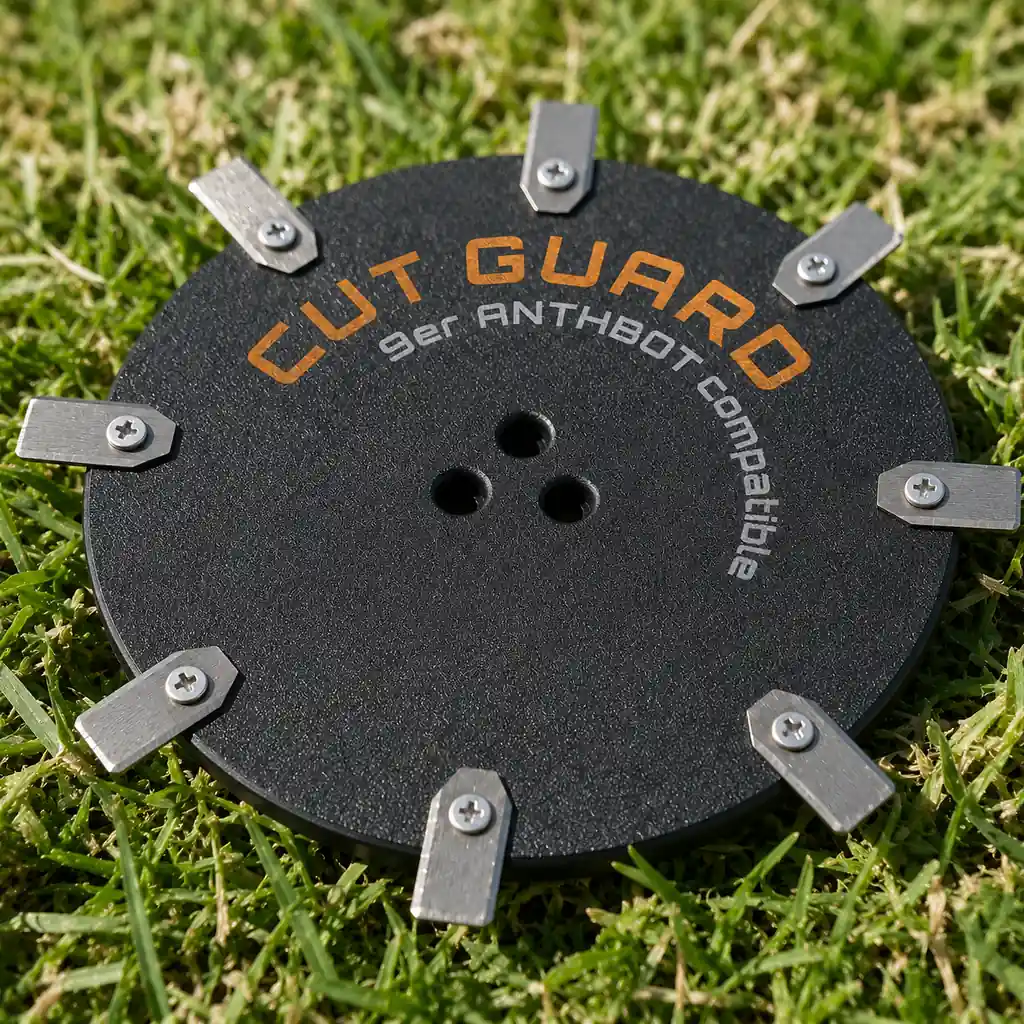
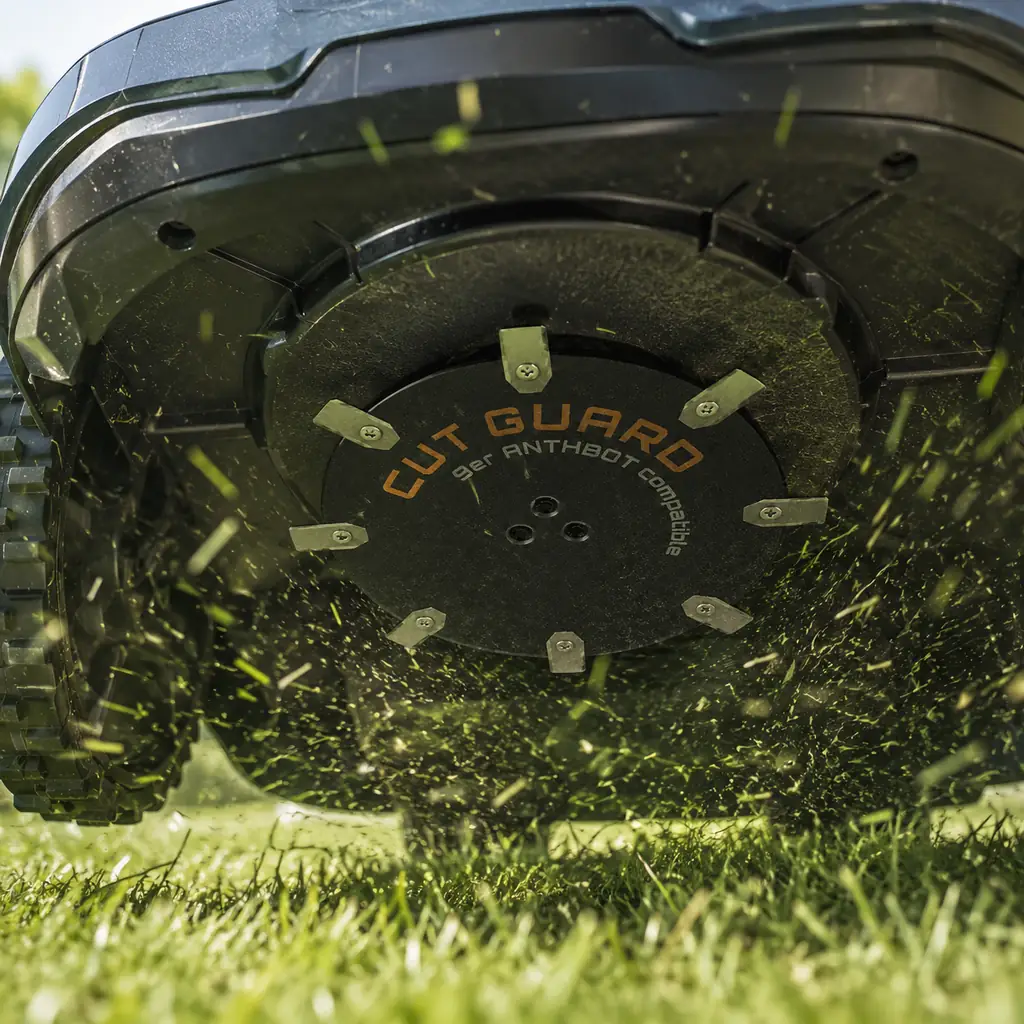
9-blade disc compatible with ANTHBOT Genie 600, Genie 1000, Genie 3000, M5, M9 & M5 Lidar
- 9-blade disc compatible with ANTHBOT Genie 600, Genie 1000, Genie 3000, M5, M9, and M5 Lidar
- Fine-cut mowing disc with more cutting points for a particularly even lawn appearance
- Suitable as a blade disc, mowing disc, or cutting disc for compatible ANTHBOT robotic mowers
- Supports smooth blade rotation and precise blade guidance during regular lawn maintenance
- Practical spare part for maintenance, replacement, and reliable mowing performance during the gardening season
incl. 9 blades
+
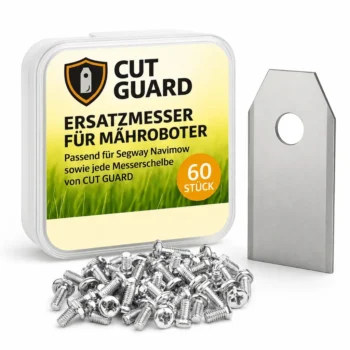
Compatibility – ANTHBOT
Fits the following robotic mowers:
- ✓ Genie 600
- ✓ Genie 1000
- ✓ Genie 3000
- ✓ M5
- ✓ M9
- ✓ M5 Lidar
More clean cuts instead of tough lawn edges: With the 9-blade cutting disc for ANTHBOT, you’ll get your ANTHBOT back in motion.
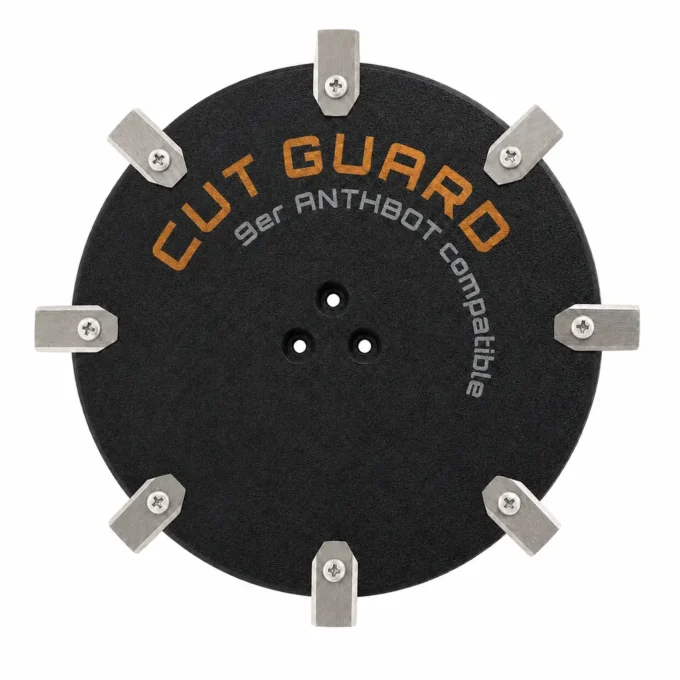
If mowing takes longer than before
When the blades become dull, the robotic mower tears up the grass rather than cutting it—this is quickly noticeable and can be seen in the cut pattern. Worn blades no longer leave smooth cuts behind, but instead frayed, stressed blades of grass. This is exactly where the 9 cutting disc for ANTHBOT Genie 600, Genie 1000, Genie 3000, M5, M9 & M5 Lidar helps: it restores an even cut and makes mowing noticeably more relaxed again. The 9-blade setup is the finest cutting level in the range.
Fits your ANTHBOT Genie 600, etc. perfectly
This 9-cutting disc fits exactly for ANTHBOT Genie 600, Genie 1000, Genie 3000, M5, M9 as well as M5 Lidar. The conversion is straightforward: remove the worn disc, mount a fresh one—quickly and cleanly.
From the box to the lawn in five minutes
With 9 blades, you get a finer cutting pattern because the cutting performance is distributed more evenly across the mowing disc. More cutting, more control over every blade of grass—so even the critical look up close has nothing to complain about. You receive the cutting disc as a complete set for direct replacement. The conversion is intentionally kept simple—remove the old disc, put on the new one, and keep mowing.
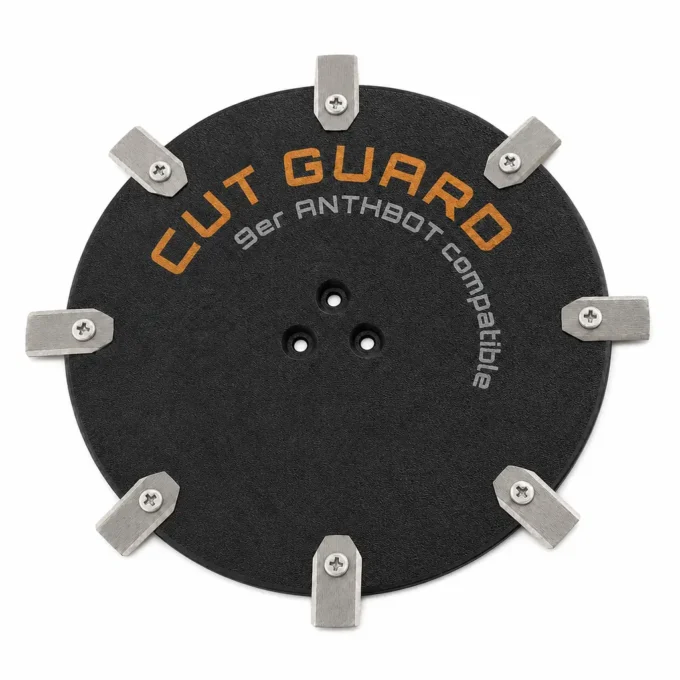
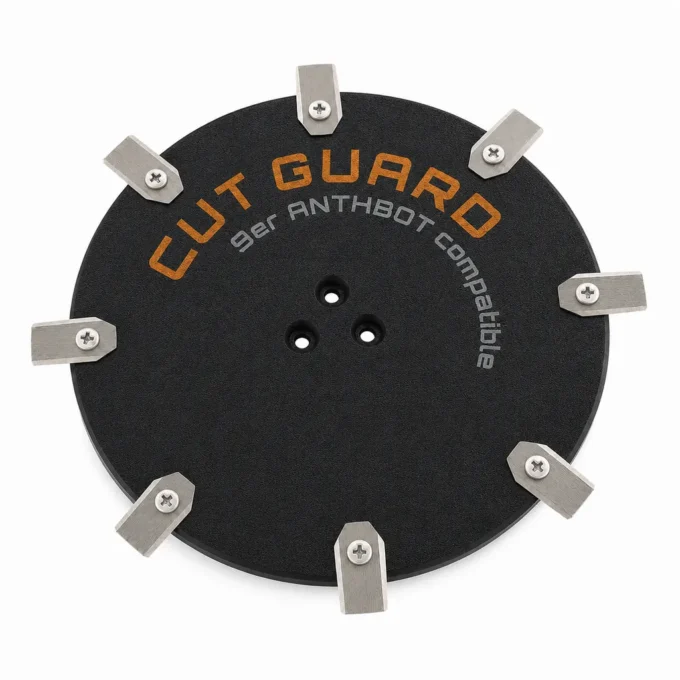
Even wet grass doesn’t throw the disc off rhythm
Dull blades promote grass blockages on the mowing disc—the result is uneven tracks and unnecessary interruptions. Moist clippings collect around the blades and slow down the rotation until, in the worst case, the robot comes to a stop. With the new cutting disc, your ANTHBOT runs reliably again, cuts cleanly through, and stays on track in everyday use. Fewer stops and a consistently well-kept lawn.
In summary
Top reviews
Bought the 9er-Messerscheibe for my ANTHBOT Genie 1000 and it matches perfectly—nine cutting points and the screw holes lined up without any fuss. Swap took about 10–15 minutes with my usual Allen key, and the mower runs smoother with a more even cut after a fresh blade change. No issues so far this season.
jeg købte 9er-messerscheibe til min anthbot genie 1000, og den passede faktisk lige i uden bøvl. efter udskiftningen fik jeg en mere ensartet klipning, og min græsplæne ser ret jævn ud på de smalle striber. 5 stjerner herfra!
Die 9er-Messerscheibe passt bei meinem ANTHBOT Genie 3000 sauber, die Schraublöcher waren exakt ausgerichtet. Der Austausch hat bei mir ca. 12 Minuten mit dem passenden Inbusschlüssel gedauert, mit gleichmäßigerer Rotation und sichtbar gleichmäßigem Schnittbild nach der ersten Runde. Petra
funkar direkt till min anthbot genie 3000, 9er-messerscheiben ger jämnare klippning direkt. passformen var helt i linje med originalet.
Dawno nie było u mnie tak równiutkiego cięcia jak po wymianie noża w moim ANTHBOT Genie 1000. Nowa 9er-Messerscheibe pasuje bez kombinowania, otwory montażowe pokryły się idealnie, a te dodatkowe punkty tnące robią różnicę na moim trawniku ok. 250 m². Po pierwszym przejeździe trawa wygląda naprawdę równo, a kosiarka pracuje spokojniej. Jedyny minus: warto sprawdzić dokręcenie po pierwszym dniu, bo u mnie minimalnie się poruszyło jedno mocowanie.
Deze 9er-Messerscheibe past netjes op mijn ANTHBOT Genie 600; de montagegaten vielen goed uit elkaar. De snijpunten maken een gelijkmatiger grasbeeld, al was de randafwerking bij de eerste inspectie niet helemaal strak.
Den passer til min ANTHBOT M5 og de ni Schneidpunkte maken virkelig en jævnere klipning. Jeg måtte dog lige efterspænde én skrue efter første tur.
j’ai remplacé la lame sur mon anthbot genie 600 et la 9er-messerscheibe a bien tenu la cadence, avec une coupe plus régulière dès le premier passage. par contre, j’ai dû resserrer légèrement après la première tonte (juste une micro vérif), sinon rien à dire.
Write a review
CUT GUARD Assembly Instructions
General assembly instructions for cutting discs, replacement blades, and blades for compatible robotic mowers.
Note
These instructions generally apply to compatible cutting discs, replacement blades, and blades from CUT GUARD.
They do not refer to a specific model or version. Always additionally refer to the operating manual of your robotic mower.
Important Safety Notice
Sharp blades. Risk of injury. The knives and blades can cause serious cuts.
Always wear appropriate protective gloves during assembly, disassembly, cleaning, and maintenance.
Never work on the cutting disc while it is still moving.
1. General Safety Instructions
- The operator is responsible for accidents, injuries, and damages caused to other persons or their property.
- Keep children, animals, and uninvolved persons away during work and operation of the robotic mower.
- Never touch the cutting disc or the knives while they are still moving.
- Always turn off the robotic mower completely before performing work on the cutting disc or the knives.
- Remove the battery if possible or disconnect the device from the power supply.
- Always wear appropriate protective gloves.
- Do not use damaged, bent, heavily worn, or corroded knives, screws, or cutting discs.
- Regularly check the condition of the knives, fastening screws, and the cutting disc.
2. Required Tools and Materials
- Suitable screwdriver or bit, matching the screws used.
- Protective gloves.
- New or tested fastening screws.
- CUT GUARD cutting disc, replacement blades, or blades.
- Optional: soft surface for safely placing the robotic mower.
Important
Only use suitable screws and appropriate mounting materials.
If specified by the manufacturer or included in the delivery, use screws with locking lacquer
or suitable screw locking.
3. Preparation
- Stop the robotic mower completely.
- Turn off the device according to the operating manual.
- Remove the battery if possible.
- Wait until the cutting disc has completely come to a stop.
- Carefully turn the robotic mower upside down and place it on a stable, soft surface.
- Check the work area for cleanliness and adequate lighting.
4. Disassembly of the Existing Cutting Disc
- Loosen the fastening screws of the existing cutting disc.
- Completely remove the screws and set them aside safely.
- Carefully remove the existing cutting disc from the knife holder.
- Clean the knife holder of grass clippings, dirt, and debris.
- Check the knife holder for damage or unusual wear.
Warning
Do not use the new cutting disc if the knife holder, fastening points,
threads, or screws are damaged. In this case, the robotic mower may only be reused after proper
inspection.
5. Installation of the CUT GUARD Cutting Disc
- Place the CUT GUARD cutting disc correctly on the knife holder.
- Ensure that the cutting disc lies flat and is correctly centered.
- Insert the appropriate fastening screws.
- Tighten the screws evenly and firmly.
- Do not overtighten the screws to avoid damage to threads or components.
- After installation, check that the cutting disc is securely attached.
- Gently turn the cutting disc by hand and check if it runs freely.
6. Installation or Replacement of Replacement Blades
- Loosen the screws of the old blades.
- Carefully remove the old blades.
- Clean the contact surfaces on the cutting disc.
- Place the new CUT GUARD replacement blades on the designated fastening points.
- Ensure that the blades remain freely movable, as intended by design.
- Secure each blade with a suitable screw.
- Tighten the screws securely without overtightening.
- Check each blade for a secure fit and free movement.
7. Post-Installation Check
- Are all screws fully inserted and securely fastened?
- Is the cutting disc lying flat and securely?
- Can the blades move freely, if intended?
- Are there no tools or foreign objects left in the area of the cutting disc?
- Does the cutting disc run freely and without grinding?
8. Operation and Maintenance
- Regularly check knives, screws, and cutting disc for wear.
- Immediately replace damaged or heavily worn parts.
- Regularly clean the cutting disc of grass clippings and dirt.
- Do not use the robotic mower if unusual noises, vibrations, or running problems occur.
- Only use compatible spare parts and suitable mounting materials.
Note on Blade Replacement
Always replace blades in a timely manner. Dull or damaged blades can worsen the cutting quality,
put more strain on the robotic mower, and compromise safety.
9. Disclaimer
CUT GUARD cutting discs, replacement blades, and blades are accessories and spare parts for compatible robotic mowers.
They are not original accessories from the respective device manufacturer unless explicitly stated
in the product description.
The assembly and use are at your own risk. No liability is accepted for damages caused by improper assembly,
incorrect use, damaged components, or failure to observe the operating manual of the robotic mower.
Warning in Case of Injury
Seek medical assistance immediately in case of injury or accident.
GPSR Information on Product Safety
Product safety information in accordance with Regulation (EU) 2023/988 on general product safety.
Manufacturer & Responsible Person (EU)
Patryk Napiorkowski - Trivando
Am bhf Weinhübel 8
02827 Görlitz
Germany
Email:
service@trivando.de
Website:
www.trivando.de
Product Identification
Brand: CUT GUARD
Product Type: Blade discs, replacement blades, and blades for compatible robotic mowers
Intended Use: Accessories and replacement parts for suitable robotic mowers
Product Type: Cutting and fastening components for use in robotic mowers
Item Number / Model / Variant: see respective product description, packaging, or invoice
Compatibility: see product description and operating instructions of the robotic mower
Important Warning
Sharp blades. Risk of injury. The knives and blades can cause serious cuts.
Assembly, disassembly, cleaning, and maintenance should only be performed when the robotic mower is completely turned off.
Always wear appropriate protective gloves and wait until the blade disc has come to a complete stop.
Intended Use
CUT GUARD blade discs, replacement blades, and blades are intended solely as accessories and replacement parts for compatible robotic mowers.
The products may only be used for their intended purpose and only in conjunction with suitable, compatible devices.
Any other use, structural modification, or improper assembly may lead to injuries, malfunctions, or property damage.
Not Suitable For
- Children.
- Persons who have not read or understood the operating instructions of the robotic mower.
- Incompatible robotic mowers.
- Devices with damaged blade mounts, damaged threads, or defective fastening points.
- Use outside the intended application area.
- Use as a tool, hand knife, or for other cutting tasks outside the robotic mower.
Safety and Warning Notices
- Use only for the intended purpose.
- Use only with compatible robotic mowers, suitable blade discs, and appropriate mounting materials.
- Always turn off the robotic mower completely before any assembly, disassembly, cleaning, or maintenance.
- If possible, remove the battery or disconnect the device from the power supply.
- Always wait until the blade disc has come to a complete stop.
- Always wear appropriate protective gloves.
- Keep hands and feet away from rotating blades.
- Never touch knives, blades, or blade discs during operation.
- Do not use damaged, bent, heavily worn, rusted, or corroded knives, screws, or blade discs.
- Regularly check knives, screws, and blade discs for secure fit, wear, and damage.
- Use only suitable screws and appropriate mounting materials.
- If provided, use screws with locking lacquer or suitable screw locking.
- Keep children, animals, and uninvolved persons away from the work area.
- The robotic mower must not be operated if persons, especially children, or animals are in the work area.
- In case of unusual noises, vibrations, grinding noises, or running problems, stop operation immediately and check the assembly.
- In case of injuries or accidents, seek medical assistance immediately.
Assembly Instructions
Assembly may only be performed when the device is turned off. Always observe the operating instructions of the respective robotic mower.
Blade discs, replacement blades, and blades must be correctly seated and securely fastened. After assembly, check whether the blade disc runs freely and that no tools or foreign objects have been left in the area of the knives.
Check Before Operation
- Are all screws fully inserted and tightened?
- Is the blade disc correctly centered and securely fastened?
- Are the knives correctly mounted?
- Can movable knives move freely, if this is structurally intended?
- Are there no visible damages?
- Does the blade disc run freely and without grinding?
Maintenance and Inspection
- Regularly check knives, blades, screws, and blade discs for wear and damage.
- Immediately replace damaged or heavily worn parts.
- Regularly clean the blade disc of grass residues, dirt, and deposits.
- Do not use aggressive cleaning agents that may damage material or coating.
- Use only compatible replacement parts and suitable mounting materials.
Storage and Disposal
Store replacement blades, blades, screws, and blade discs dry, clean, and secure.
Keep out of reach of children and unauthorized persons.
Safely package used, damaged, or dull knives and blades to avoid cuts.
Dispose of metal parts, packaging, and accessories in accordance with local regulations.
Note on Original Accessories
CUT GUARD products are compatible accessories and replacement parts. They are not original accessories of the respective
device manufacturer unless explicitly stated in the product description. Brand names, model designations,
and manufacturer information are for compatibility indication only.
Contact for Safety Questions, Complaints, or Accidents
For questions regarding product safety, complaints, accidents, or indications of possible safety issues, please contact us immediately:
Patryk Napiorkowski - Trivando
Am bhf Weinhübel 8
02827 Görlitz
Germany
Email: service@trivando.de
Website: www.trivando.de
What are common problems when using the 9-blade disc for ANTHBOT Genie 600?
A common problem is imbalance, which can occur if the disc is not mounted correctly. This can cause the blades to cut unevenly and the lawn mower to stop prematurely. Additionally, an inaccurate fit of the disc can lead to increased wear on the motors.
What are the advantages of the original CUT GUARD 9-blade disc compared to aftermarket discs?
The CUT GUARD 9-blade disc offers precise fit accuracy that is often lacking in aftermarket discs. This improves the cutting pattern and the durability of the blades. Furthermore, original discs are specifically tailored to the ANTHBOT models, meaning they guarantee optimal performance and lifespan.
Is the CUT GUARD 9-blade disc compatible with my ANTHBOT Genie 3000?
Yes, the CUT GUARD 9-blade disc is fully compatible with the ANTHBOT Genie 3000 as well as the models Genie 600, Genie 1000, M5, M9, and M5 Lidar. This allows for easy and hassle-free installation.
How does using the 9-blade disc affect the cutting pattern and lawn health?
Using the 9-blade disc results in a significantly more even cutting pattern, as there are more cutting points. This leads to better lawn health, as the blades cut the grass cleanly and precisely, promoting regeneration and creating a well-maintained lawn.
What happens if I use an incorrect or incompatible cutting disc?
Using an incorrect cutting disc can lead to serious problems, such as an imbalance in the mowing system. This can not only impair the performance of the robotic mower but also cause damage to the blades and the drive system, potentially resulting in costly repairs.