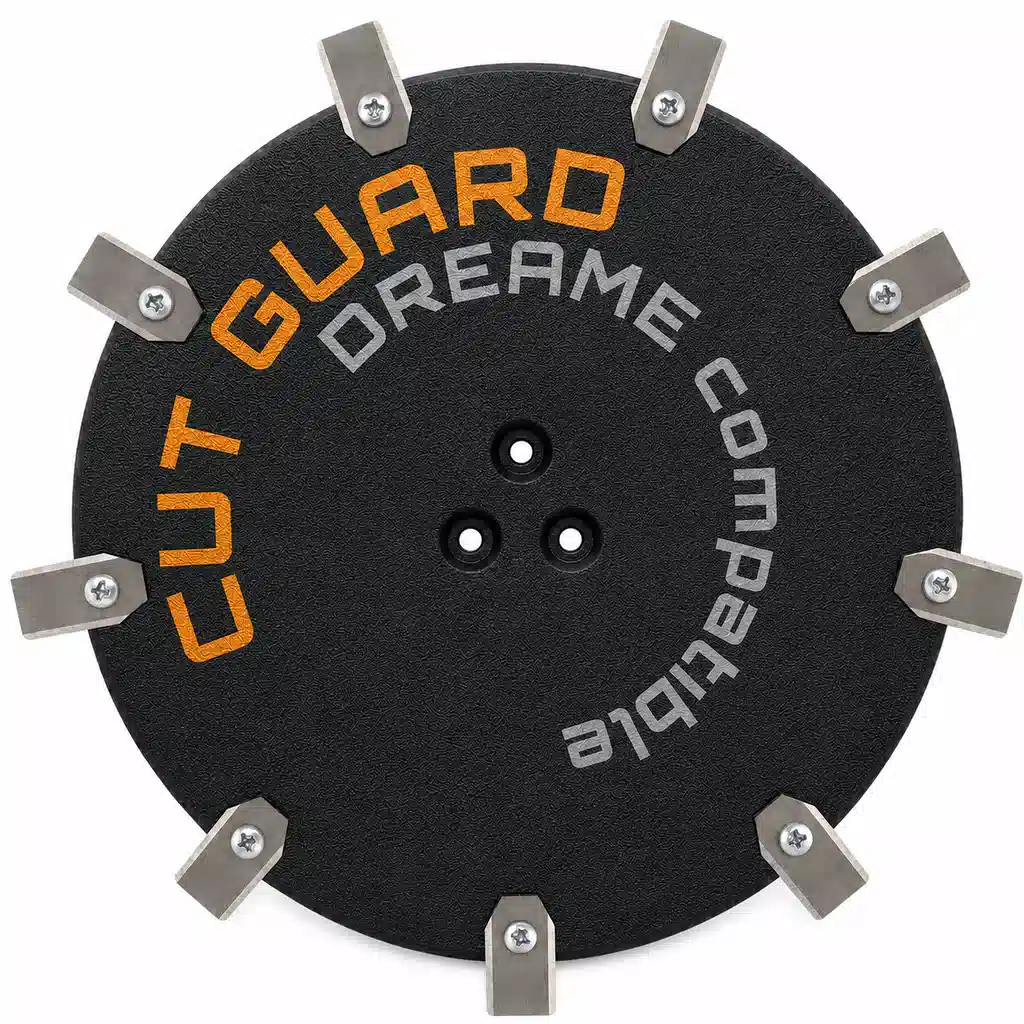
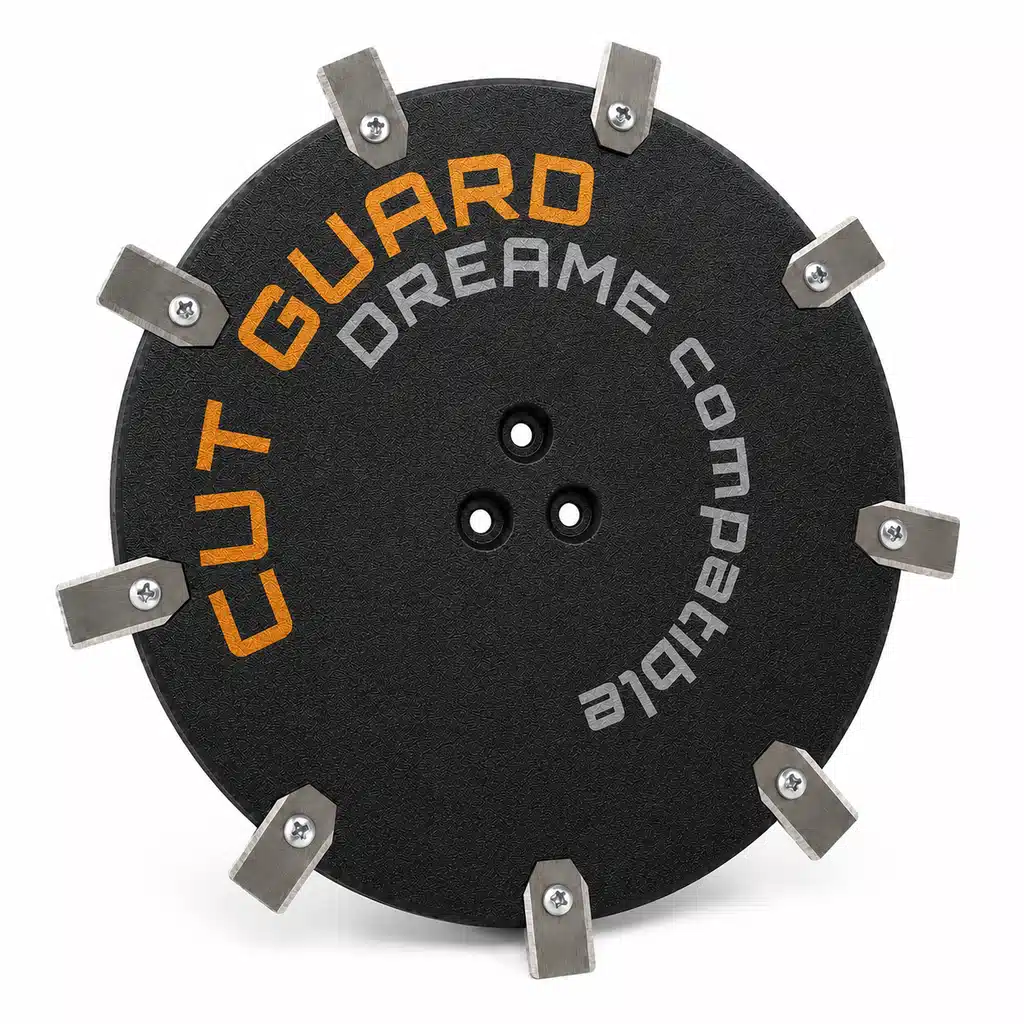
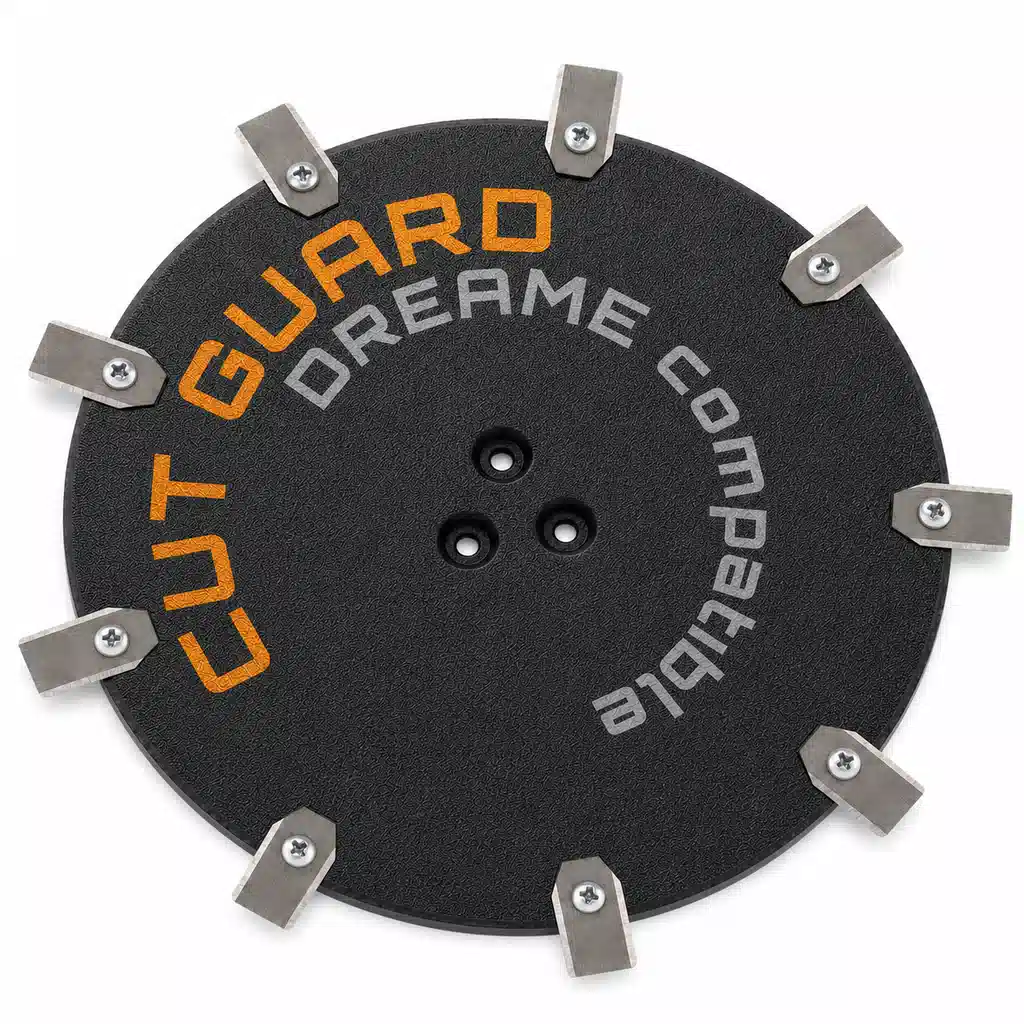
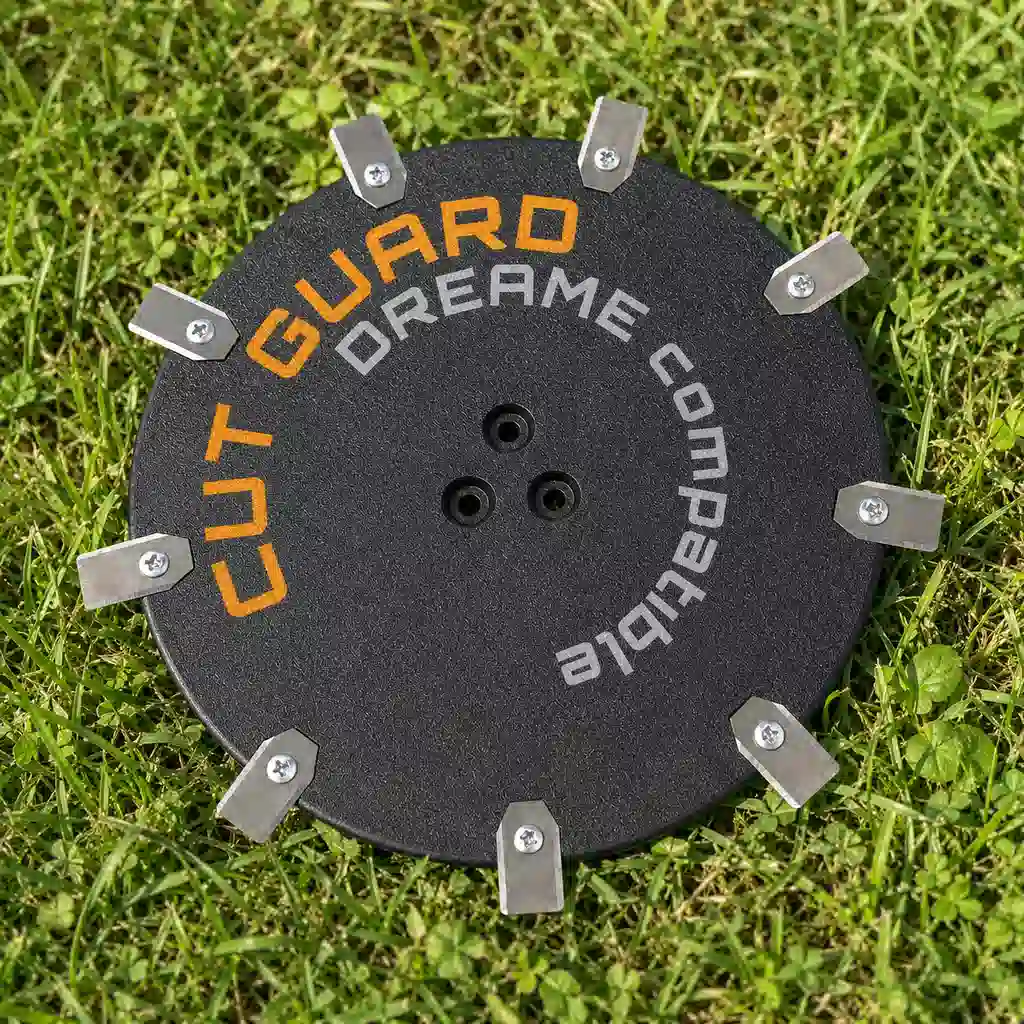
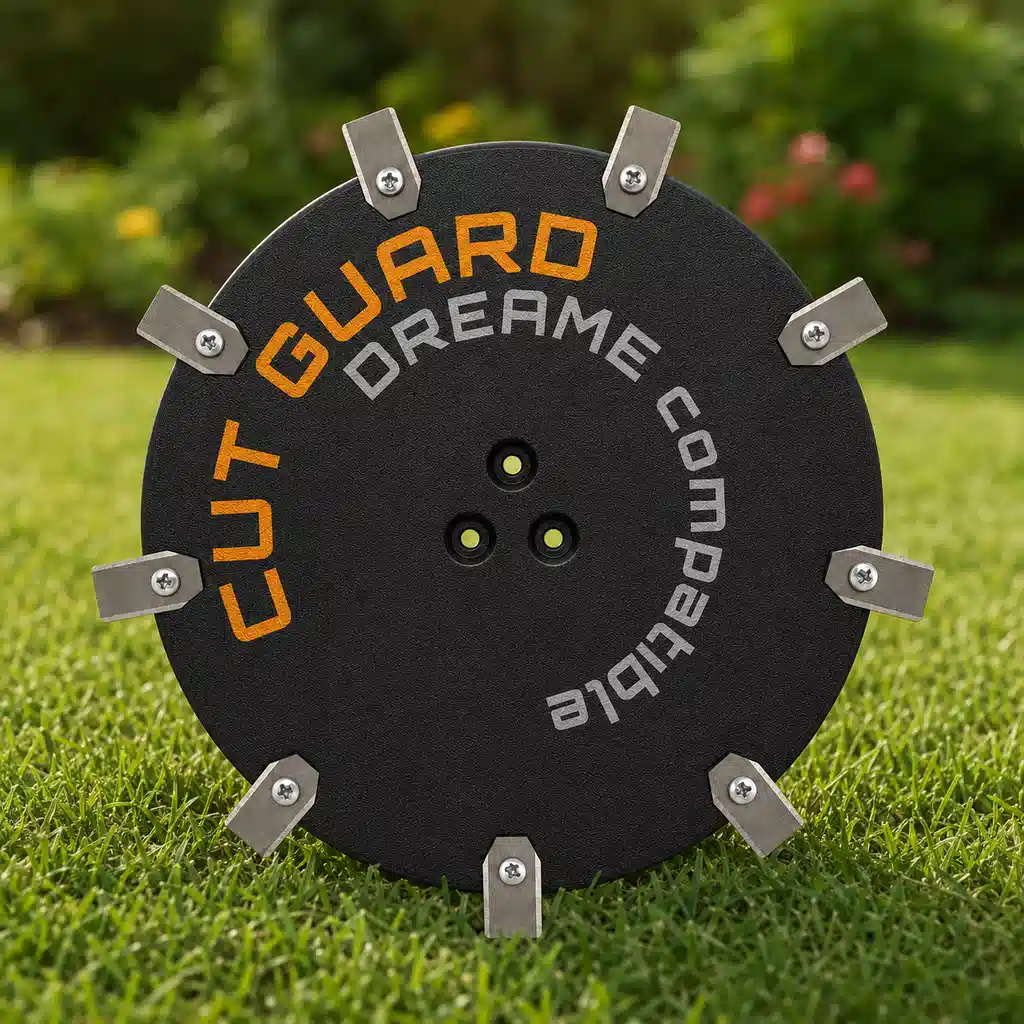
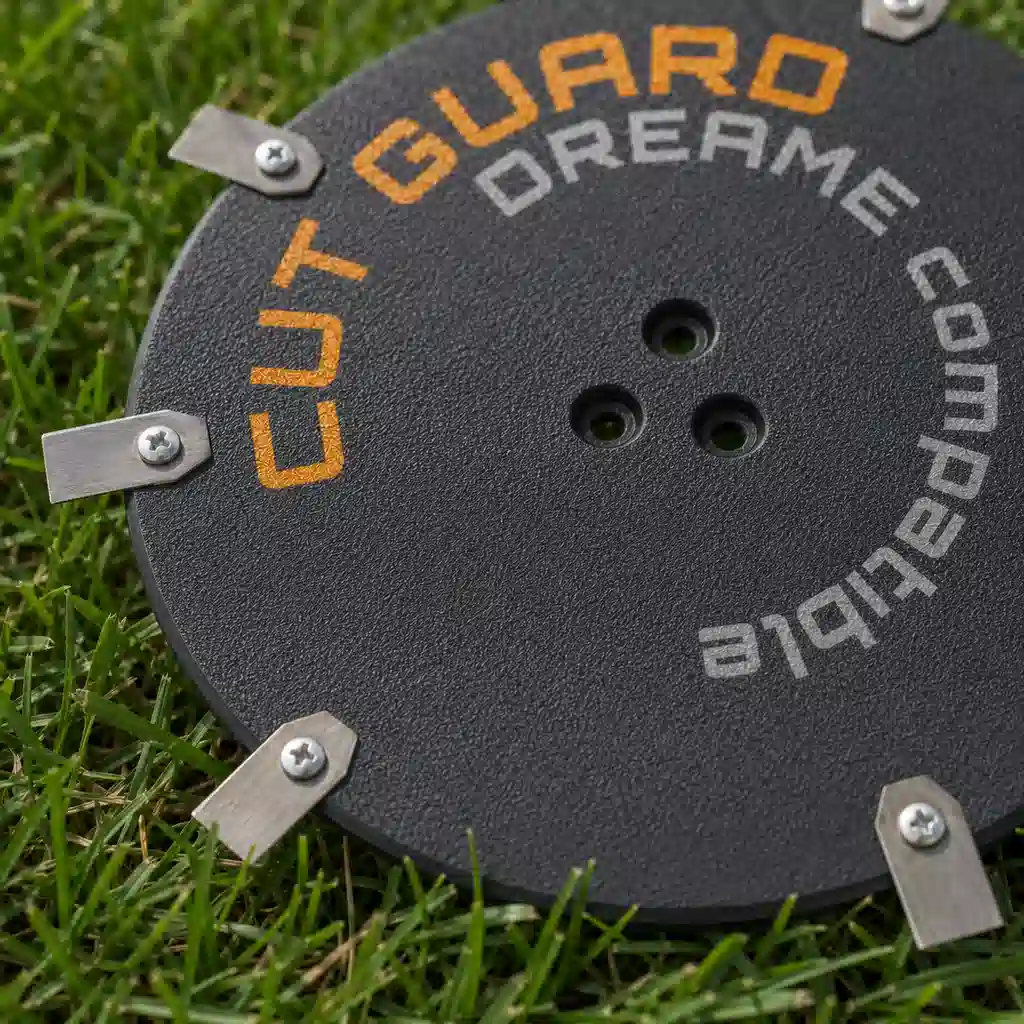
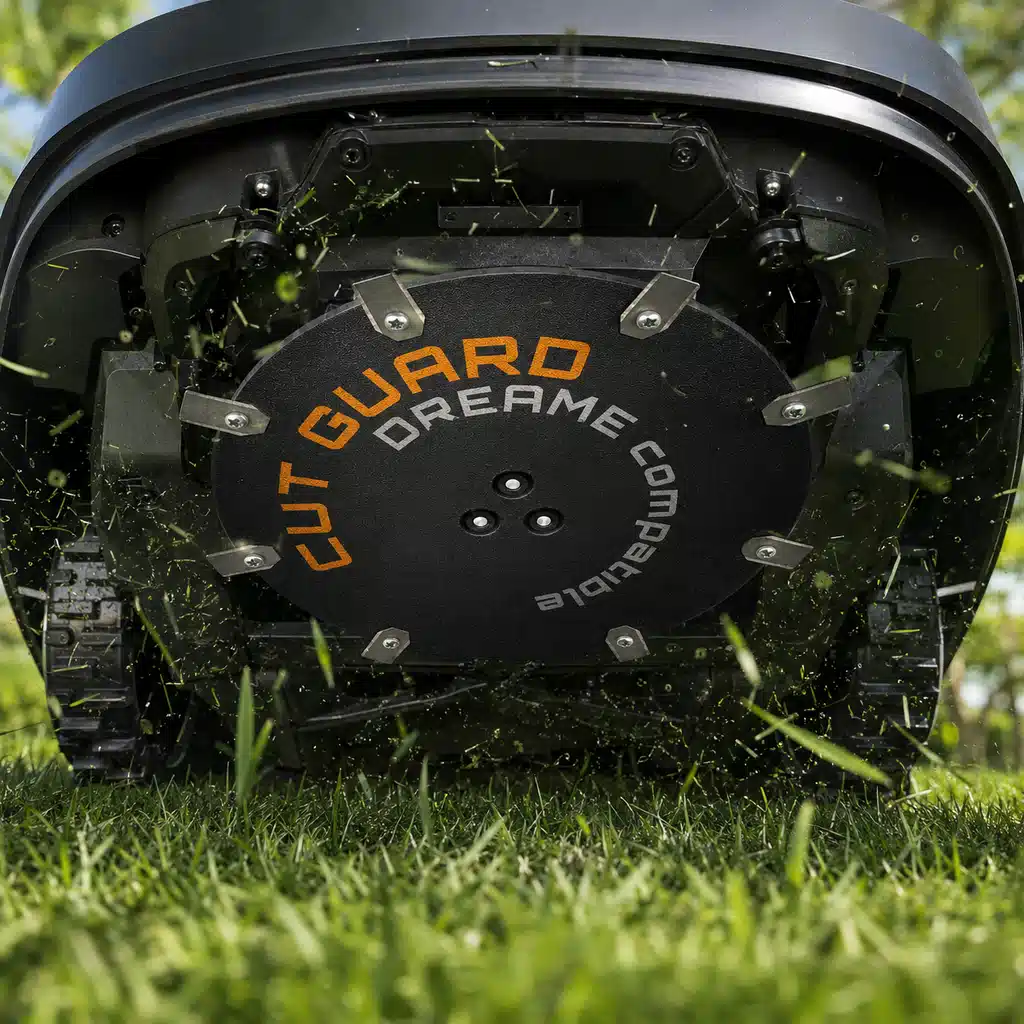
9-Blade Cutting Disc for Dreame A1, A1 Pro & A2 Robotic Lawnmower – Fine-Cut Mowing Disc
- 9-blade cutting disc for Dreame A1, A1 Pro, and A2 robotic mowers
- More cutting points for a finer cut and a uniformly maintained lawn
- Suitable as a replacement mowing plate, knife plate, or cutting disc for compatible Dreame models
- Supports precise blade guidance and smooth blade rotation during regular lawn care
- Practical spare part for replacement, maintenance, and reliable cutting performance during the mowing season
incl. 6 blades
+
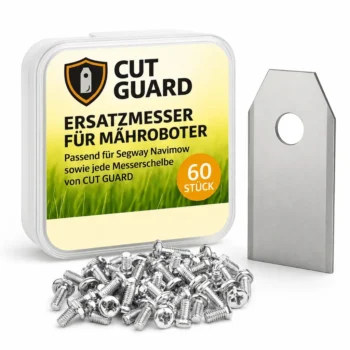
Compatibility – DREAME
Fits the following robotic mowers:
- ✓ A1
- ✓ A1 Pro
- ✓ A2
More clean cuts instead of tough blades of grass: With the 9-blade cutting disc from DREAME for Dreame A1, A1 Pro & A2, you bring your mowing disc back up to speed.
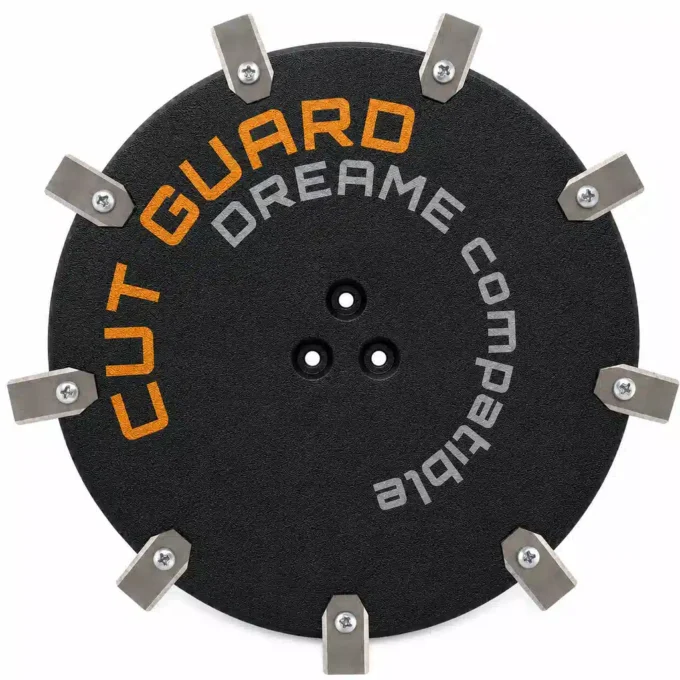
Dull blades are immediately noticeable on the lawn
When the blades become dull, the lawnmower robot tears the grass instead of cutting it cleanly—this looks uneven and costs runtime. Once the sharpness of the first blades is used up, the grass visibly frays during mowing. The 9-blade cutting disc for Dreame A1, A1 Pro & A2 targets exactly that: It ensures a finer cut and makes mowing noticeably “smoother” again. Nine sharp blades provide the finest cutting pattern in this series—for a particularly dense, even lawn.
Fits perfectly for your DREAME A1 and others
The 9-blade cutting disc fits directly for Dreame A1, A1 Pro and A2 – no guesswork, no tinkering. You can change the cutting disc on the mowing disc quickly and easily, without needing any special tools.
Complete set for a direct swap
The 9 blades work more evenly and provide a finer cutting pattern, especially when the grass is a bit denser. The denser the blade field, the more thorough the cut – convincing even down to the details. In the package, you get the complete cutting disc for replacing it on the mowing disc – ready to install. No instructions or toolbox are needed for the swap – remove, attach, and it’s running.
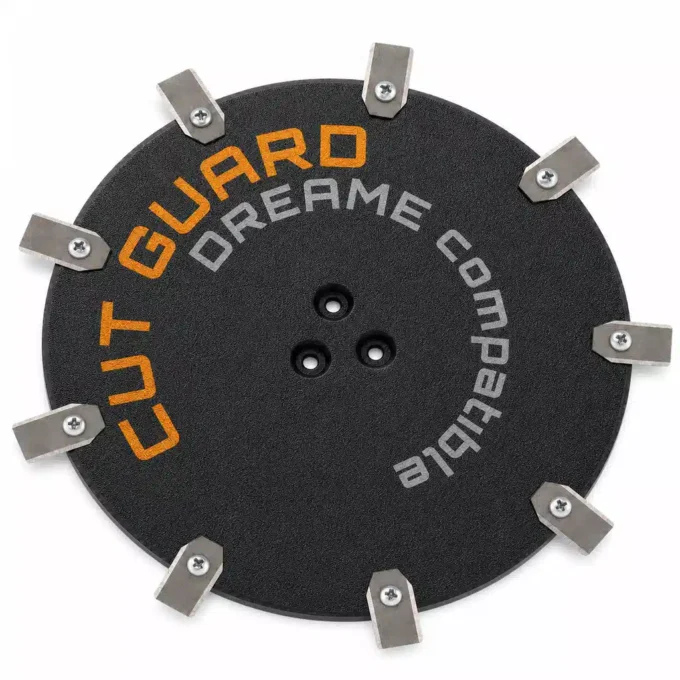
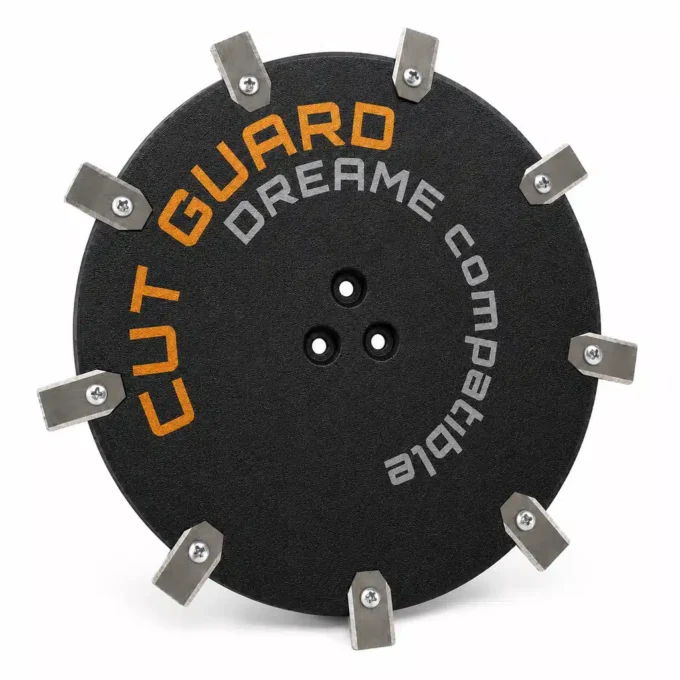
Grass blockages? Not with fresh blades
With a sharper cut, less grass “sticks” and blockages at the mowing disc occur less often. Where damp cutting would otherwise collect and hinder rotation, fresh blades ensure smooth operation. This way, your Dreame A1, A1 Pro or A2 runs more reliably and you get consistent results across the entire area. Fewer interruptions and a calmer mowing operation.
Quick summary
Top reviews
fonctionne parfaitement sur mon dreame a1 pro, le gazon ressort plus net après chaque passage et la rotation reste bien régulière. montage rapide, juste besoin d’un bon alignement des 9 lames.
Wymieniłam tę 9-klingową tarczę w moim Dreame A2 po kilku tygodniach koszenia w ogrodzie i naprawdę widać różnicę: trawnik wygląda po prostu równo, nawet na tych fragmentach, gdzie zwykle zbiera się trochę więcej źdźbeł. Montaż zajął mi ok. 10–12 minut, a tarcza siedzi pewnie bez luzów. Jedyny drobiazg: na początku trzeba dokładnie dopasować ustawienie ostrzy, żeby pracowało cicho i równomiernie. Jestem bardzo zadowolona i daję 5/5.
Bytte ut min Dreame A2 mot denna 9-klingars messerskiva och fick ett märkbart finare snitt, med jämnare yta även där gräset växer lite snabbare. Jag tog ungefär 10–15 minuter att montera, och jag gillade att knivarna sitter med många skärpunkter utan att det blir glapp i rotationen. Inga problem med passformen, allt kändes rätt från start.
Die 9-Klingen-Messerscheibe für meinen Dreame A1 Pro sitzt sauber und bringt bei meinem mittleren Garten mit rund 200 m² wirklich ein gleichmäßigeres Schnittbild. Nach dem Tausch sah das Gras deutlich feiner aus, und der Mäher lief dabei erstaunlich ruhig; die Klingenrotation wirkt einfach stimmiger als mit dem alten Teller. Montage ging bei mir in etwa 10 Minuten, nur die Befestigung der Schrauben war etwas fummelig. Insgesamt aber klare 5 stars für die Schnittleistung in der Saison!
Swapped this 9-blade disc on my Dreame A1 Pro in about 10 minutes, and the cut looks noticeably finer across my uneven patches. It’s a bit fiddly aligning the blades, but it stays solid once tightened.
After trying two other brands on my Dreame A1 Pro, this 9-klingige messerscheibe was a clear step up. The cut looks noticeably finer and more even, especially along the edges where the grass usually gets a bit ragged. Replacement was straightforward and took about 10 minutes, and the 9 blades run smoothly without that annoying vibration I had before. I only had to take a little extra time to align the blades for the quietest rotation.
The 9-blade cutting disc for my Dreame A1 Pro is a real improvement. Installing it took about 10 minutes, and the extra cutting points provide a beautiful, even lawn. The only downside was that the screws were a bit difficult to attach. But all in all, a good product!
L’ensemble va bien sur mon Dreame A1 Pro. Par contre, l’alignement des 9 lames demande un peu de temps.
den passer til min dreame a1 pro, og klipper fint med et jævnere snit efter skiftet. jeg måtte dog vente lidt på leveringen.
Write a review
CUT GUARD Assembly Instructions
General assembly instructions for cutting discs, replacement blades, and blades for compatible robotic mowers.
Note
These instructions generally apply to compatible cutting discs, replacement blades, and blades from CUT GUARD.
They do not refer to a specific model or version. Always additionally refer to the operating manual of your robotic mower.
Important Safety Notice
Sharp blades. Risk of injury. The knives and blades can cause serious cuts.
Always wear appropriate protective gloves during assembly, disassembly, cleaning, and maintenance.
Never work on the cutting disc while it is still moving.
1. General Safety Instructions
- The operator is responsible for accidents, injuries, and damages caused to other persons or their property.
- Keep children, animals, and uninvolved persons away during work and operation of the robotic mower.
- Never touch the cutting disc or the knives while they are still moving.
- Always turn off the robotic mower completely before performing work on the cutting disc or the knives.
- Remove the battery if possible or disconnect the device from the power supply.
- Always wear appropriate protective gloves.
- Do not use damaged, bent, heavily worn, or corroded knives, screws, or cutting discs.
- Regularly check the condition of the knives, fastening screws, and the cutting disc.
2. Required Tools and Materials
- Suitable screwdriver or bit, matching the screws used.
- Protective gloves.
- New or tested fastening screws.
- CUT GUARD cutting disc, replacement blades, or blades.
- Optional: soft surface for safely placing the robotic mower.
Important
Only use suitable screws and appropriate mounting materials.
If specified by the manufacturer or included in the delivery, use screws with locking lacquer
or suitable screw locking.
3. Preparation
- Stop the robotic mower completely.
- Turn off the device according to the operating manual.
- Remove the battery if possible.
- Wait until the cutting disc has completely come to a stop.
- Carefully turn the robotic mower upside down and place it on a stable, soft surface.
- Check the work area for cleanliness and adequate lighting.
4. Disassembly of the Existing Cutting Disc
- Loosen the fastening screws of the existing cutting disc.
- Completely remove the screws and set them aside safely.
- Carefully remove the existing cutting disc from the knife holder.
- Clean the knife holder of grass clippings, dirt, and debris.
- Check the knife holder for damage or unusual wear.
Warning
Do not use the new cutting disc if the knife holder, fastening points,
threads, or screws are damaged. In this case, the robotic mower may only be reused after proper
inspection.
5. Installation of the CUT GUARD Cutting Disc
- Place the CUT GUARD cutting disc correctly on the knife holder.
- Ensure that the cutting disc lies flat and is correctly centered.
- Insert the appropriate fastening screws.
- Tighten the screws evenly and firmly.
- Do not overtighten the screws to avoid damage to threads or components.
- After installation, check that the cutting disc is securely attached.
- Gently turn the cutting disc by hand and check if it runs freely.
6. Installation or Replacement of Replacement Blades
- Loosen the screws of the old blades.
- Carefully remove the old blades.
- Clean the contact surfaces on the cutting disc.
- Place the new CUT GUARD replacement blades on the designated fastening points.
- Ensure that the blades remain freely movable, as intended by design.
- Secure each blade with a suitable screw.
- Tighten the screws securely without overtightening.
- Check each blade for a secure fit and free movement.
7. Post-Installation Check
- Are all screws fully inserted and securely fastened?
- Is the cutting disc lying flat and securely?
- Can the blades move freely, if intended?
- Are there no tools or foreign objects left in the area of the cutting disc?
- Does the cutting disc run freely and without grinding?
8. Operation and Maintenance
- Regularly check knives, screws, and cutting disc for wear.
- Immediately replace damaged or heavily worn parts.
- Regularly clean the cutting disc of grass clippings and dirt.
- Do not use the robotic mower if unusual noises, vibrations, or running problems occur.
- Only use compatible spare parts and suitable mounting materials.
Note on Blade Replacement
Always replace blades in a timely manner. Dull or damaged blades can worsen the cutting quality,
put more strain on the robotic mower, and compromise safety.
9. Disclaimer
CUT GUARD cutting discs, replacement blades, and blades are accessories and spare parts for compatible robotic mowers.
They are not original accessories from the respective device manufacturer unless explicitly stated
in the product description.
The assembly and use are at your own risk. No liability is accepted for damages caused by improper assembly,
incorrect use, damaged components, or failure to observe the operating manual of the robotic mower.
Warning in Case of Injury
Seek medical assistance immediately in case of injury or accident.
GPSR Information on Product Safety
Product safety information in accordance with Regulation (EU) 2023/988 on general product safety.
Manufacturer & Responsible Person (EU)
Patryk Napiorkowski - Trivando
Am bhf Weinhübel 8
02827 Görlitz
Germany
Email:
service@trivando.de
Website:
www.trivando.de
Product Identification
Brand: CUT GUARD
Product Type: Blade discs, replacement blades, and blades for compatible robotic mowers
Intended Use: Accessories and replacement parts for suitable robotic mowers
Product Type: Cutting and fastening components for use in robotic mowers
Item Number / Model / Variant: see respective product description, packaging, or invoice
Compatibility: see product description and operating instructions of the robotic mower
Important Warning
Sharp blades. Risk of injury. The knives and blades can cause serious cuts.
Assembly, disassembly, cleaning, and maintenance should only be performed when the robotic mower is completely turned off.
Always wear appropriate protective gloves and wait until the blade disc has come to a complete stop.
Intended Use
CUT GUARD blade discs, replacement blades, and blades are intended solely as accessories and replacement parts for compatible robotic mowers.
The products may only be used for their intended purpose and only in conjunction with suitable, compatible devices.
Any other use, structural modification, or improper assembly may lead to injuries, malfunctions, or property damage.
Not Suitable For
- Children.
- Persons who have not read or understood the operating instructions of the robotic mower.
- Incompatible robotic mowers.
- Devices with damaged blade mounts, damaged threads, or defective fastening points.
- Use outside the intended application area.
- Use as a tool, hand knife, or for other cutting tasks outside the robotic mower.
Safety and Warning Notices
- Use only for the intended purpose.
- Use only with compatible robotic mowers, suitable blade discs, and appropriate mounting materials.
- Always turn off the robotic mower completely before any assembly, disassembly, cleaning, or maintenance.
- If possible, remove the battery or disconnect the device from the power supply.
- Always wait until the blade disc has come to a complete stop.
- Always wear appropriate protective gloves.
- Keep hands and feet away from rotating blades.
- Never touch knives, blades, or blade discs during operation.
- Do not use damaged, bent, heavily worn, rusted, or corroded knives, screws, or blade discs.
- Regularly check knives, screws, and blade discs for secure fit, wear, and damage.
- Use only suitable screws and appropriate mounting materials.
- If provided, use screws with locking lacquer or suitable screw locking.
- Keep children, animals, and uninvolved persons away from the work area.
- The robotic mower must not be operated if persons, especially children, or animals are in the work area.
- In case of unusual noises, vibrations, grinding noises, or running problems, stop operation immediately and check the assembly.
- In case of injuries or accidents, seek medical assistance immediately.
Assembly Instructions
Assembly may only be performed when the device is turned off. Always observe the operating instructions of the respective robotic mower.
Blade discs, replacement blades, and blades must be correctly seated and securely fastened. After assembly, check whether the blade disc runs freely and that no tools or foreign objects have been left in the area of the knives.
Check Before Operation
- Are all screws fully inserted and tightened?
- Is the blade disc correctly centered and securely fastened?
- Are the knives correctly mounted?
- Can movable knives move freely, if this is structurally intended?
- Are there no visible damages?
- Does the blade disc run freely and without grinding?
Maintenance and Inspection
- Regularly check knives, blades, screws, and blade discs for wear and damage.
- Immediately replace damaged or heavily worn parts.
- Regularly clean the blade disc of grass residues, dirt, and deposits.
- Do not use aggressive cleaning agents that may damage material or coating.
- Use only compatible replacement parts and suitable mounting materials.
Storage and Disposal
Store replacement blades, blades, screws, and blade discs dry, clean, and secure.
Keep out of reach of children and unauthorized persons.
Safely package used, damaged, or dull knives and blades to avoid cuts.
Dispose of metal parts, packaging, and accessories in accordance with local regulations.
Note on Original Accessories
CUT GUARD products are compatible accessories and replacement parts. They are not original accessories of the respective
device manufacturer unless explicitly stated in the product description. Brand names, model designations,
and manufacturer information are for compatibility indication only.
Contact for Safety Questions, Complaints, or Accidents
For questions regarding product safety, complaints, accidents, or indications of possible safety issues, please contact us immediately:
Patryk Napiorkowski - Trivando
Am bhf Weinhübel 8
02827 Görlitz
Germany
Email: service@trivando.de
Website: www.trivando.de
How do I change the 9-blade cutting disc for my Dreame A1 or A1 Pro?
Changing the 9-blade cutting disc is easy. First, you will need a Phillips screwdriver. Remove the screw that holds the old cutting disc and place the new disc on. Screw it in tightly and make sure it is seated correctly. The entire process should take no longer than 10 minutes.
How does the 9-blade cutting disc affect the cut quality and lawn health?
The 9-blade cutting disc provides a finer cut quality as it offers more cutting points. This results in an even lawn surface and minimizes the risk of lawn diseases, as the cut interfaces are cleaner. With regular use, the lawn remains healthier and denser.
How long does shipping take for the 9-blade cutting disc and can I return it?
Shipping for the 9-blade cutting disc usually takes 2-3 business days. If you are not satisfied with the product, you can return it within 30 days. Your satisfaction is important to us, and we offer an easy return process.
What is the difference between the 6-, 7-, and 9-blade cutting discs for the Dreame robotic mowers?
The 6-blade cutting disc is suitable for coarse cuts, while the 7-blade disc offers a balanced cut. The 9-blade cutting disc, like the one for the Dreame A1 and A1 Pro, is ideal for a fine cutting pattern and ensures particularly well-maintained lawns. Depending on the lawn condition, you can choose the appropriate disc.
How can I tell that the blades of my 9-blade cutting disc need to be replaced?
If you notice that your robotic mower is no longer cutting the lawn evenly or the cut looks irregular, these are signs that the blades of the cutting disc are worn out. Visible damage or deformations on the blades also indicate that a replacement is necessary.