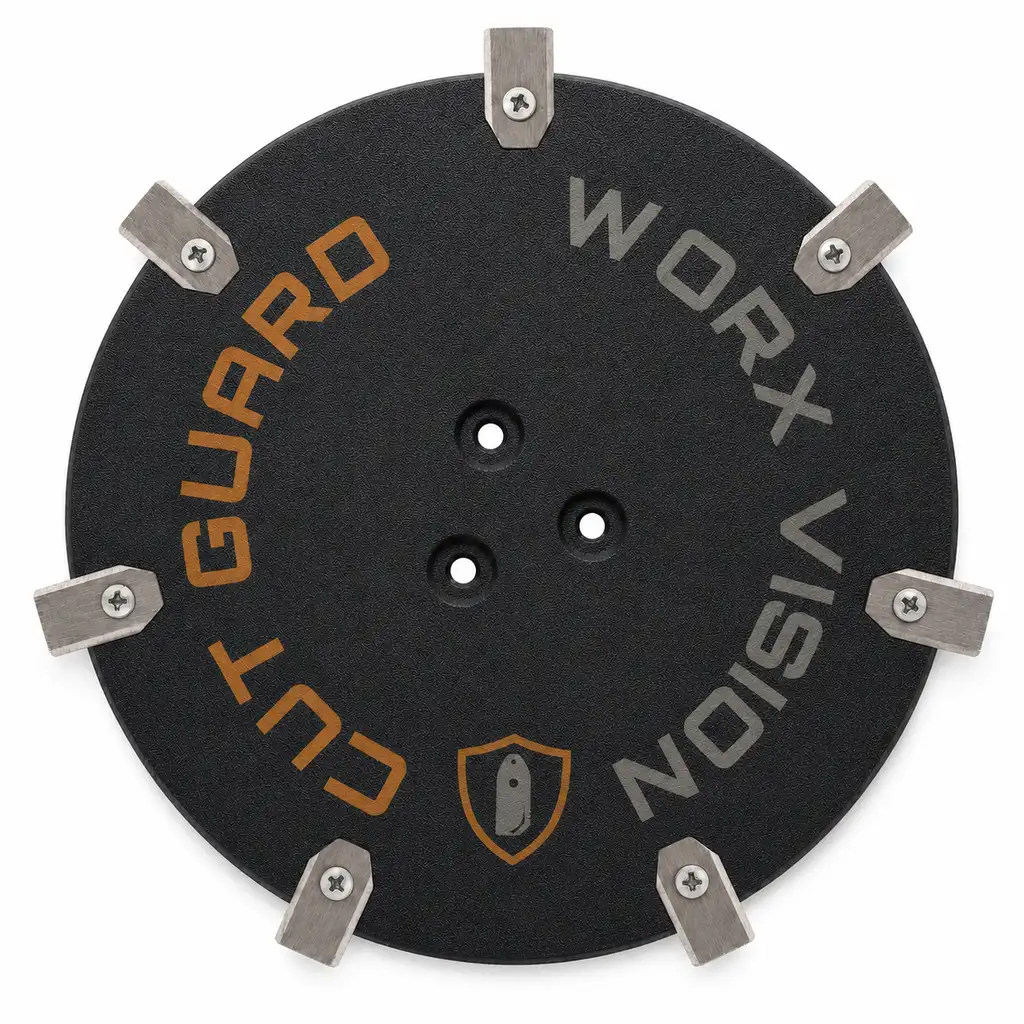
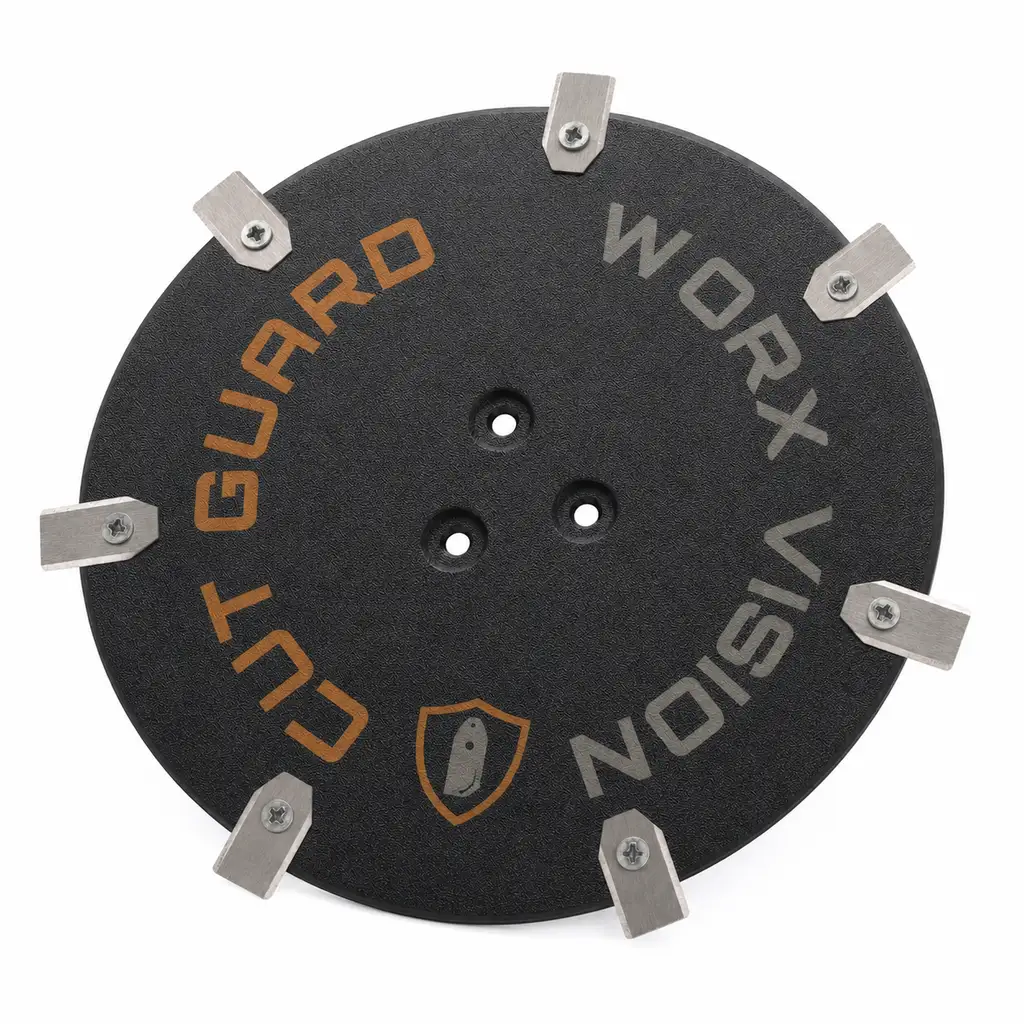
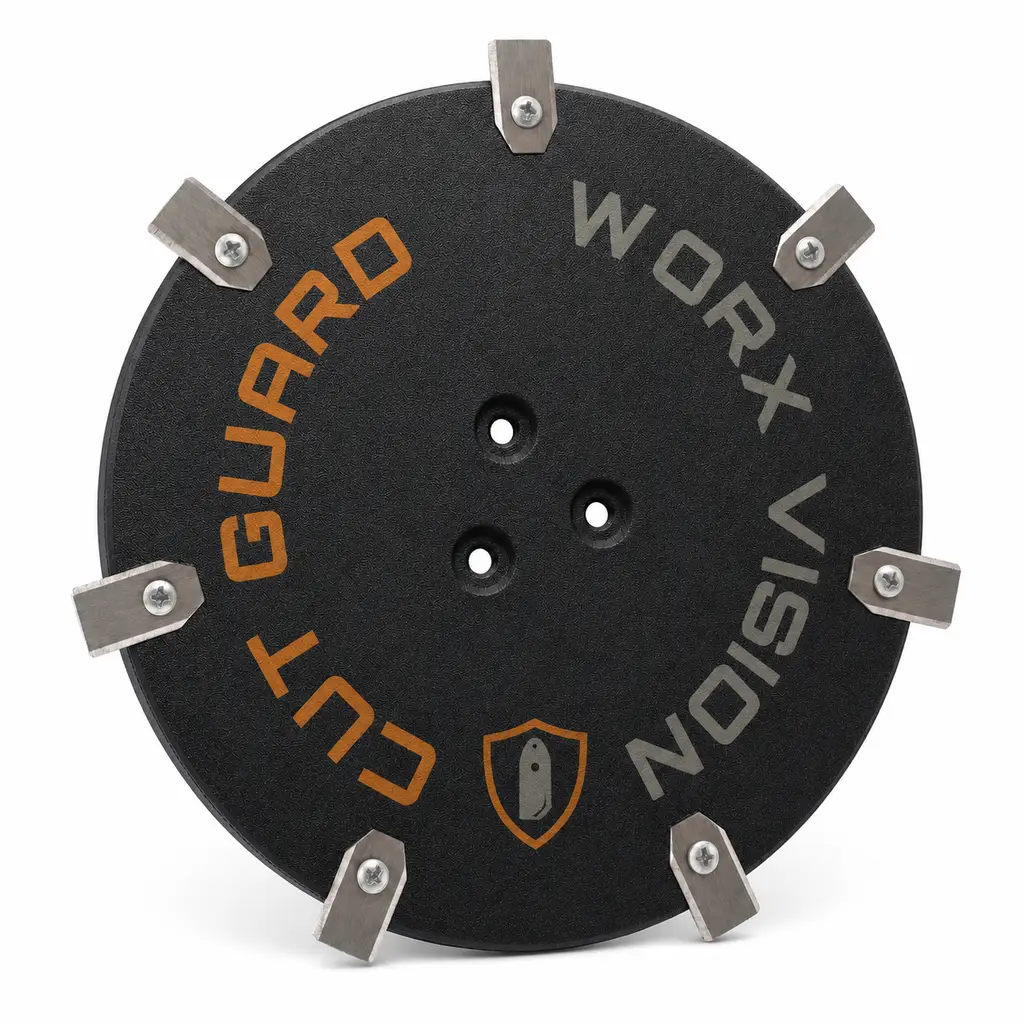
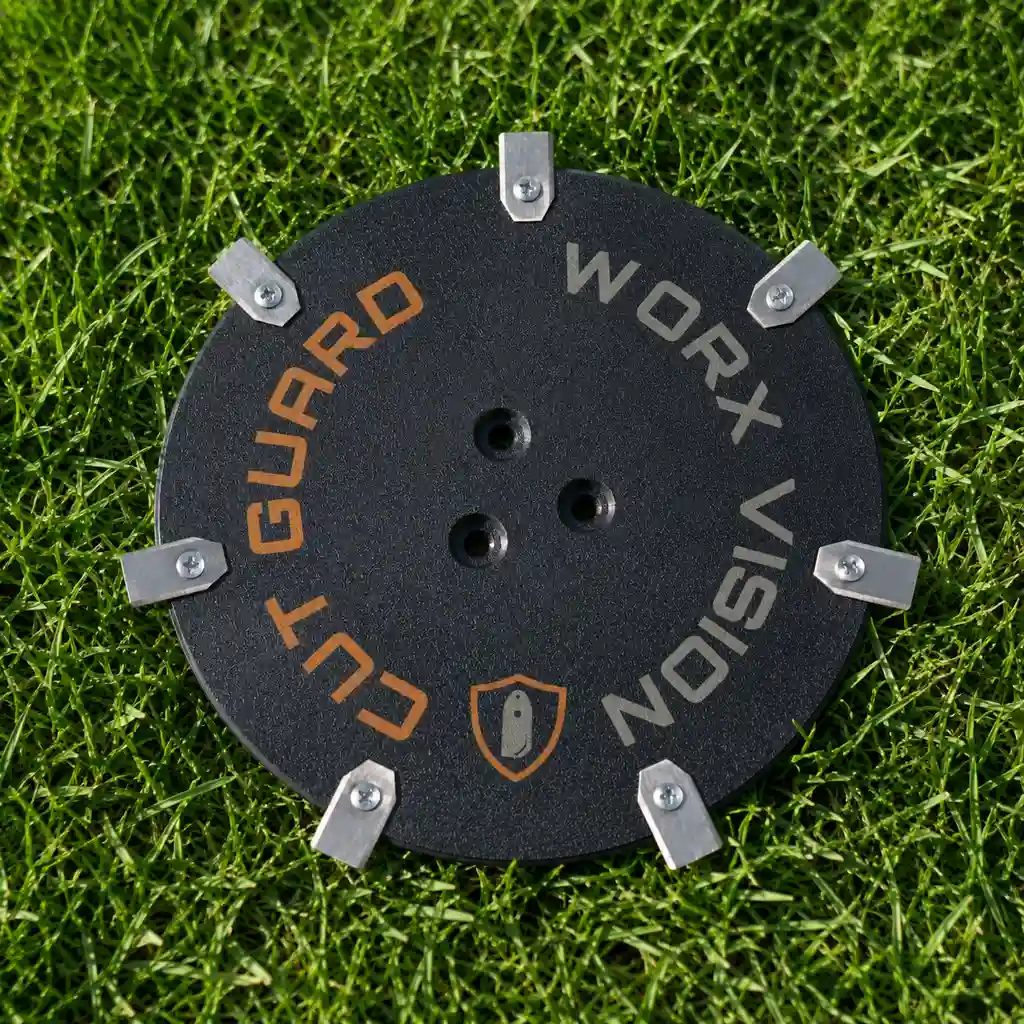
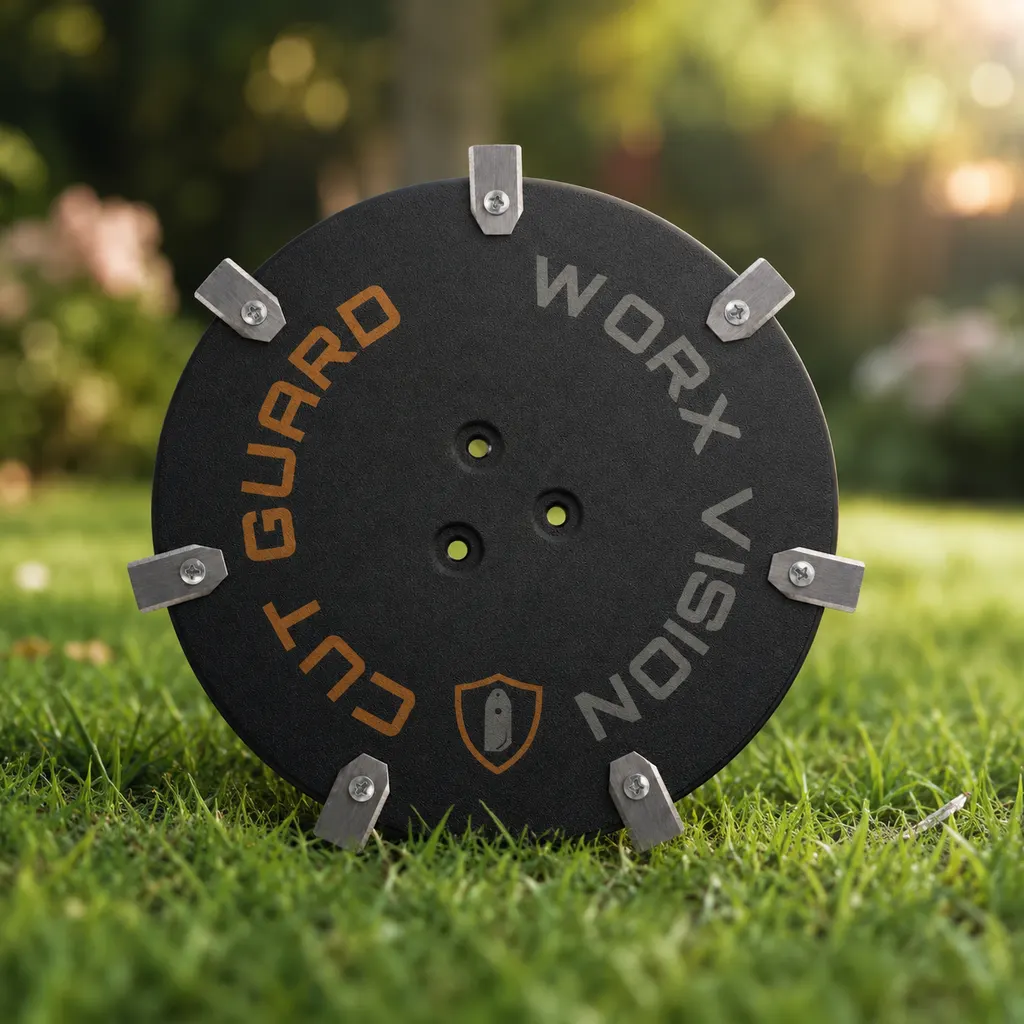
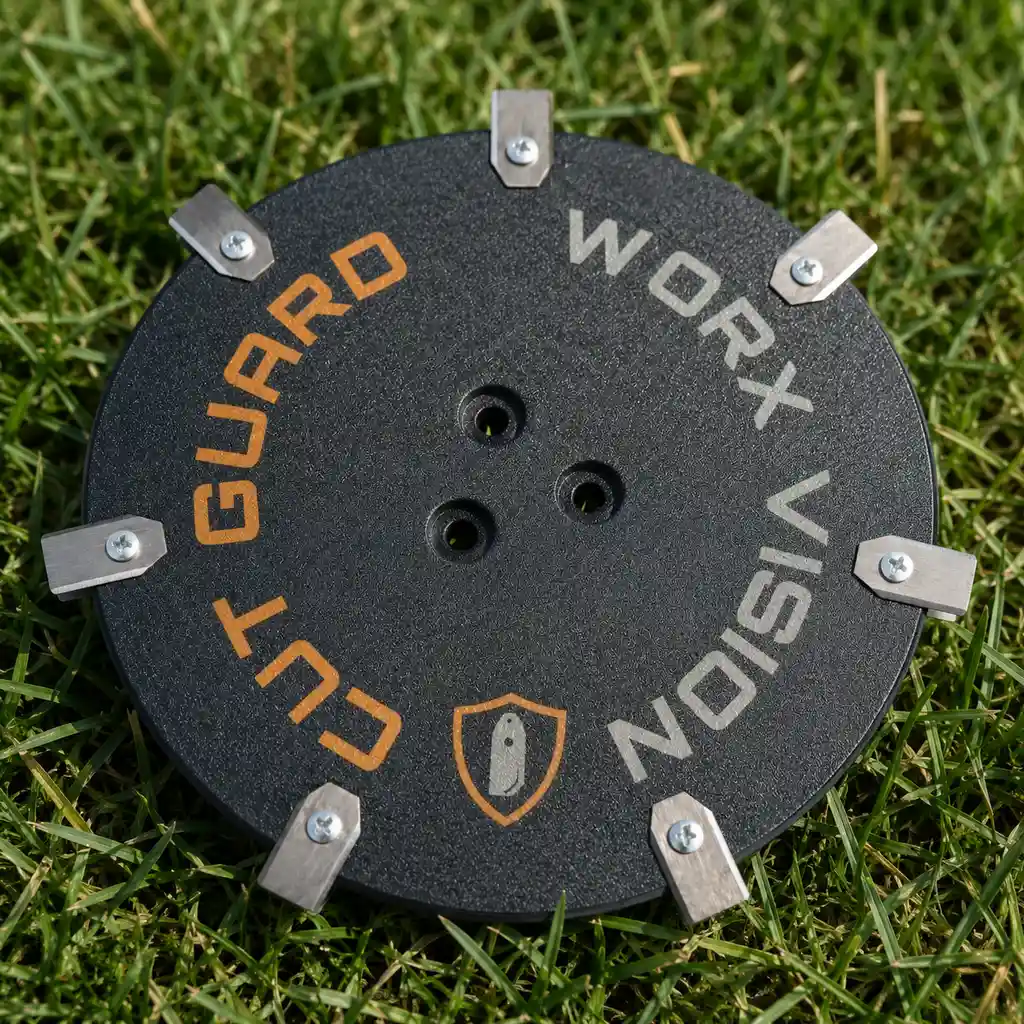
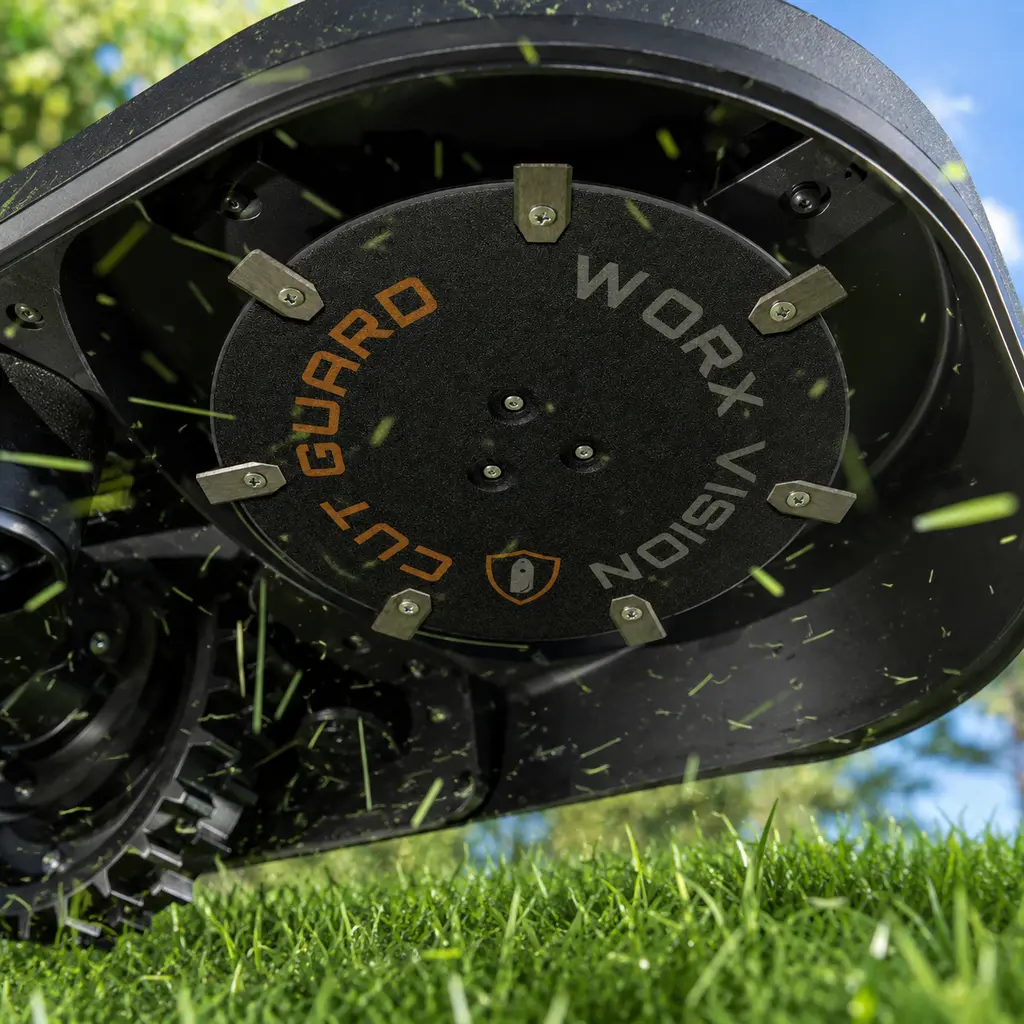
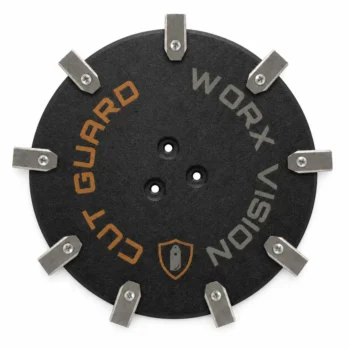
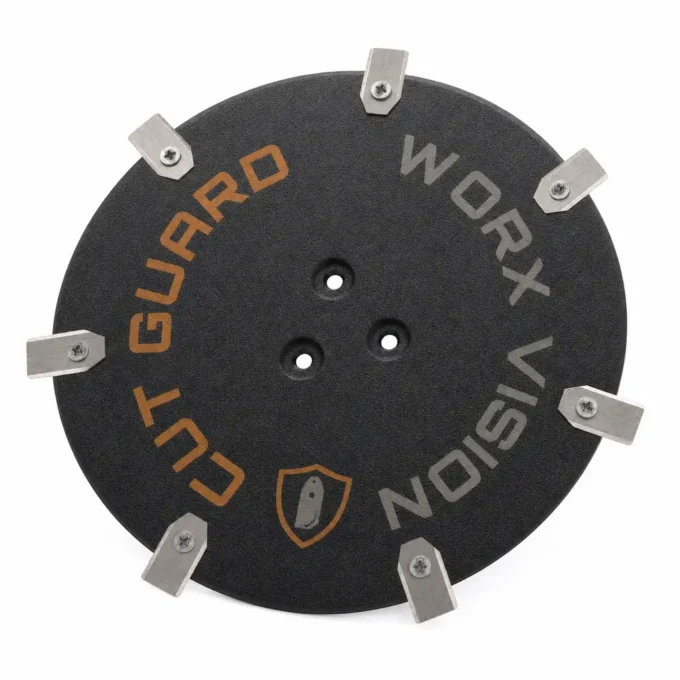
7-blade cutting disc for WORX Vision Cloud WR312E, WR318E & WR330E – Mowing plate for 1200–3000 m² models
- 7-blade cutting disc for WORX Landroid Vision Cloud WR312E, WR318E, and WR330E
- Compatible with the Vision Cloud models with 1200 m², 1800 m², and 3000 m² area performance
- Suitable as a knife plate, mowing plate, or cutting disc for the mower’s cutting system
- Supports precise blade guidance and uniform cutting results on larger lawns
- Practical spare part for maintenance, replacement, and reliable mowing performance during the season
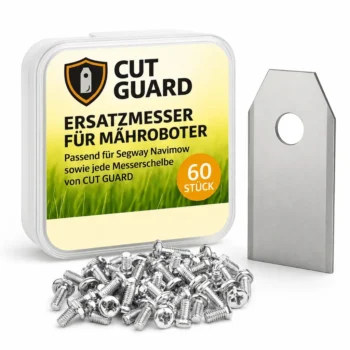
incl. 6 blades
incl. 9 blades
+
 +
+
Compatibility – WORX
Fits the following robotic mowers:
- ✓ Vision Cloud WR312E
- ✓ Vision Cloud WR318E
- ✓ Vision Cloud WR330E
If your WORX Vision Cloud WR312E/WR318E/WR330E no longer cuts cleanly, this 7-blade cutting disc brings back speed and an even cutting pattern.
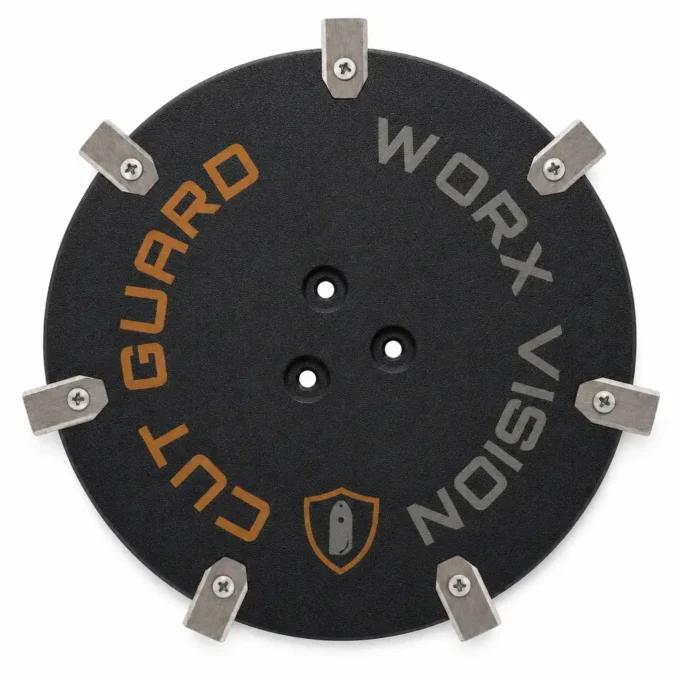
Get your lawn back to clean cutting edges
Dull blades tear the grass rather than cutting it—this is immediately noticeable in uneven cutting edges and slower regrowth. The longer the old blades run, the rougher the cutting pattern becomes—what was well-kept quickly turns scruffy. With the 7-blade cutting disc for WORX Vision Cloud WR312E, WR318E & WR330E, you’re relying on fresh cutting performance and getting your mowing disc back in action. Seven sharp blades provide more cutting points and an even result—ideal for larger areas from 1200 to 3000 m².
Fits perfectly for your WORX Vision Cloud WR312E, etc.
The 7-blade cutting disc is compatible with WORX Vision Cloud WR312E, WR318E and WR330E (for 1200–3000 m² models). Swapping is quick: remove the old cutting disc, fit the new one—no tool hassle, so your robot can keep mowing right away.
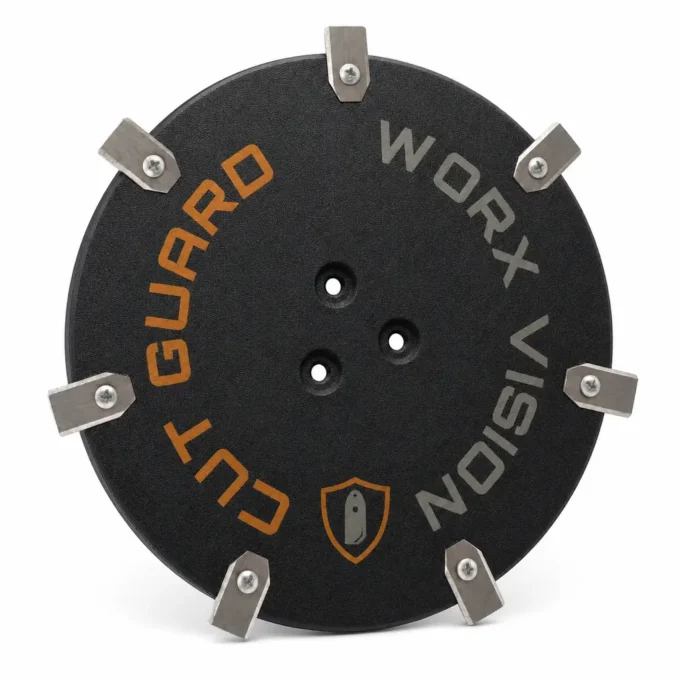
Unbox, attach, and start mowing
The 7 blades provide a finer cut and distribute the cutting work more evenly across the mowing disc. More cutting edges grab the blades more precisely and leave you with a dense, even lawn instead of ragged tips. You get the cutting disc as a complete set, so you don’t have to hunt down individual parts. The swap takes only a few minutes and works without tools—remove the old disc, fit the new one, done.
So that no grass clogs up on the disc anymore
With sharp mowing discs, the Mähteller stays cleaner during operation—less risk of grass blockages and less “getting caught” in dense growth. Otherwise, damp clippings tend to collect around the blades and slow down rotation; a free-spinning mowing disc keeps the flow of grass moving. Result: reliable operation, even tracks, and fewer interruptions for your WORX Vision Cloud—even on large areas.
All benefits at a glance
Top reviews
działa bez zarzutu z moim worx vision cloud wr318e, a 7 ostrzy daje równy efekt na większej działce. jedyny minus to trochę trudniejszy montaż na początku.
J’ai acheté cette 7-Klingen-Messerscheibe pour mon WORX Vision Cloud WR318E, qui gère environ 1800 m² chez moi. Au bout de quelques semaines d’utilisation, j’ai remarqué des coupes plus nettes, surtout sur les zones où l’herbe est un peu plus longue, et le résultat est assez uniforme. Le montage est globalement simple, mais la première fois il faut vraiment bien s’y prendre pour que tout soit parfaitement centré. Sinon, c’est un bon remplacement quand on veut repartir sur des lames propres pour la saison.
7-klingen-messerscheiben passede lige i min worx vision cloud wr318e uden bøvl, og det giver et pænt og jævnt resultat hver gang. jeg kan især mærke det på kanterne og i længere græs, hvor den plejer at rive lidt før. nem at skifte, og den holdt allerede flere klip i træk.
Die Messerscheibe passt exakt auf meinen WR312E. Nach dem Wechsel mäht der Roboter bei mir die 1200 m² wieder gleichmäßig, und die Schnitthöhe wirkt stabil. Nur beim ersten Aufsetzen muss man die Scheibe wirklich sauber ausrichten, sonst sitzt sie nicht sofort ruhig.
Snel geleverd en de 7-klingen-messenschijf past exact op mijn WORX WR318E. Na montage zag ik meteen een gelijkmatige snede, ook op hogere plekken.
I recently replaced the blades on my WORX Landroid, and I have to say, these 7-blade discs are fantastic! My garden, which is just under 2000 m², looks immaculate after every mow. The precision of the cuts is noticeable and the mower handles grass like a champ. The only thing I'd suggest is making the installation instructions a bit clearer; I had to do some trial and error. Overall, highly recommend for anyone looking to up their mowing game!
Sharp and efficient cut! Could be easier to change the blades.
Deze 7-klingen-messenset past perfect op mijn WORX Vision Cloud WR330E. Na wissel direct een egale snede en makkelijk te monteren.
Write a review
CUT GUARD Assembly Instructions
General assembly instructions for cutting discs, replacement blades, and blades for compatible robotic mowers.
Note
These instructions generally apply to compatible cutting discs, replacement blades, and blades from CUT GUARD.
They do not refer to a specific model or version. Always additionally refer to the operating manual of your robotic mower.
Important Safety Notice
Sharp blades. Risk of injury. The knives and blades can cause serious cuts.
Always wear appropriate protective gloves during assembly, disassembly, cleaning, and maintenance.
Never work on the cutting disc while it is still moving.
1. General Safety Instructions
- The operator is responsible for accidents, injuries, and damages caused to other persons or their property.
- Keep children, animals, and uninvolved persons away during work and operation of the robotic mower.
- Never touch the cutting disc or the knives while they are still moving.
- Always turn off the robotic mower completely before performing work on the cutting disc or the knives.
- Remove the battery if possible or disconnect the device from the power supply.
- Always wear appropriate protective gloves.
- Do not use damaged, bent, heavily worn, or corroded knives, screws, or cutting discs.
- Regularly check the condition of the knives, fastening screws, and the cutting disc.
2. Required Tools and Materials
- Suitable screwdriver or bit, matching the screws used.
- Protective gloves.
- New or tested fastening screws.
- CUT GUARD cutting disc, replacement blades, or blades.
- Optional: soft surface for safely placing the robotic mower.
Important
Only use suitable screws and appropriate mounting materials.
If specified by the manufacturer or included in the delivery, use screws with locking lacquer
or suitable screw locking.
3. Preparation
- Stop the robotic mower completely.
- Turn off the device according to the operating manual.
- Remove the battery if possible.
- Wait until the cutting disc has completely come to a stop.
- Carefully turn the robotic mower upside down and place it on a stable, soft surface.
- Check the work area for cleanliness and adequate lighting.
4. Disassembly of the Existing Cutting Disc
- Loosen the fastening screws of the existing cutting disc.
- Completely remove the screws and set them aside safely.
- Carefully remove the existing cutting disc from the knife holder.
- Clean the knife holder of grass clippings, dirt, and debris.
- Check the knife holder for damage or unusual wear.
Warning
Do not use the new cutting disc if the knife holder, fastening points,
threads, or screws are damaged. In this case, the robotic mower may only be reused after proper
inspection.
5. Installation of the CUT GUARD Cutting Disc
- Place the CUT GUARD cutting disc correctly on the knife holder.
- Ensure that the cutting disc lies flat and is correctly centered.
- Insert the appropriate fastening screws.
- Tighten the screws evenly and firmly.
- Do not overtighten the screws to avoid damage to threads or components.
- After installation, check that the cutting disc is securely attached.
- Gently turn the cutting disc by hand and check if it runs freely.
6. Installation or Replacement of Replacement Blades
- Loosen the screws of the old blades.
- Carefully remove the old blades.
- Clean the contact surfaces on the cutting disc.
- Place the new CUT GUARD replacement blades on the designated fastening points.
- Ensure that the blades remain freely movable, as intended by design.
- Secure each blade with a suitable screw.
- Tighten the screws securely without overtightening.
- Check each blade for a secure fit and free movement.
7. Post-Installation Check
- Are all screws fully inserted and securely fastened?
- Is the cutting disc lying flat and securely?
- Can the blades move freely, if intended?
- Are there no tools or foreign objects left in the area of the cutting disc?
- Does the cutting disc run freely and without grinding?
8. Operation and Maintenance
- Regularly check knives, screws, and cutting disc for wear.
- Immediately replace damaged or heavily worn parts.
- Regularly clean the cutting disc of grass clippings and dirt.
- Do not use the robotic mower if unusual noises, vibrations, or running problems occur.
- Only use compatible spare parts and suitable mounting materials.
Note on Blade Replacement
Always replace blades in a timely manner. Dull or damaged blades can worsen the cutting quality,
put more strain on the robotic mower, and compromise safety.
9. Disclaimer
CUT GUARD cutting discs, replacement blades, and blades are accessories and spare parts for compatible robotic mowers.
They are not original accessories from the respective device manufacturer unless explicitly stated
in the product description.
The assembly and use are at your own risk. No liability is accepted for damages caused by improper assembly,
incorrect use, damaged components, or failure to observe the operating manual of the robotic mower.
Warning in Case of Injury
Seek medical assistance immediately in case of injury or accident.
GPSR Information on Product Safety
Product safety information in accordance with Regulation (EU) 2023/988 on general product safety.
Manufacturer & Responsible Person (EU)
Patryk Napiorkowski - Trivando
Am bhf Weinhübel 8
02827 Görlitz
Germany
Email:
service@trivando.de
Website:
www.trivando.de
Product Identification
Brand: CUT GUARD
Product Type: Blade discs, replacement blades, and blades for compatible robotic mowers
Intended Use: Accessories and replacement parts for suitable robotic mowers
Product Type: Cutting and fastening components for use in robotic mowers
Item Number / Model / Variant: see respective product description, packaging, or invoice
Compatibility: see product description and operating instructions of the robotic mower
Important Warning
Sharp blades. Risk of injury. The knives and blades can cause serious cuts.
Assembly, disassembly, cleaning, and maintenance should only be performed when the robotic mower is completely turned off.
Always wear appropriate protective gloves and wait until the blade disc has come to a complete stop.
Intended Use
CUT GUARD blade discs, replacement blades, and blades are intended solely as accessories and replacement parts for compatible robotic mowers.
The products may only be used for their intended purpose and only in conjunction with suitable, compatible devices.
Any other use, structural modification, or improper assembly may lead to injuries, malfunctions, or property damage.
Not Suitable For
- Children.
- Persons who have not read or understood the operating instructions of the robotic mower.
- Incompatible robotic mowers.
- Devices with damaged blade mounts, damaged threads, or defective fastening points.
- Use outside the intended application area.
- Use as a tool, hand knife, or for other cutting tasks outside the robotic mower.
Safety and Warning Notices
- Use only for the intended purpose.
- Use only with compatible robotic mowers, suitable blade discs, and appropriate mounting materials.
- Always turn off the robotic mower completely before any assembly, disassembly, cleaning, or maintenance.
- If possible, remove the battery or disconnect the device from the power supply.
- Always wait until the blade disc has come to a complete stop.
- Always wear appropriate protective gloves.
- Keep hands and feet away from rotating blades.
- Never touch knives, blades, or blade discs during operation.
- Do not use damaged, bent, heavily worn, rusted, or corroded knives, screws, or blade discs.
- Regularly check knives, screws, and blade discs for secure fit, wear, and damage.
- Use only suitable screws and appropriate mounting materials.
- If provided, use screws with locking lacquer or suitable screw locking.
- Keep children, animals, and uninvolved persons away from the work area.
- The robotic mower must not be operated if persons, especially children, or animals are in the work area.
- In case of unusual noises, vibrations, grinding noises, or running problems, stop operation immediately and check the assembly.
- In case of injuries or accidents, seek medical assistance immediately.
Assembly Instructions
Assembly may only be performed when the device is turned off. Always observe the operating instructions of the respective robotic mower.
Blade discs, replacement blades, and blades must be correctly seated and securely fastened. After assembly, check whether the blade disc runs freely and that no tools or foreign objects have been left in the area of the knives.
Check Before Operation
- Are all screws fully inserted and tightened?
- Is the blade disc correctly centered and securely fastened?
- Are the knives correctly mounted?
- Can movable knives move freely, if this is structurally intended?
- Are there no visible damages?
- Does the blade disc run freely and without grinding?
Maintenance and Inspection
- Regularly check knives, blades, screws, and blade discs for wear and damage.
- Immediately replace damaged or heavily worn parts.
- Regularly clean the blade disc of grass residues, dirt, and deposits.
- Do not use aggressive cleaning agents that may damage material or coating.
- Use only compatible replacement parts and suitable mounting materials.
Storage and Disposal
Store replacement blades, blades, screws, and blade discs dry, clean, and secure.
Keep out of reach of children and unauthorized persons.
Safely package used, damaged, or dull knives and blades to avoid cuts.
Dispose of metal parts, packaging, and accessories in accordance with local regulations.
Note on Original Accessories
CUT GUARD products are compatible accessories and replacement parts. They are not original accessories of the respective
device manufacturer unless explicitly stated in the product description. Brand names, model designations,
and manufacturer information are for compatibility indication only.
Contact for Safety Questions, Complaints, or Accidents
For questions regarding product safety, complaints, accidents, or indications of possible safety issues, please contact us immediately:
Patryk Napiorkowski - Trivando
Am bhf Weinhübel 8
02827 Görlitz
Germany
Email: service@trivando.de
Website: www.trivando.de
How can you tell that the cutting disc of the WORX Vision Cloud models WR312E, WR318E, or WR330E needs to be replaced?
A clear warning sign is when the robotic mower cuts unevenly on a flat surface or the grass looks frayed. An increased noise level during operation can also indicate that the blades of the 7-blade cutting disc are worn out. If the robot operates less efficiently and shows frequent stops or error messages, it is also time to check the disc.
What are the advantages of an original CUT GUARD 7-blade cutting disc compared to aftermarket discs for WORX models?
The original CUT GUARD cutting disc ensures a perfect fit and optimal performance for the WORX Vision Cloud WR312E, WR318E, and WR330E. Compared to many aftermarket discs, they offer better material quality and durability, resulting in a more consistent cutting performance. While aftermarket discs may be cheaper, they often do not provide the same cutting accuracy and durability.
What common problems occur when using the 7-blade cutting disc for WORX WR312E, WR318E, and WR330E?
A common problem is the loss of cutting quality when the blades become dull or the disc warps. Improper installation can also lead to uneven cutting or vibrations. Additionally, with larger lawns, the robotic mower may overheat due to increased load if the disc is in poor condition.
How do you change the 7-blade cutting disc on a WORX robotic mower, and how long does it take?
To change the cutting disc of the WORX Vision Cloud models, you will need a suitable wrench and some time. First, you need to secure the robotic mower and remove the lower cover. Then you can remove the old disc with the wrench and install the new CUT GUARD 7-blade cutting disc. The entire process usually takes no longer than 15 to 30 minutes.
How does the 7-blade cutting disc affect battery life and lawn health in WORX Vision Cloud robotic mowers?
Using the 7-blade cutting disc provides a cleaner cut, which promotes lawn health as the grass is less damaged. This means the robotic mower has to expend less energy, extending battery life. Additionally, an even cut leads to better light penetration, supporting the growth of healthy grasses.