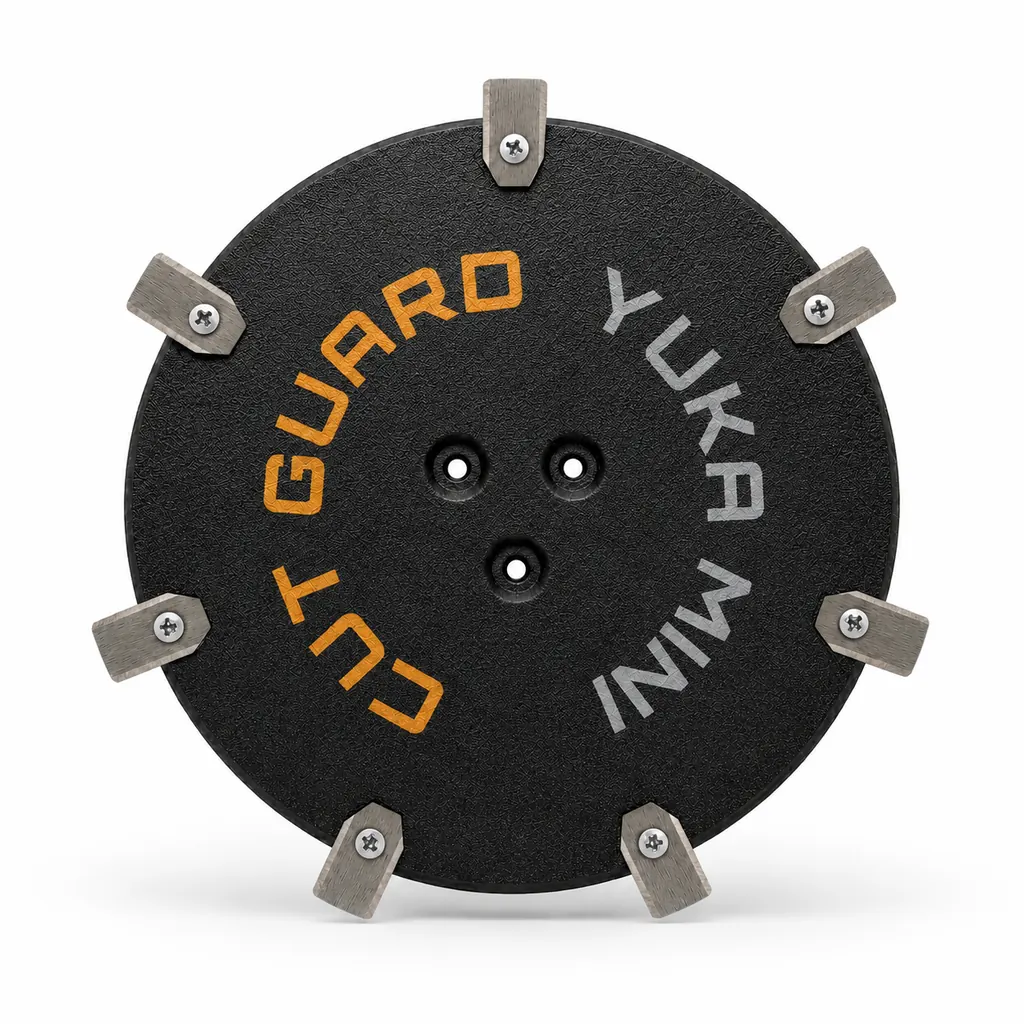
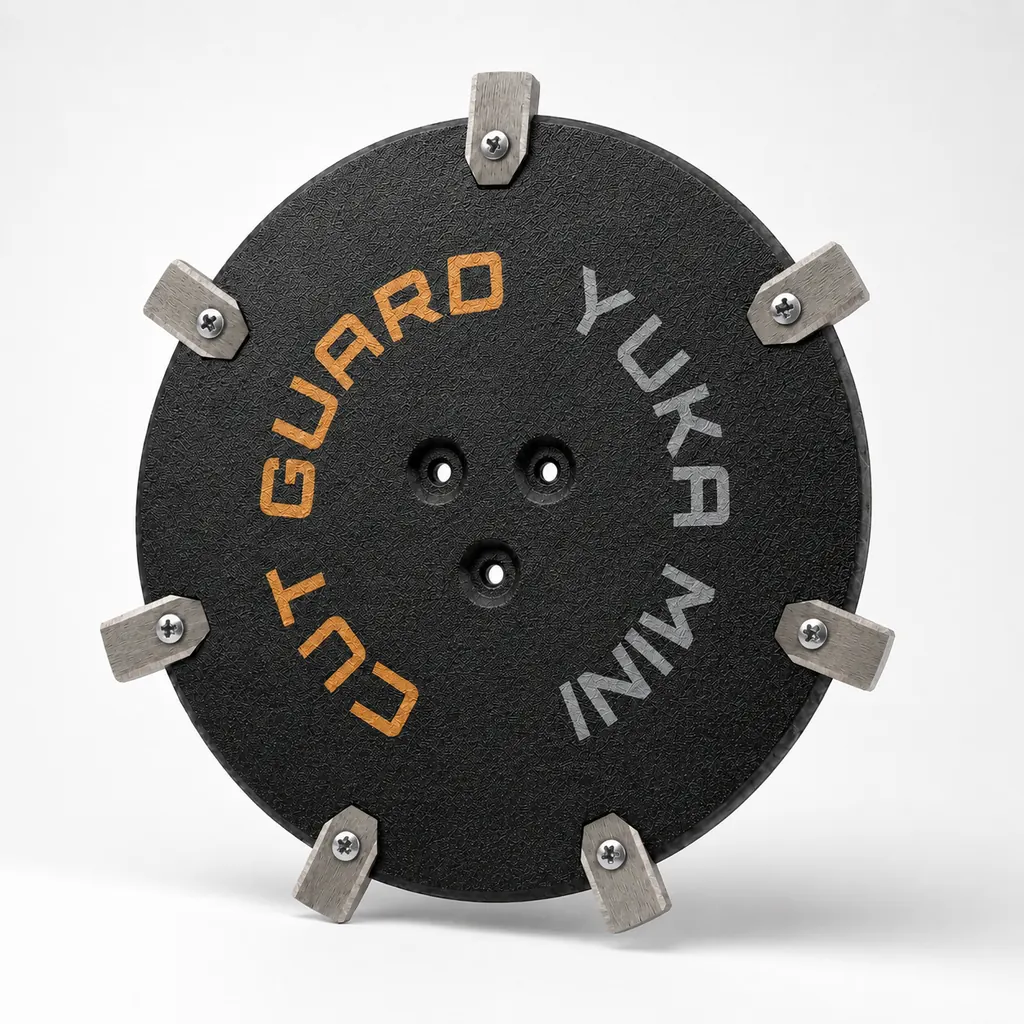
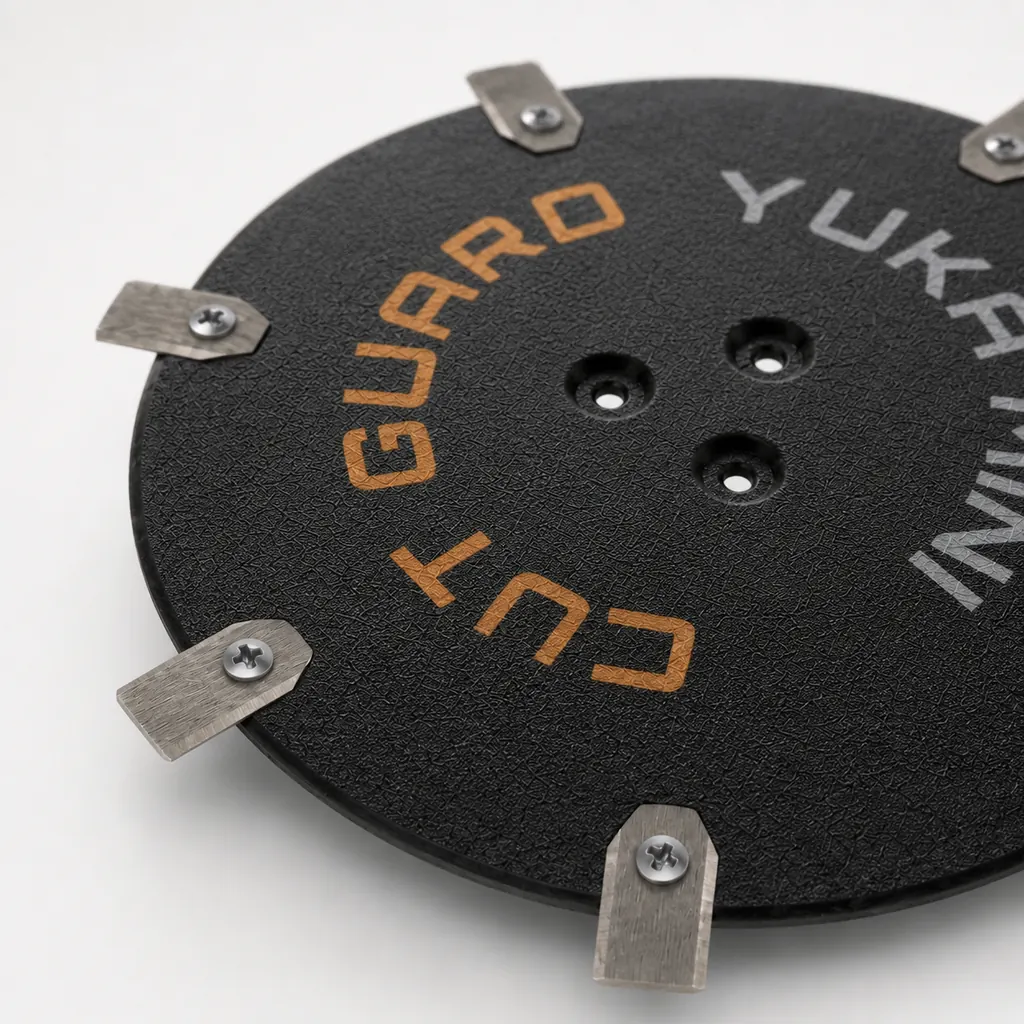
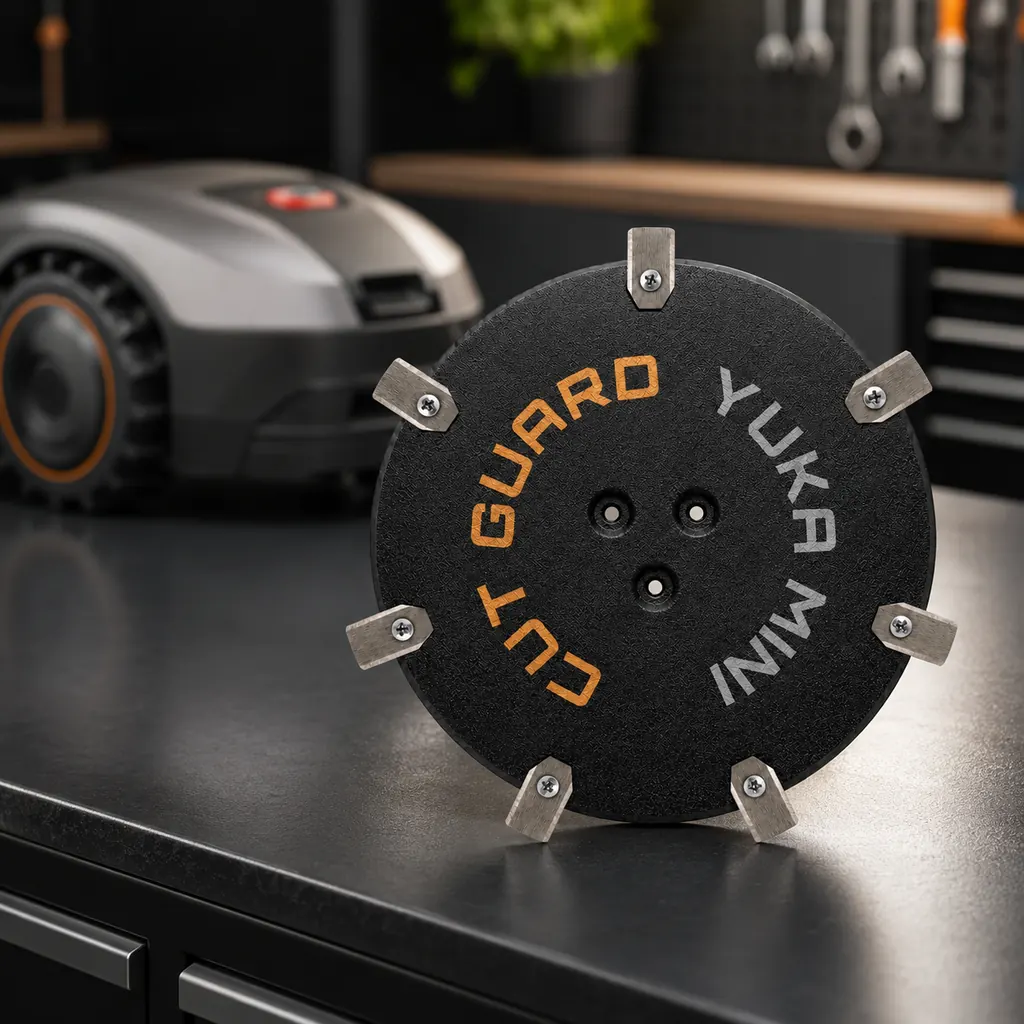
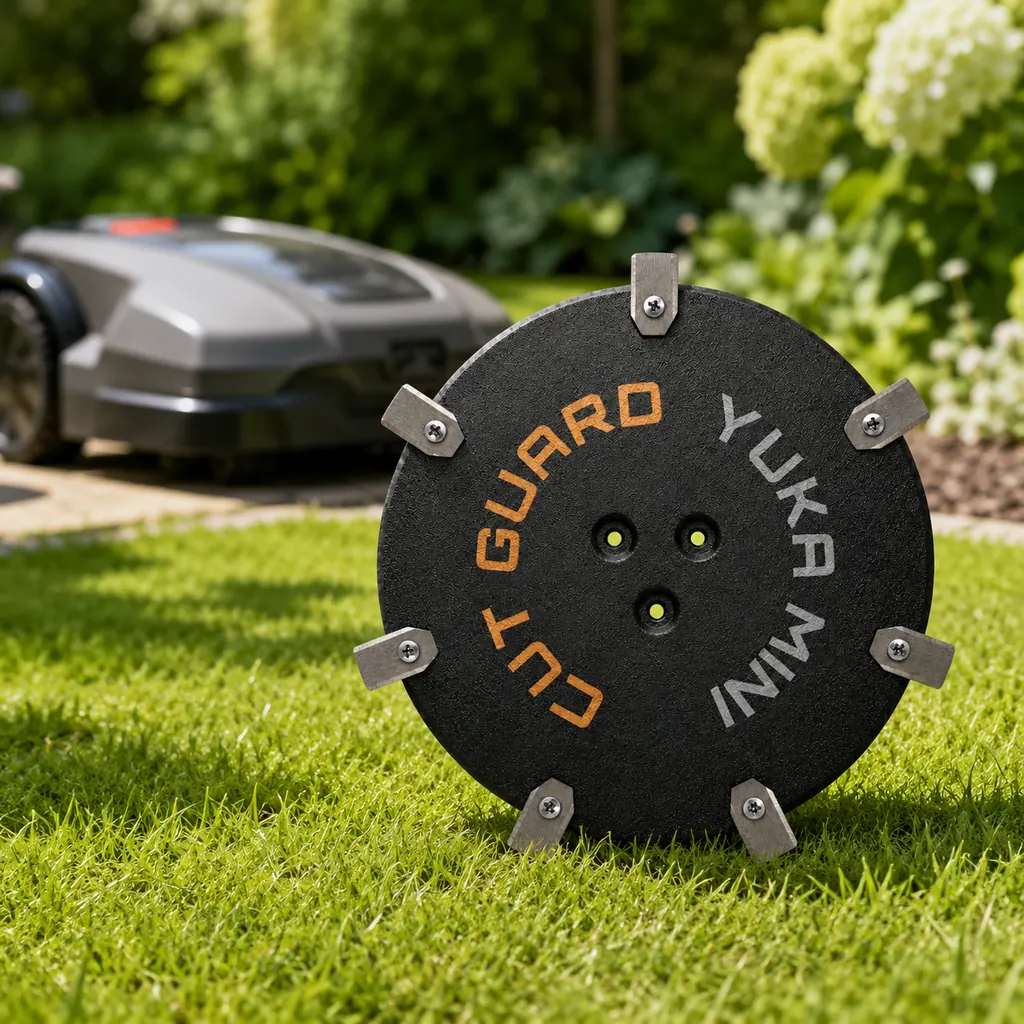
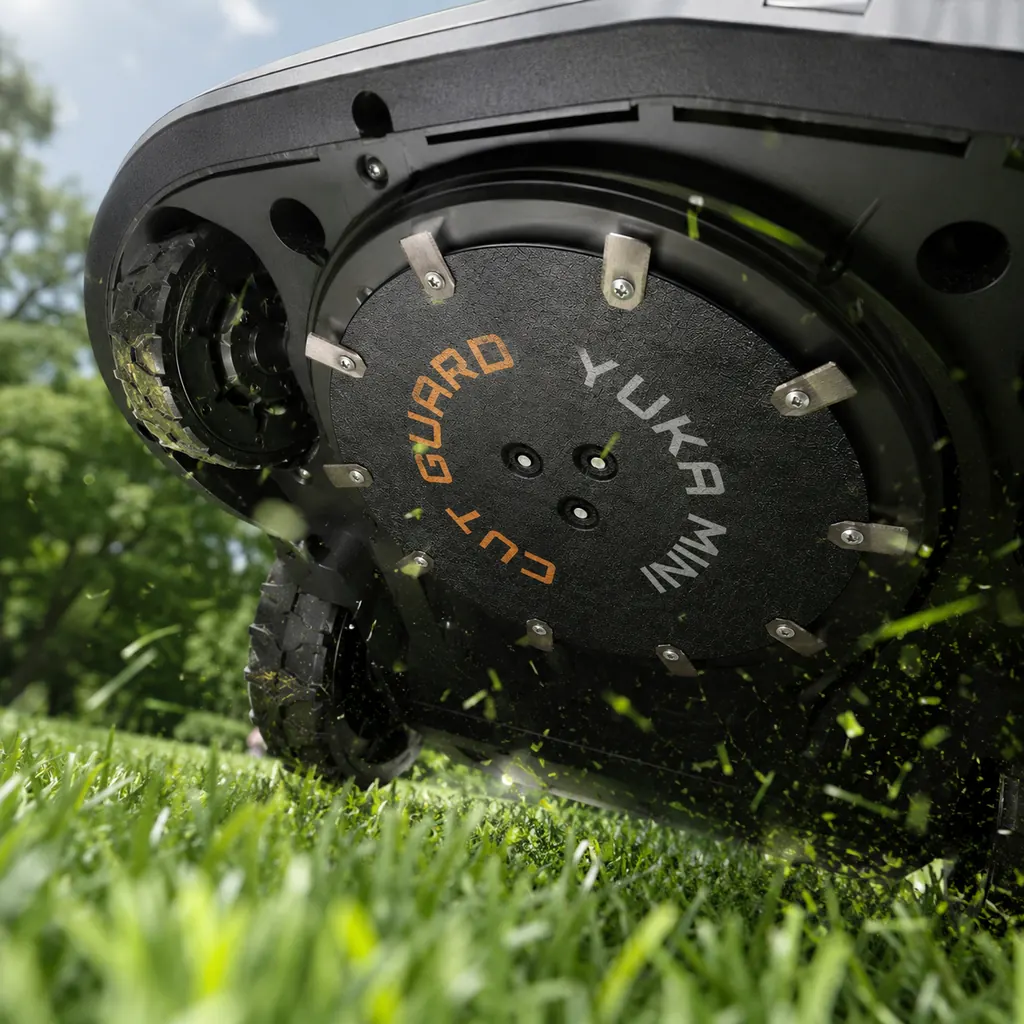
7-blade cutting disc for Mammotion YUKA Mini and YUKA Mini 2
- 7-blade cutting disc for Mammotion YUKA Mini and YUKA Mini 2 robotic mowers
- Ideal as a replacement cutting plate for worn or damaged cutting discs
- With 7 blades for a precise, clean, and even lawn cut
- Suitable for maintenance, repair, and reliable lawn care during the mowing season
- Practical robotic mower cutting disc for a well-groomed cut appearance in the garden
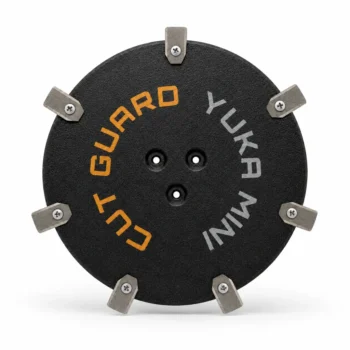
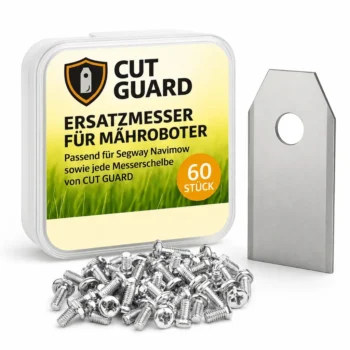
incl. 7 blades
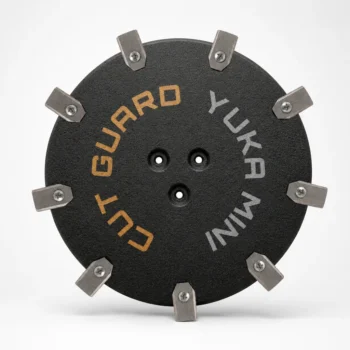
incl. 9 blades
+
 +
+
Compatibility – Mammotion
Fits the following robotic mowers:
- ✓ YUKA Mini
- ✓ YUKA Mini 2
Sharp 7-blade cutting disc from Mammotion brings your YUKA Mini back to a clean cut—so the grass isn’t torn up, but cut off properly.
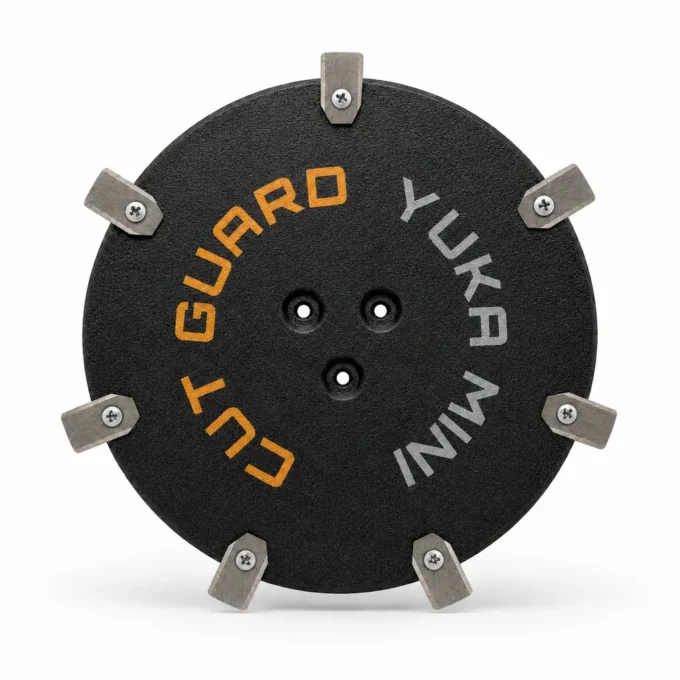
Dull blades are easy to spot in the lawn
When the blades become dull, the YUKA Mini stops more often, the cutting pattern becomes uneven, and the grass quickly looks “frayed.” Dull blades tear the blades of grass instead of cutting them cleanly—at the tips the lawn discolors and looks unkempt. With the 7-blade cutting disc for Mammotion YUKA Mini and YUKA Mini 2, you give your robotic mower back the power for an even cut—without trial and error. Seven sharp blades mean more cutting points per revolution and a noticeably finer result.
Fits your Mammotion YUKA Mini, etc.
The 7-blade cutting disc fits perfectly for the Mammotion YUKA Mini and YUKA Mini 2. You can swap it quickly on the mowing disc—no tool hassle: just replace it and keep mowing.
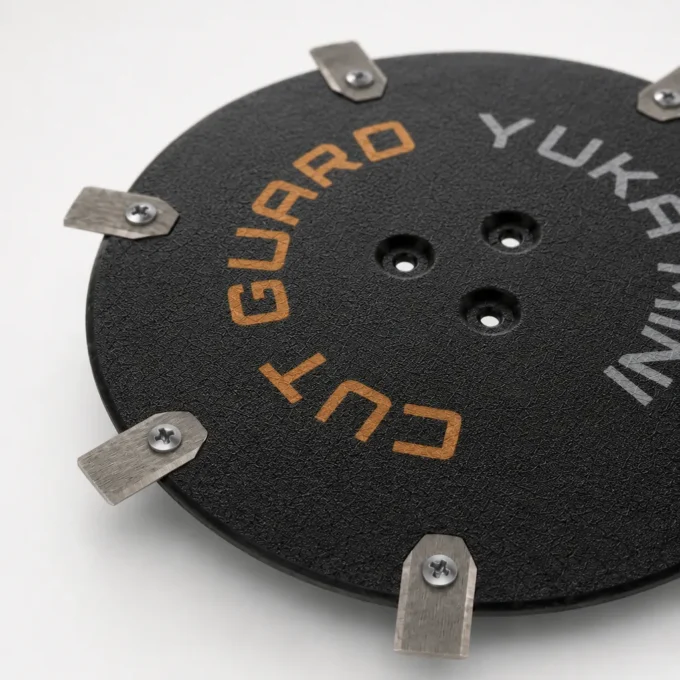
Complete set for an immediate swap
The 7 blades work for a finer cutting pattern: the grass is trimmed more evenly instead of hanging in individual strands. More cutting edges grip the lawn more precisely and deliver a dense, clean look. In the package, you’ll get the complete cutting disc for your replacement—ready to mount on the mowing disc. Swapping takes minutes: loosen the disc, fit the new one—there are no extra steps.
Grass blockages? Not with fresh blades
With fresh cutting edges, the cutting disc reduces the typical grass blockages at the mowing disc—your robot can get through dense greenery more easily. Damp clippings and thick lawns tend to collect around the blades and slow down the rotation; a free-spinning mowing disc keeps the grass moving instead of letting it build up. Result: reliable operation, fewer interruptions, and a neat look in your garden. That’s how your YUKA Mini can make its rounds again without constant supervision.
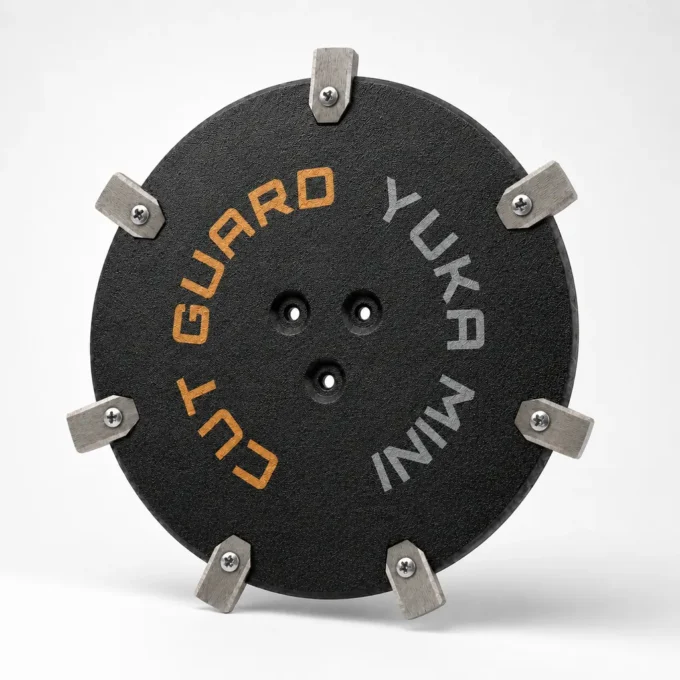
Quick summary
Top reviews
Ik heb deze 7-klingen-messerscheibe voor mijn Mammotion YUKA Mini 2 gekocht als vervanging voor de oude, licht beschadigde snijschijf. Het past netjes en de 7 messen geven een gelijkmatiger snijbeeld; het wisselen kostte me ongeveer 10 minuten met de bestaande schroeven. Eén puntje: er zaten geen duidelijke markeringen bij voor de exacte plaatsing van de messen, dus ik moest even dubbelchecken.
jeg har den 7-klingen-messerteller til min mammotion yuka mini 2, og den passer faktisk uden bøvl. efter udskiftning ser græsset mere jævnt klippet ud, og udskiftningen tog kun et par minutter. jeg ville dog gerne have, at den kom med lidt tydeligere instruktioner til placering af klingen.
Bought this 7-blade replacement for my Mammotion YUKA Mini 2 after the old disc got nicked. It was a straightforward swap and took about 10 minutes using the existing screws, and the cut looks more even again. The only annoyance was the lack of clear guidance on blade alignment, so I had to double-check before tightening.
Wymieniłem tę 7-klingową tarczę w moim Mammotion YUKA Mini 2 po kilku tygodniach intensywnego koszenia. Pasuje bez kombinowania, a trawa po wymianie wygląda na równo obciętą, bez postrzępionych końcówek. Jedyny drobiazg: warto mieć pod ręką odpowiednie narzędzie do szybkiego montażu.
Snabb leverans och den passar direkt till min Mammotion YUKA Mini 2 utan strul. Efter bytet ser gräsmattan jämn och fin ut, inga slitna kanter syns.
The 7-blade cutting disc works excellently. The mower delivers a clean cut and the replacement was easy. I was particularly impressed by the durability of the blades. Every mowing session feels precise.
Write a review
CUT GUARD Assembly Instructions
General assembly instructions for cutting discs, replacement blades, and blades for compatible robotic mowers.
Note
These instructions generally apply to compatible cutting discs, replacement blades, and blades from CUT GUARD.
They do not refer to a specific model or version. Always additionally refer to the operating manual of your robotic mower.
Important Safety Notice
Sharp blades. Risk of injury. The knives and blades can cause serious cuts.
Always wear appropriate protective gloves during assembly, disassembly, cleaning, and maintenance.
Never work on the cutting disc while it is still moving.
1. General Safety Instructions
- The operator is responsible for accidents, injuries, and damages caused to other persons or their property.
- Keep children, animals, and uninvolved persons away during work and operation of the robotic mower.
- Never touch the cutting disc or the knives while they are still moving.
- Always turn off the robotic mower completely before performing work on the cutting disc or the knives.
- Remove the battery if possible or disconnect the device from the power supply.
- Always wear appropriate protective gloves.
- Do not use damaged, bent, heavily worn, or corroded knives, screws, or cutting discs.
- Regularly check the condition of the knives, fastening screws, and the cutting disc.
2. Required Tools and Materials
- Suitable screwdriver or bit, matching the screws used.
- Protective gloves.
- New or tested fastening screws.
- CUT GUARD cutting disc, replacement blades, or blades.
- Optional: soft surface for safely placing the robotic mower.
Important
Only use suitable screws and appropriate mounting materials.
If specified by the manufacturer or included in the delivery, use screws with locking lacquer
or suitable screw locking.
3. Preparation
- Stop the robotic mower completely.
- Turn off the device according to the operating manual.
- Remove the battery if possible.
- Wait until the cutting disc has completely come to a stop.
- Carefully turn the robotic mower upside down and place it on a stable, soft surface.
- Check the work area for cleanliness and adequate lighting.
4. Disassembly of the Existing Cutting Disc
- Loosen the fastening screws of the existing cutting disc.
- Completely remove the screws and set them aside safely.
- Carefully remove the existing cutting disc from the knife holder.
- Clean the knife holder of grass clippings, dirt, and debris.
- Check the knife holder for damage or unusual wear.
Warning
Do not use the new cutting disc if the knife holder, fastening points,
threads, or screws are damaged. In this case, the robotic mower may only be reused after proper
inspection.
5. Installation of the CUT GUARD Cutting Disc
- Place the CUT GUARD cutting disc correctly on the knife holder.
- Ensure that the cutting disc lies flat and is correctly centered.
- Insert the appropriate fastening screws.
- Tighten the screws evenly and firmly.
- Do not overtighten the screws to avoid damage to threads or components.
- After installation, check that the cutting disc is securely attached.
- Gently turn the cutting disc by hand and check if it runs freely.
6. Installation or Replacement of Replacement Blades
- Loosen the screws of the old blades.
- Carefully remove the old blades.
- Clean the contact surfaces on the cutting disc.
- Place the new CUT GUARD replacement blades on the designated fastening points.
- Ensure that the blades remain freely movable, as intended by design.
- Secure each blade with a suitable screw.
- Tighten the screws securely without overtightening.
- Check each blade for a secure fit and free movement.
7. Post-Installation Check
- Are all screws fully inserted and securely fastened?
- Is the cutting disc lying flat and securely?
- Can the blades move freely, if intended?
- Are there no tools or foreign objects left in the area of the cutting disc?
- Does the cutting disc run freely and without grinding?
8. Operation and Maintenance
- Regularly check knives, screws, and cutting disc for wear.
- Immediately replace damaged or heavily worn parts.
- Regularly clean the cutting disc of grass clippings and dirt.
- Do not use the robotic mower if unusual noises, vibrations, or running problems occur.
- Only use compatible spare parts and suitable mounting materials.
Note on Blade Replacement
Always replace blades in a timely manner. Dull or damaged blades can worsen the cutting quality,
put more strain on the robotic mower, and compromise safety.
9. Disclaimer
CUT GUARD cutting discs, replacement blades, and blades are accessories and spare parts for compatible robotic mowers.
They are not original accessories from the respective device manufacturer unless explicitly stated
in the product description.
The assembly and use are at your own risk. No liability is accepted for damages caused by improper assembly,
incorrect use, damaged components, or failure to observe the operating manual of the robotic mower.
Warning in Case of Injury
Seek medical assistance immediately in case of injury or accident.
GPSR Information on Product Safety
Product safety information in accordance with Regulation (EU) 2023/988 on general product safety.
Manufacturer & Responsible Person (EU)
Patryk Napiorkowski - Trivando
Am bhf Weinhübel 8
02827 Görlitz
Germany
Email:
service@trivando.de
Website:
www.trivando.de
Product Identification
Brand: CUT GUARD
Product Type: Blade discs, replacement blades, and blades for compatible robotic mowers
Intended Use: Accessories and replacement parts for suitable robotic mowers
Product Type: Cutting and fastening components for use in robotic mowers
Item Number / Model / Variant: see respective product description, packaging, or invoice
Compatibility: see product description and operating instructions of the robotic mower
Important Warning
Sharp blades. Risk of injury. The knives and blades can cause serious cuts.
Assembly, disassembly, cleaning, and maintenance should only be performed when the robotic mower is completely turned off.
Always wear appropriate protective gloves and wait until the blade disc has come to a complete stop.
Intended Use
CUT GUARD blade discs, replacement blades, and blades are intended solely as accessories and replacement parts for compatible robotic mowers.
The products may only be used for their intended purpose and only in conjunction with suitable, compatible devices.
Any other use, structural modification, or improper assembly may lead to injuries, malfunctions, or property damage.
Not Suitable For
- Children.
- Persons who have not read or understood the operating instructions of the robotic mower.
- Incompatible robotic mowers.
- Devices with damaged blade mounts, damaged threads, or defective fastening points.
- Use outside the intended application area.
- Use as a tool, hand knife, or for other cutting tasks outside the robotic mower.
Safety and Warning Notices
- Use only for the intended purpose.
- Use only with compatible robotic mowers, suitable blade discs, and appropriate mounting materials.
- Always turn off the robotic mower completely before any assembly, disassembly, cleaning, or maintenance.
- If possible, remove the battery or disconnect the device from the power supply.
- Always wait until the blade disc has come to a complete stop.
- Always wear appropriate protective gloves.
- Keep hands and feet away from rotating blades.
- Never touch knives, blades, or blade discs during operation.
- Do not use damaged, bent, heavily worn, rusted, or corroded knives, screws, or blade discs.
- Regularly check knives, screws, and blade discs for secure fit, wear, and damage.
- Use only suitable screws and appropriate mounting materials.
- If provided, use screws with locking lacquer or suitable screw locking.
- Keep children, animals, and uninvolved persons away from the work area.
- The robotic mower must not be operated if persons, especially children, or animals are in the work area.
- In case of unusual noises, vibrations, grinding noises, or running problems, stop operation immediately and check the assembly.
- In case of injuries or accidents, seek medical assistance immediately.
Assembly Instructions
Assembly may only be performed when the device is turned off. Always observe the operating instructions of the respective robotic mower.
Blade discs, replacement blades, and blades must be correctly seated and securely fastened. After assembly, check whether the blade disc runs freely and that no tools or foreign objects have been left in the area of the knives.
Check Before Operation
- Are all screws fully inserted and tightened?
- Is the blade disc correctly centered and securely fastened?
- Are the knives correctly mounted?
- Can movable knives move freely, if this is structurally intended?
- Are there no visible damages?
- Does the blade disc run freely and without grinding?
Maintenance and Inspection
- Regularly check knives, blades, screws, and blade discs for wear and damage.
- Immediately replace damaged or heavily worn parts.
- Regularly clean the blade disc of grass residues, dirt, and deposits.
- Do not use aggressive cleaning agents that may damage material or coating.
- Use only compatible replacement parts and suitable mounting materials.
Storage and Disposal
Store replacement blades, blades, screws, and blade discs dry, clean, and secure.
Keep out of reach of children and unauthorized persons.
Safely package used, damaged, or dull knives and blades to avoid cuts.
Dispose of metal parts, packaging, and accessories in accordance with local regulations.
Note on Original Accessories
CUT GUARD products are compatible accessories and replacement parts. They are not original accessories of the respective
device manufacturer unless explicitly stated in the product description. Brand names, model designations,
and manufacturer information are for compatibility indication only.
Contact for Safety Questions, Complaints, or Accidents
For questions regarding product safety, complaints, accidents, or indications of possible safety issues, please contact us immediately:
Patryk Napiorkowski - Trivando
Am bhf Weinhübel 8
02827 Görlitz
Germany
Email: service@trivando.de
Website: www.trivando.de
What are the advantages of a 7-blade cutting disc for the Mammotion YUKA Mini compared to a 6- or 9-blade variant?
The 7-blade cutting disc offers a balanced ratio between cutting quality and efficiency. While 6 blades are sufficient for smaller lawns, the 7-blade variant provides a more precise and even cut. A 9-blade cutting disc, on the other hand, can be helpful for very dense lawns but requires more energy, which can affect battery life.
How do I change the 7-blade cutting disc on my Mammotion YUKA Mini 2?
Changing the 7-blade cutting disc is done in a few steps. First, you should turn off the lawn mower robot and place it on a safe surface. Using a wrench, which is usually included in the package, loosen the screws of the old cutting disc. Then, place the new 7-blade cutting disc on and tighten the screws again. The entire process should take no longer than 15 minutes.
How does the 7-blade cutting disc affect the cutting pattern and battery life of my lawn mower robot?
The 7-blade cutting disc ensures a clean and even cutting pattern, which promotes lawn health. At the same time, it allows for efficient use of battery power, as less effort is required during operation compared to worn blades. However, cutting in tall grass may require slightly more energy, which can slightly affect battery life.
What common issues can arise when using the 7-blade cutting disc for Mammotion YUKA Mini?
A common issue is the buildup of grass clippings, which can impair function and lead to an uneven cut. Improper installation can also damage the cutting disc. Regularly check the blades for wear and ensure they are securely mounted.
How long does shipping take for the 7-blade cutting disc for Mammotion YUKA Mini and how does the return process work?
Shipping of the 7-blade cutting disc usually takes place within 2-3 business days. If the cutting disc does not meet your expectations, you can return it within 30 days. Make sure that the disc is unused and in its original packaging to ensure a smooth return process.